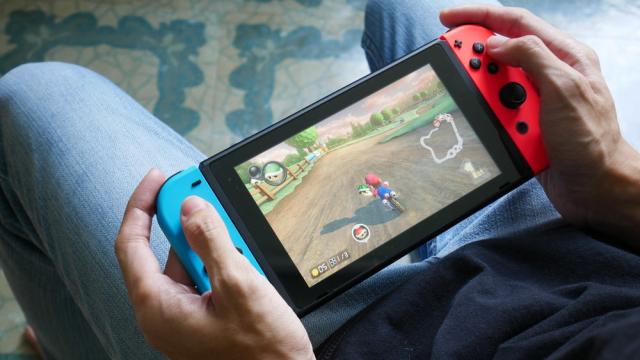
The latest Nintendo Switch software update, version 11.0.0, makes it much easier to transfer screenshots and gameplay videos to your smartphone or PC. The new methods are miles better than the unintuitive post-to-social-media-then-delete workaround we’ve been forced to use since the console’s launch, or the similarly burdensome “find a microSD card reader in your messy desk drawer” approach.
How to send Switch screenshots to your smartphone
This first method sends files directly to your smartphone over wifi — albeit in a very Nintendo fashion. Nintendo limits transfers to just 10 screenshots or one video at a time, and you need to use two QR codes each time you send files. That will make large batch transfers tedious to complete, but it’s better than awkwardly posting four screenshots to your public Twitter feed, saving them, then deleting the Tweet each time you want to save a screenshot.
Annoyingly, the Switch disables the screengrab feature while you’re using the transfer tool, so we can’t show you specifically what the new menu looks like, but the steps are simple enough to follow:
- Select the “Album” icon from the Switch’s home screen.
- In the Album screen, highlight a screenshot or video, then press the A button to open the “Sharing and Editing” menu.
- The system will ask how you want to share your screenshots. Select “Send to smartphone.”
- Select “Only this one” to send just one screenshot, or “Send a Batch” to select and send up to ten screenshots.
- A QR code will appear on the Switch’s screen. Scan it with your smartphone’s camera app. Both devices will sync over wifi.
- A second QR code will now be displayed. Scan this one to send the selected file(s) to your phone.
- Wait for the download page to open in your phone’s browsing app. This can take a few moments, but the files will download automatically when they’re ready.
- Press “End” on the Switch to close the sharing tool.
- Repeat for all screens and video you want to transfer.
Note: Don’t let your smartphone’s screen lock or your Switch enter sleep mode, as it will interrupt the connection and you’ll have to start over. (I learned this the hard way.)
How to copy Switch screenshots to your PC
Sending your Switch screenshots to your smartphone is cumbersome, especially compared to the simplicity of the Xbox and PlayStation share functions. Luckily, you can also copy screenshots and gameplay recordings from your Switch to your PC with no arbitrary transfer limits.

- Plug the Switch into your PC via USB-C (the charging dock’s USB-C cable will work perfectly),
- Open the Switch’s system settings, then go to Data Management > Manage Screenshots and Videos.
- Scroll down and select “Copy to a Computer via USB,” then wait for your computer to recognise the console.
- One you PC, open the file explorer and go to Nintendo Switch > Album. Copy and paste the files you want to transfer.
- When you’re done, select “Disconnect” on your Switch’s screen.
Whether you use the USB or wifi methods, transferred files will not be automatically deleted from your Switch. If you’re offloading images from your Switch Album to free up system memory, you’ll need to use the console’s data management menu to delete the files manually after you copy them to another device.
Leave a Reply