If you’ve invested in a decent gaming PC, you’ll probably want to capture and share some of the highs and lows of your gaming exploits. If you haven’t gotten started yet, we’re here to introduce a few of the best software options available to you right now.
And software is really all you need. Unless you’re capturing an external source like a console, or combining multiple video feeds (so your audience can see your webcam while you game), you don’t need any additional hardware besides what’s already connected to your PC — with the caveat that video capture uses up a slice of system resources and may put slower and older configurations under some strain.
Microsoft includes game capturing and sharing tools as part of Windows, in the form of the Xbox Game Bar. You can launch it by searching for it from the taskbar, or by hitting Win+G on your keyboard (if there’s an Xbox controller attached to your PC, just hit the Xbox button). There are a variety of widgets here, including one showing current CPU and RAM usage.
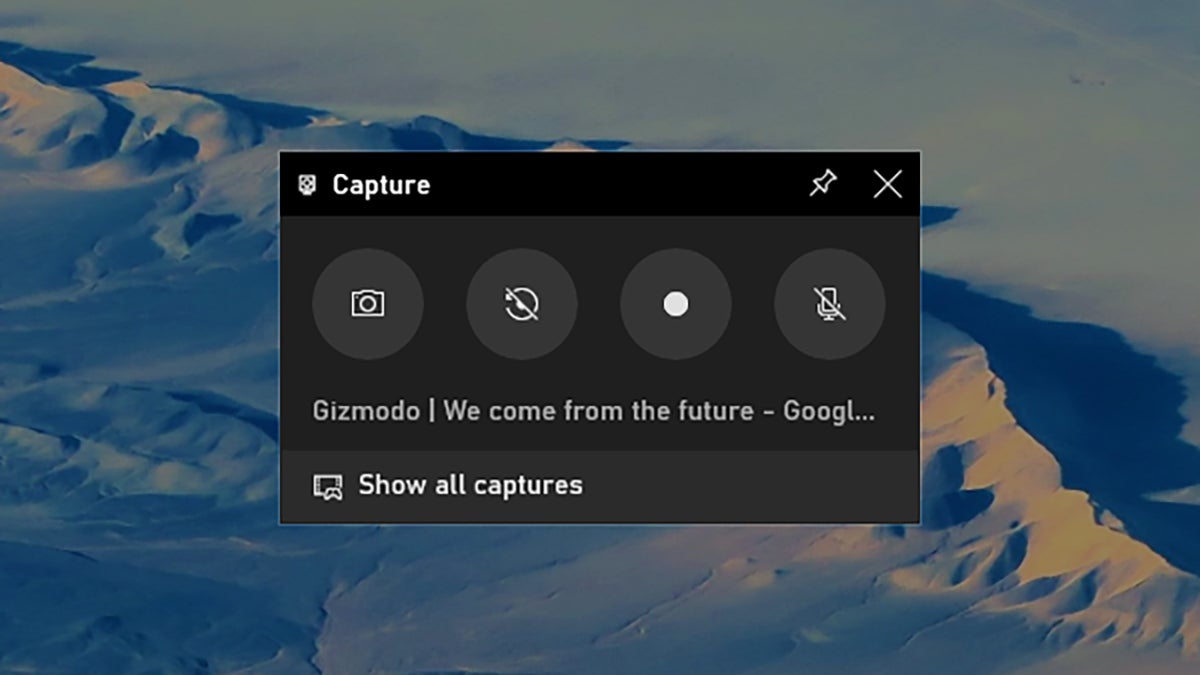
You’ll see a Start recording button (the circle icon) in the Capture widget — click this to begin capturing footage from the game (or application) that’s currently active. To stop recording, open the Game Bar again and click the square Stop recording button. You can also use the Win+Alt+R shortcut on your keyboard to start and stop recording without bringing up the Game Bar interface every time.
The Gallery widget in the Game Bar interface is where you can see your most recent captures — select any video to view it. There’s also an Audio widget that lets you control the mix of levels between open apps, games, and the microphone input. Widgets can be hidden or shown using the row of icons at the top of the Game Bar interface.
While you don’t get any sharing options in the Xbox Game Bar itself, you can easily navigate to the capture folder (it’s in Videos then Captures in your default Windows user folder) from File Explorer or the Gallery widget. Once you’re there, you can share your footage using whatever program or portal you like.
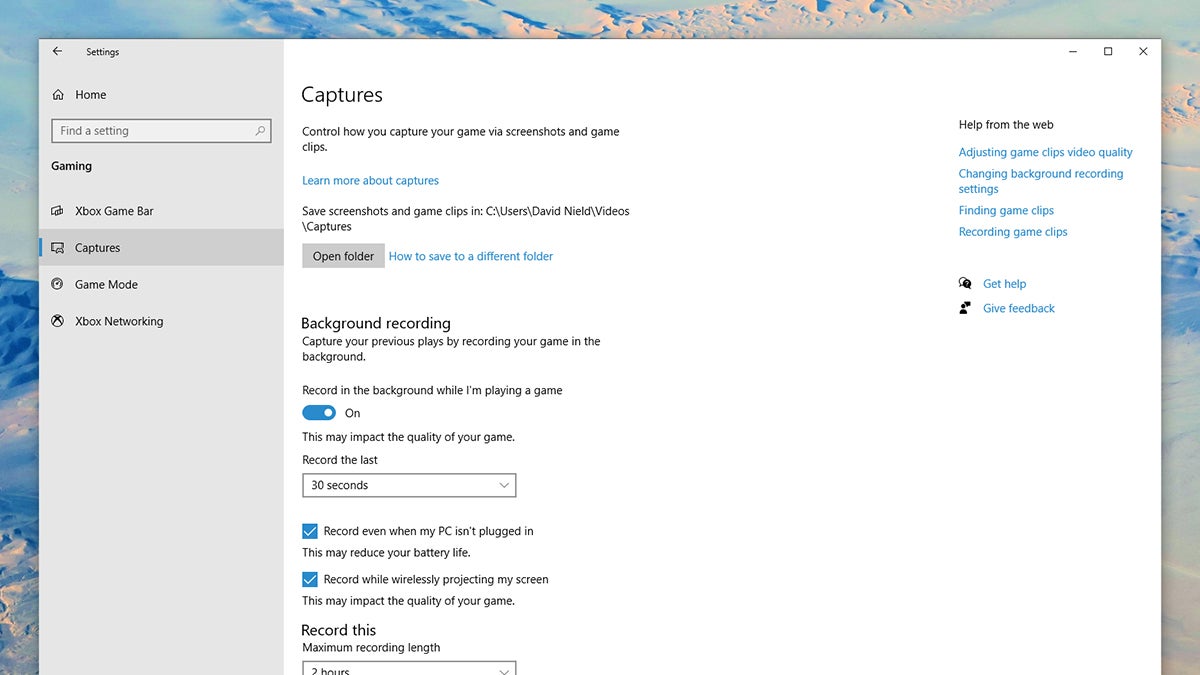
If you open up Settings in Windows and choose Gaming, you can customise various aspects of the Game Bar, including where your clips are saved and the keyboard shortcuts that are supported. From the Captures tab you can enable background recording, so Windows will always be recording game footage in the background while you’re playing — this enables the Win+Alt+G keyboard shortcut, which saves the previous 30 seconds of gameplay as a clip.
For some, the Xbox Game Bar tool is the only software package that they’ll need, but as you may have noticed, it only captures the active window and doesn’t currently include any livestreaming options. For a more advanced setup, the application you need is OBS (Open Broadcaster Software) Studio, which is free and open source.
This is built with livestreaming in mind. It supports output to Twitch, Youtube, and Facebook, it lets you mix multiple video sources (like your screen and a webcam) together, and it gives you detailed control over settings such as output quality and audio levels. Perhaps the only downside is that it’s not the easiest software for beginners to learn, but it’s hardly impenetrable in terms of figuring out what’s what.
OBS Studio is built around sources and scenes. Sources are video and image inputs, so they can include your entire screen, a window on your screen, an external webcam, or an external capture device (streaming from a console, maybe). Scenes are essentially layouts for one or more sources — maybe you’ll only need one scene, just showing what’s on screen, but you can also have multiple scenes that include several sources, or that display your sources at different sizes and in different ways.
You can control your scenes and sources using the boxes that appear in the lower left-hand corner of the OBS Studio interface by default. The controls to start streaming and recording are over on the right — if you don’t want to broadcast your gaming exploits to the world, you can just record them to disk.
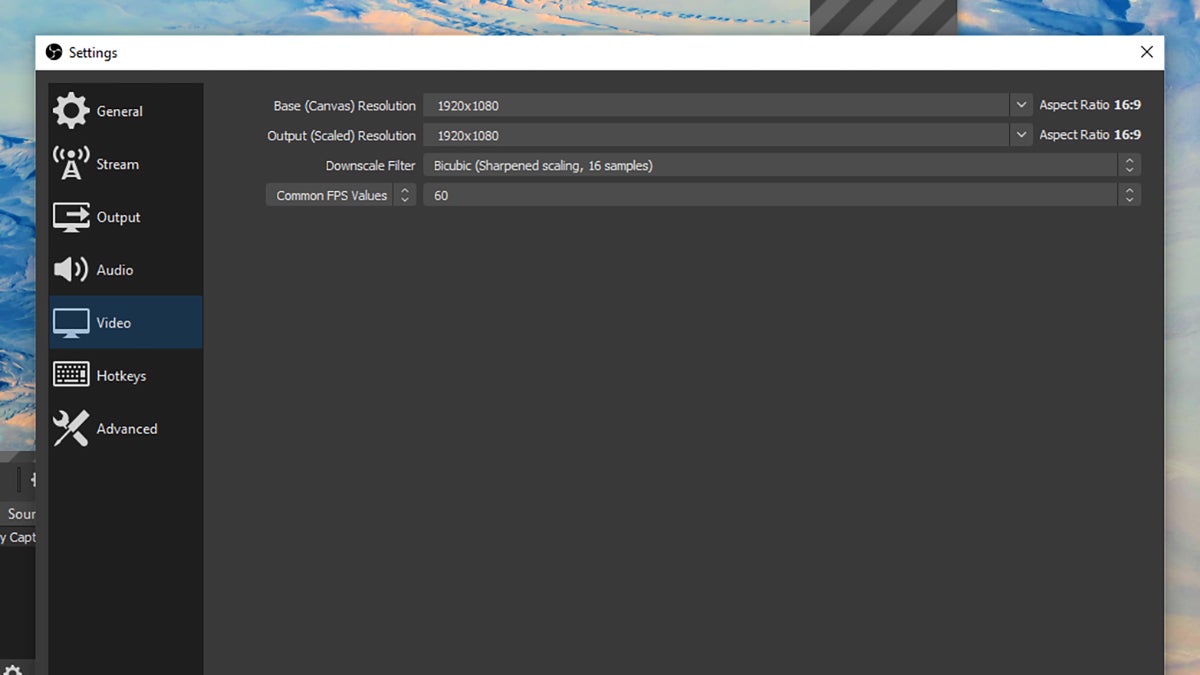
To get started, click the + button under Sources and choose Display Capture as the input — this will capture everything on screen. Use the options under Controls to manage your streams and recordings, or click Settings then Hotkeys to set up keyboard shortcuts so you don’t need to have the OBS Studio interface open quite so much. You can also set output resolutions and a host of other options in the Settings panel.
Like Xbox Game Bar, OBS Studio saves captured clips to the default Video folder associated with your Windows user profile. To make sure you’re always saving at the same time as livestreaming, click Settings from the main user interface, then choose General and Automatically record when streaming.
There’s a lot more to OBS Studio but that should be enough to get you started. You’ll also find numerous alternatives to Xbox Game Bar and OBS Studio if you need something different for capturing and sharing your gaming sessions on Windows. Check out Gamecaster, Bandicam, and Dxtory if the tools we’ve mentioned here aren’t exactly what you’re looking for.
Comments