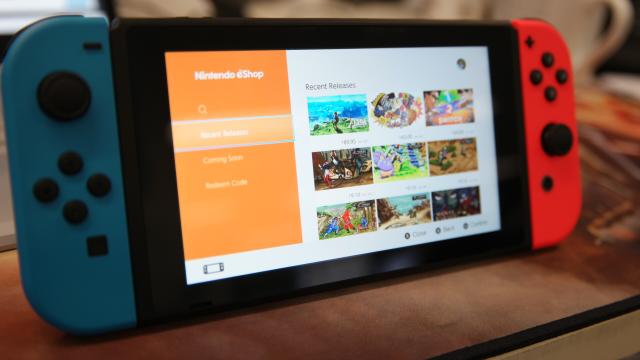
I’d had my Switch for roughly a week or two when I noticed that my right Nintendo Switch Joy-Con could be removed without pressing the button. At first I ignored it, but then I found the Switch Joy-Con had removed itself while travelling around in my backpack.
On the small grey lock mechanism was a tiny chip. Somehow, part of the plastic had either been sheared off, or had moulded around the lock.
Concerned, I rang Nintendo. It didn’t really affect gameplay, but I didn’t want it to get worse. I received a tentative “from your description, it has occurred from misuse” reply. I’d had the Switch for a month, and was fairly unhappy about the response.
I couldn’t really prove it wasn’t from misuse unfortunately, so I figured that I would get nowhere fast.
So I went to Big W, who was more than happy to help. I’d have sent the entire Switch to Nintendo for repairs, but I couldn’t guarantee it would return with the save files or the games I’d downloaded. I also didn’t want to be without a Switch for a long time; I’ve heard repairs can take a while.
Frustrated and not wanting to spend more on separate Joy-Cons, considering I only used the Switch as advertised, I did some research. As it turns out, this was a common problem – just not common enough for Nintendo to do anything about it. So I decided to fix the Joy-Cons myself.
Items needed
Joy-Cons (preferably the chipped one)
Thermoplastic (I used plastimake, but it was not the one to use)
A tri screwdriver
A small star screw driver
Selley’s plastic glue (this is what I ended up using)
Time taken: 30 minutes.
Warning: The plastimake didn’t work as it does not have a sticky composition. Other thermoplastic that cosplayers will be familiar with, such as Worbla’s, has a sticky side and will stick to most materials. Had I used Plastimake before, I would have known this and would have used Worbla’s instead.
Firstly, remove all the screws. The screws are tiny so I used a strong magnet to store them on top of (that is what the red thing is.)
After that, remove the one small screw holding the bar in place. In reality, you don’t have to remove these, but I wanted to be able to see what I was working on clearly.
Having messed around with the plastimake to no avail, I used some Selley’s All Plastic glue (and it must be all plastic; other glues can dislodge over time). Be very careful. I used a skewer to grab a small drop of the glue to place it exactly where the chip was.
The glue filled the chip and dries hard and clear, making it perfect for repairing the locking mechanism. Once the glue had dried, the Joy-Cons attached as per normal.
If you have a bit more know-how, one could replace the locking mechanism completely. But I’m happy with how it turned out; it’s such a tiny thing to fix, but it could have completely ruined my Switch.
Editor’s Note: If you’re looking for a DIY solution for Joy-Con drift, there’s a great solution here.
Leave a Reply