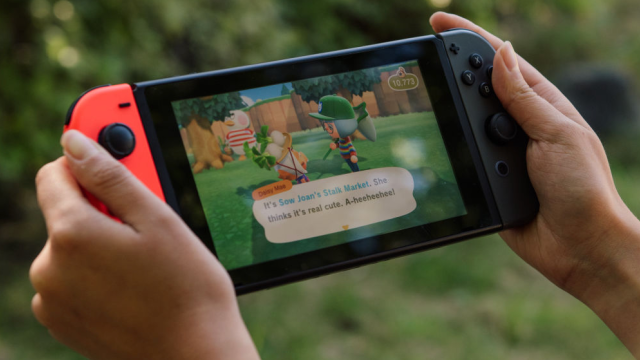
With the Nintendo Switch OLED hitting stores this week, you might start thinking about upgrading your handheld setup. If the shiny new screen, improved kickstand and LAN port in the new dock are enough to tempt your wandering hands, there’s some good news: it’s very easy to switch your Switch and still keep all your save files handy.
The first thing you should know before you head out to purchase a new Switch console is that you’ll want to keep your old Switch until you can transfer your save file data — unless you’re a member of Nintendo Switch Online.
If you’re not a member, you’ll need both consoles to transfer save files between consoles. If you are a Nintendo Switch Online member, all your data will be saved in the cloud. Either way, the process for transferring files is very simple.
How to transfer Nintendo Switch save files manually
When you get your new Nintendo Switch console, the first thing you should do is log into your Nintendo account and set up your profile as you normally would.
Then, head into System Settings on both your new Switch and the old one.
On your old Switch, select Data Management and Transfer Your Save Data. Then, click into your user profile and select every game file you want to transfer to your new console.
These will need to be individually selected until you’ve highlighted everything you need to transfer. Once you’re happy, select Send Save Data.

Now, you’ll need to prepare your new Switch to receive this data.
From System Settings, you should follow the same path on the new console: Data Management then Transfer Your Save Data.
But instead of Send Save Data, select Receive Save Data.
Place both systems near each other and the process of transfer should begin. Once your consoles give you the OK you should have full access to your data.
It is worth saying that many EB Games stores will allow you to complete this process in store (as long as you have access to Wi-Fi or mobile data) so have a chat with your friendly local staff and see if you can work out a trade-in and transfer at the same time.
How to transfer save files with Nintendo Switch Online
If you’re a current subscriber of Nintendo Switch Online (for $5.95/month), you won’t have to go through that process.
Instead, your save files will be automatically uploaded to the cloud as you play and you’ll be able to re-download this data on new consoles at any time.
To do this, you can open a game’s software menu with the + button, and scroll down to Save Data Cloud. Here, you’ll be able to sort through any saved cloud files and download them to your device.
Alternatively, you can also head into System Settings > Data Management > Save Data Cloud > All Save Data to select multiple save files to transfer over.
As long as you have an active subscription, you’ll be able to grab any available game data via this method.
Once the process is complete, you’ll have access to all the juicy save data your heart desires.
Note: If you’re looking to transfer your Animal Crossing: New Horizons resident, island or save data, that process is a little more involved. Here’s how you can transfer that save data.

Leave a Reply