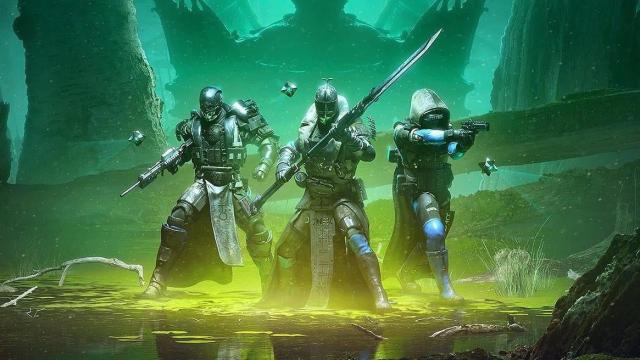
Destiny 2: The Witch Queen has been out for two weeks now. Many of its secrets are in the process of being unearthed, and players are finding the most optimal ways to grind through some of its new content. There’s also been plenty of time to play around with its new Exotic guns, and they are awesome.
Below you’ll find advice for getting the most out of the campaign, hitting the power cap for the Vow of the Disciple raid, and unlocking the best new gear. Every new expansion adds another layer of complexity to Destiny 2, and there is A LOT going on in The Witch Queen. Here’s how to navigate it:
Should I play The Witch Queen on Legendary difficulty?
Yes! It’s the best campaign in the series, especially at higher difficulties and playing co-op. Even on Legendary, The Witch Queen is tuned to be very challenging but not brutally unfair. Take it slow, adapt your loadout, and you’ll get through it in a decent amount of time. Plus this way it comes with bigger rewards. You’ll get double the loot chests and a full set of rare (read: blue) armour with a power of 1520 once the entire thing is complete.

It’s also worth noting that every main campaign mission has generous checkpoints. You can re-start from them even if you leave the mission to go do something else. The banners you place at the checkpoints to refill your abilities and ammo are also free. They don’t come from your inventory and can be used as many times as you want.
Go do the Rising Tensions quest as soon as it opens up
The Witch Queen expansion launched alongside Season of the Risen. To unlock the latter, you’ll need to complete both the Arrival and Relic missions, and then go speak to Ikora Rey after you’ve crafted your first Glaive. She’ll give you the Synaptic Spear seasonal artefact and unlock the Rising Tensions mission which will let you start collecting Psychogenic Intel needed for the Season of the Risen loot grind.
VIP patrol quests guarantee new Legendary drops
Anytime you’re out on patrol in Savathûn’s Throne World and see a brownish orange Patrol mission icon, go do it. Those mini-quests are extremely short and guarantee new Throwe World loot.
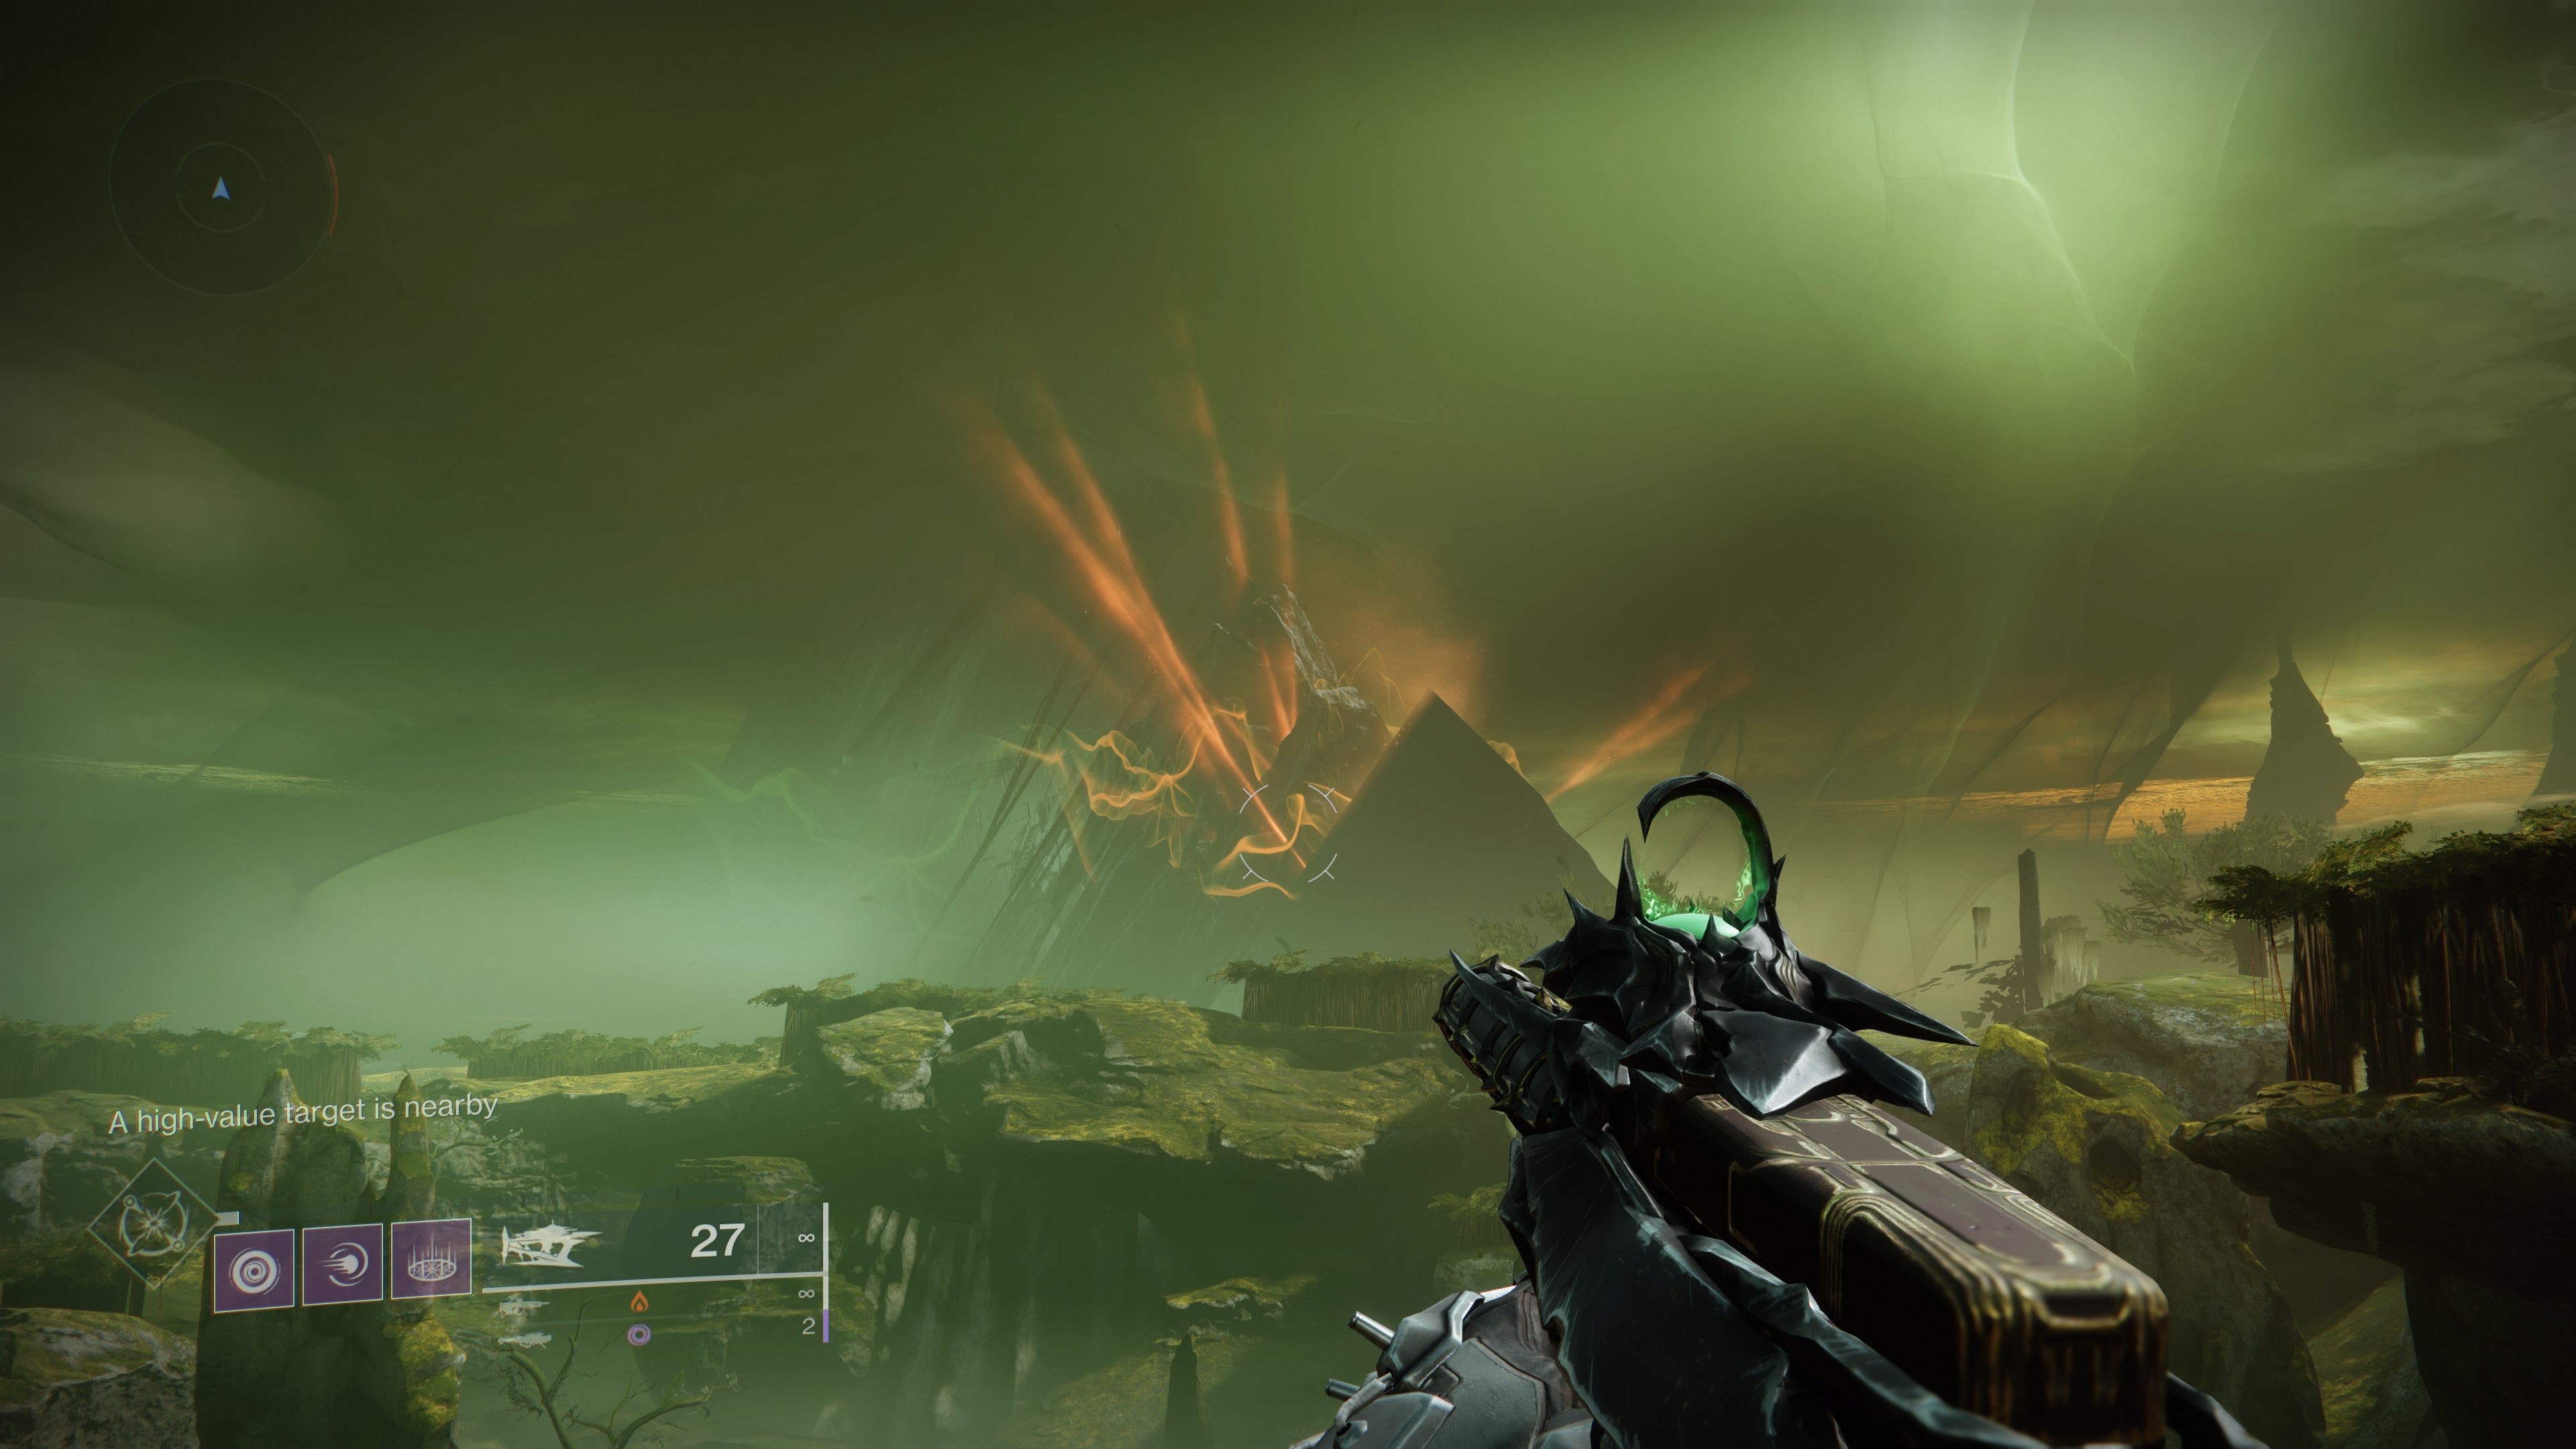
How to make the Resonant Destruction public event Heroic
The Witch Queen introduces a new public event where you escort a small alien pyramid to a special location so it can blow up. To make it into a Heroic level event, collect the glowing charges occasionally dropped by the Scorn who are attacking you, and throw them at the pyramid. These will charge it up. Charge it up enough times and you’ll get extra loot and Throne World reputation from the activity.
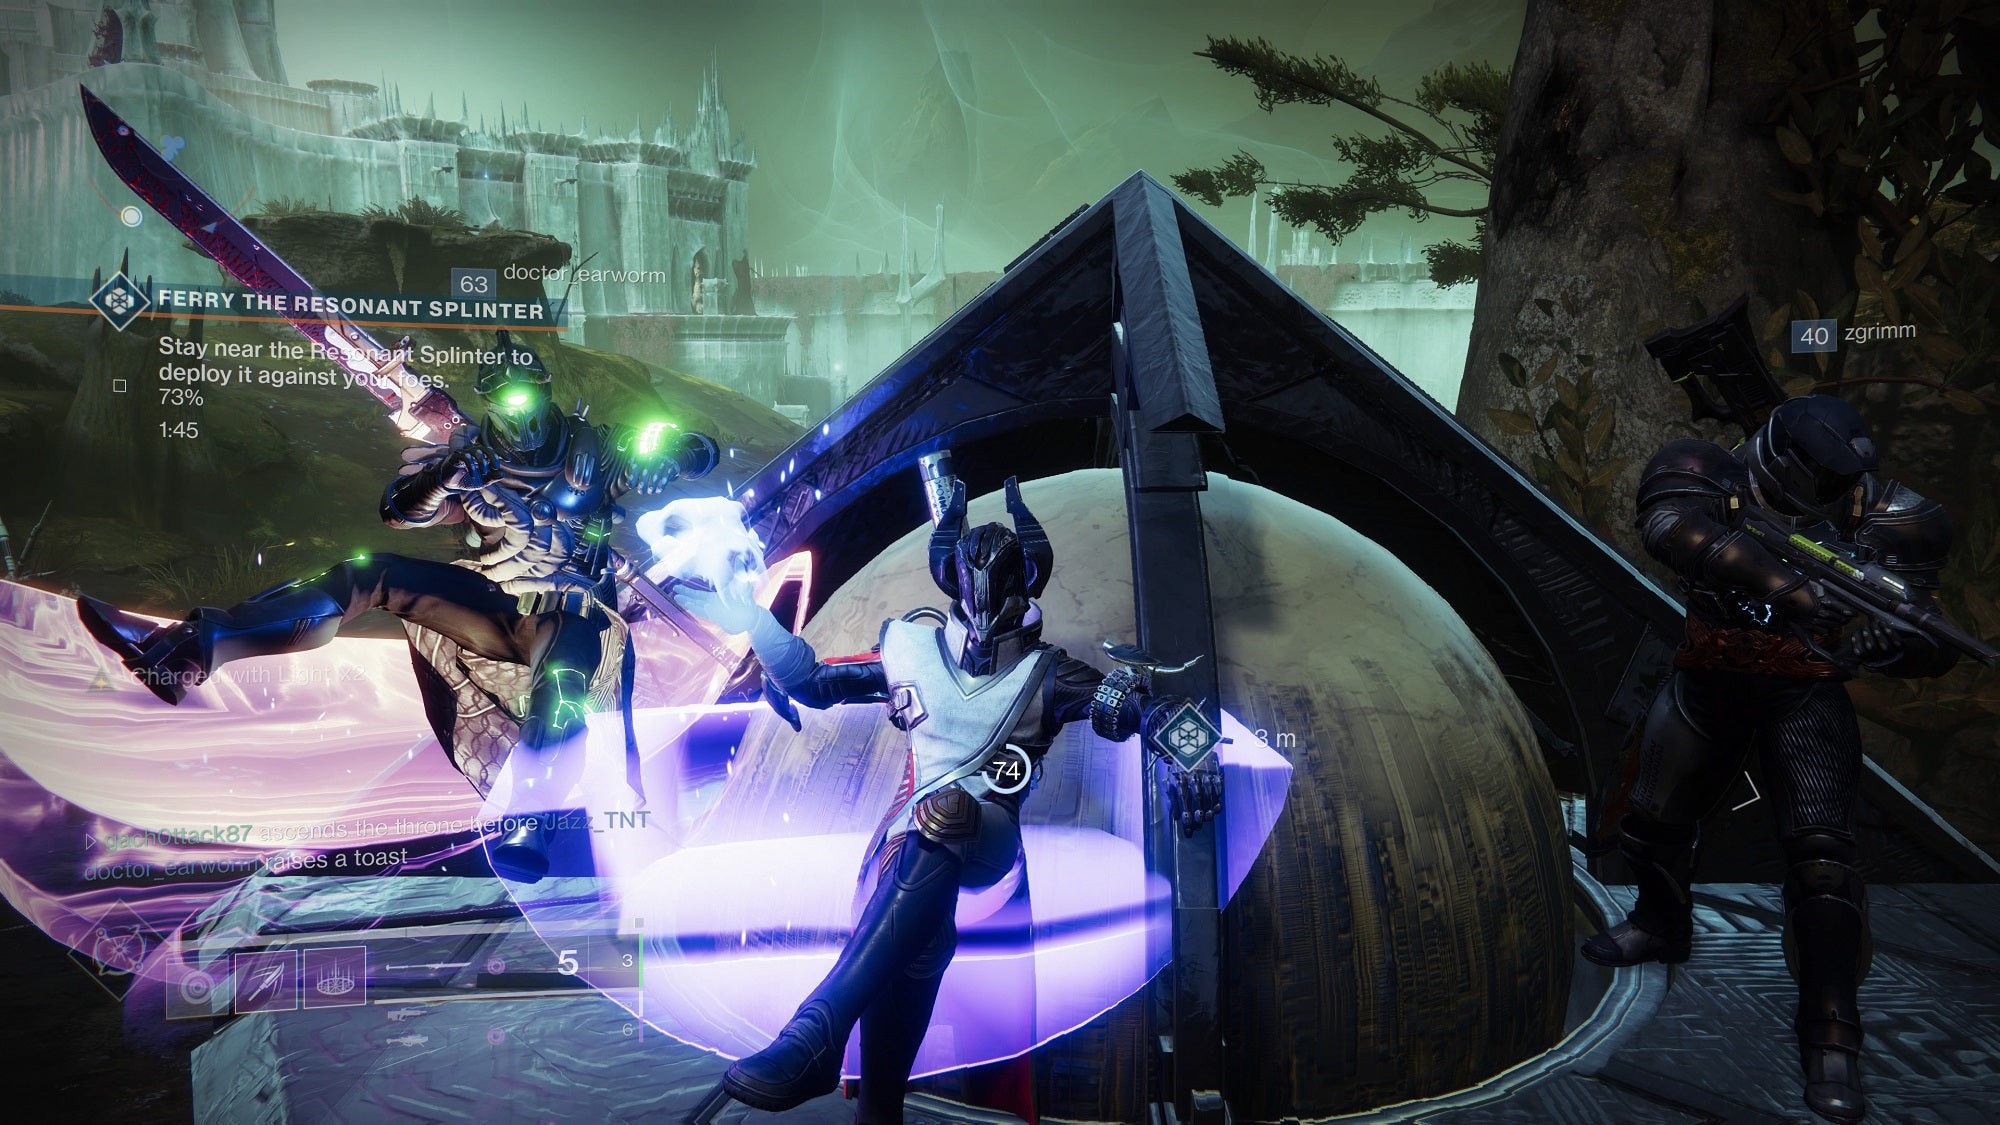
Surf the Resonant Splinter
The tiny pyramid for the Resonant Destruction public event and Wellspring activity moves faster when players are standing on it. TKTK
Lost Sectors and public events are the fastest way to rank up with Fynch
Fynch is the Throne World’s vendor and has a bunch of rewards on offer for every time you rank up 1,000 reputation with him. Public events offer 130 reputation per completion, so make sure to do those whenever they pop up. Meanwhile, the Metamorphosis Lost Sector in the Miasma is fairly quick to complete, and gives you 70 reputation each time. Make sure you have the Wombo Detector Ghost mod equipped to see nearby chests and Fundament deposits which give 20 reputation each.
Grab these seasonal mods
Suppressing Glaive is extremely OP which is why Bungie took it offline for a bit. It’s back now, so make sure you grab it if you haven’t already. But there are plenty of other seasonal mods worth unlocking too. For the Champion mods, grab Anti-Barrier bow (unless you’re a scout rifle freak like me), Overload auto rifle/SMG, and Unstoppable Glaive.
For the rest you’ll want to prioritise Volatile Flow, Suppression Mastery, and Suppressive Darkness. Enemy debuffs and Elemental wells are the big focus this season. Darkness weakens suppressed enemies (so they take more damage), Mastery makes suppression last longer, and Flow grants you Volatile rounds upon Elemental Well pickups. (Volatile rounds produce elemental explosions when an enemy dies.)
Thermoshock Plating is also great (less damage from Arc and Solar), as is Font of Might (elemental wells grant bonus damage for matching elemental weapons). Like I said, it’s all about the wells.
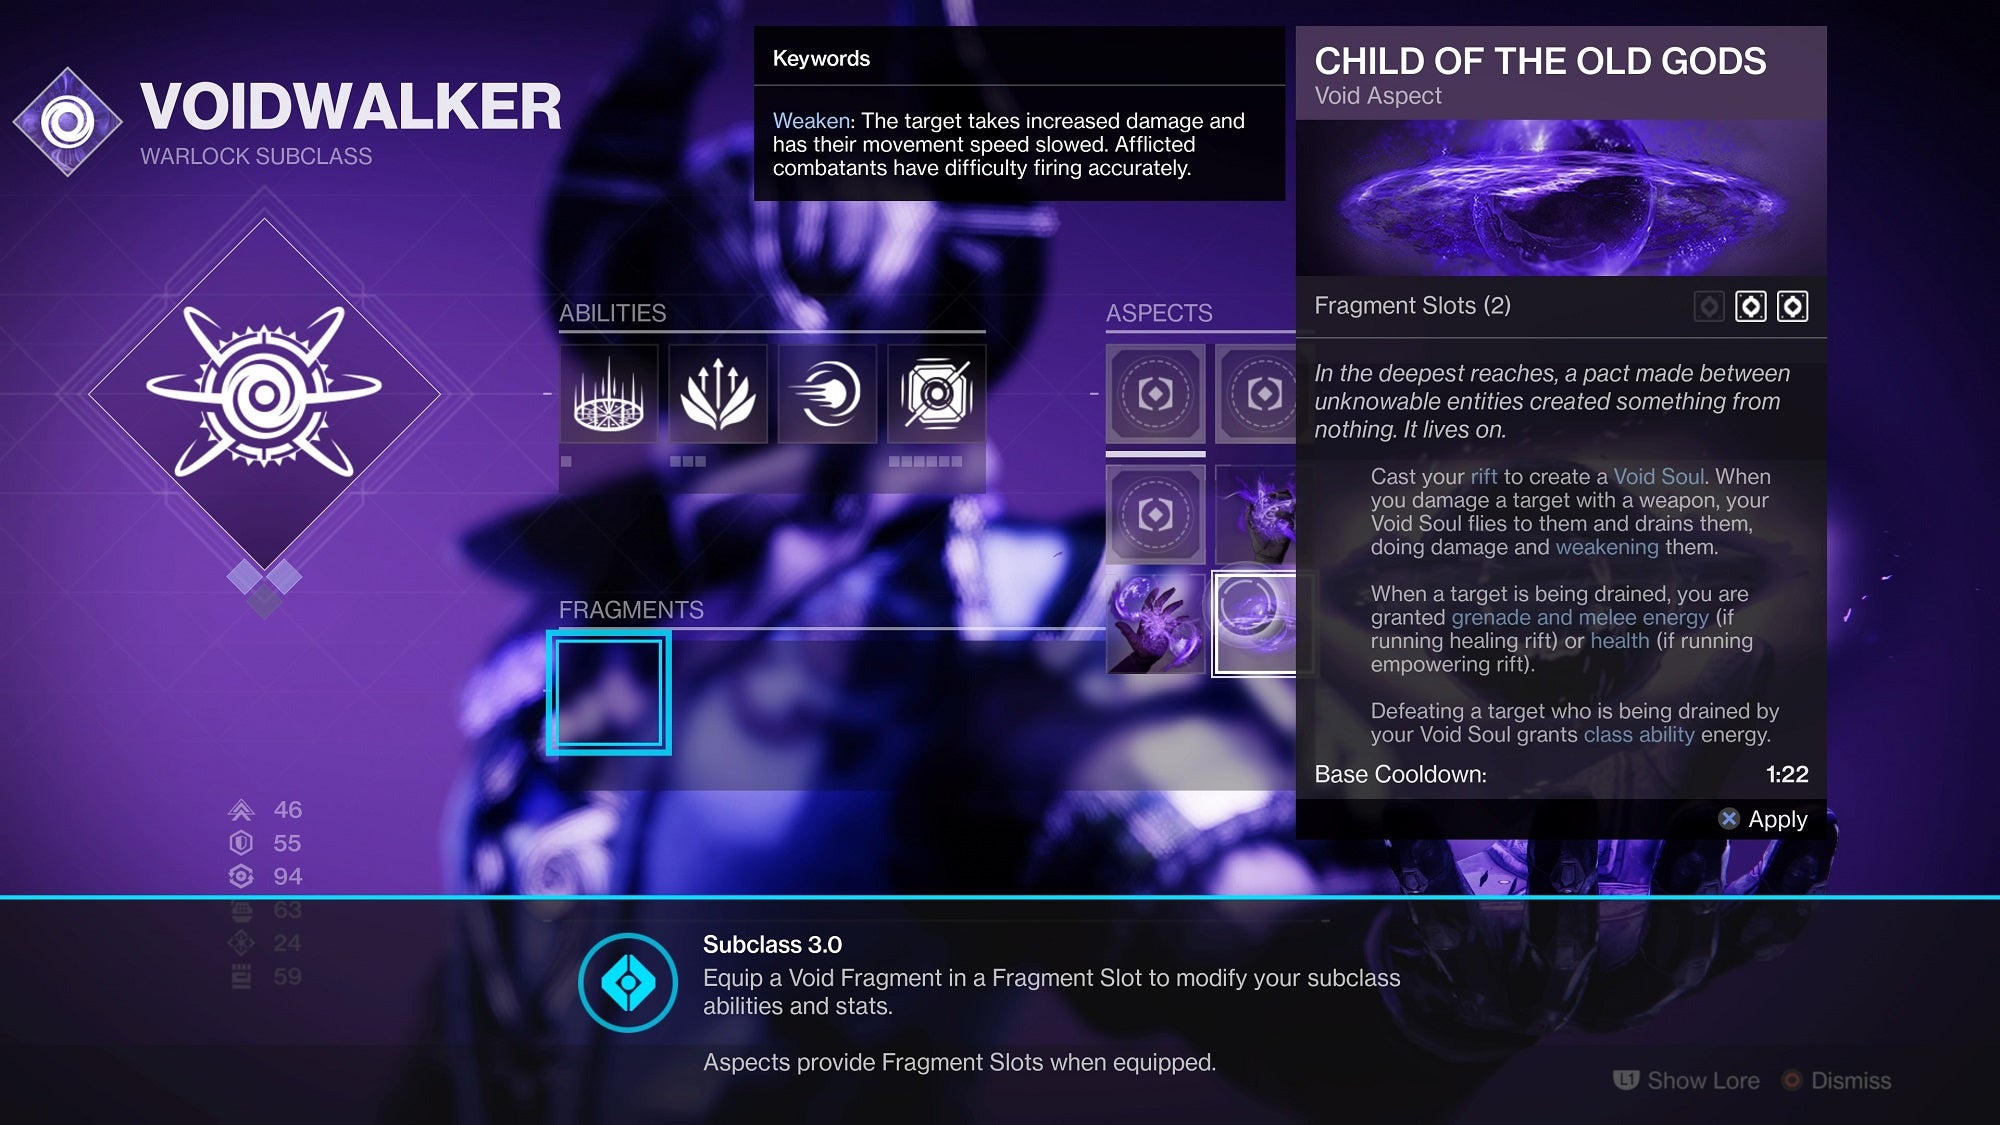
Don’t forget to unlock new Void 3.0 grenades
Void 3.0 has completely overhauled the subclass and it is much much better now (unless you are a Nightstalker). But some of the new grenade abilities don’t appear automatically. Instead, you’ll need to visit Ikora Rey in the Tower and purchase them for 3,000 Glimmer each. Some new Void fragments were just unlocked following the first raid completion as well. These cost 100,000 Glimmer each.
Exotic weapons are more powerful than ever
One of the biggest changes going into Witch Queen was the 40% damage buff for primary Exotics against red bar enemies. Whether it’s Le Monarque, Graviton Lance, or the new Osteo Striga SMG (Deluxe Edition exclusive, but worth it), primary Exotic weapons will now let you carve through mobs. So find one you like, preferably with a catalyst, and knock yourself out.
How crafting works in Destiny 2: The Witch Queen
I am going to try to explain this as painlessly as possible. To craft a weapon you need to:
- Acquire Deepsight weapons (the ones with red borders)
- Attune them by killing stuff and finishing activities
- Extract Resonance from Deepsight weapons to collect crafting materials
- Unlock weapon patterns by attuning corresponding Deepsight weapons a certain number of times (exact requirements are displayed on the Patterns & Catalysts page of your Triumphs tab)
- Go to the Relic on Mars and craft the damn thing!
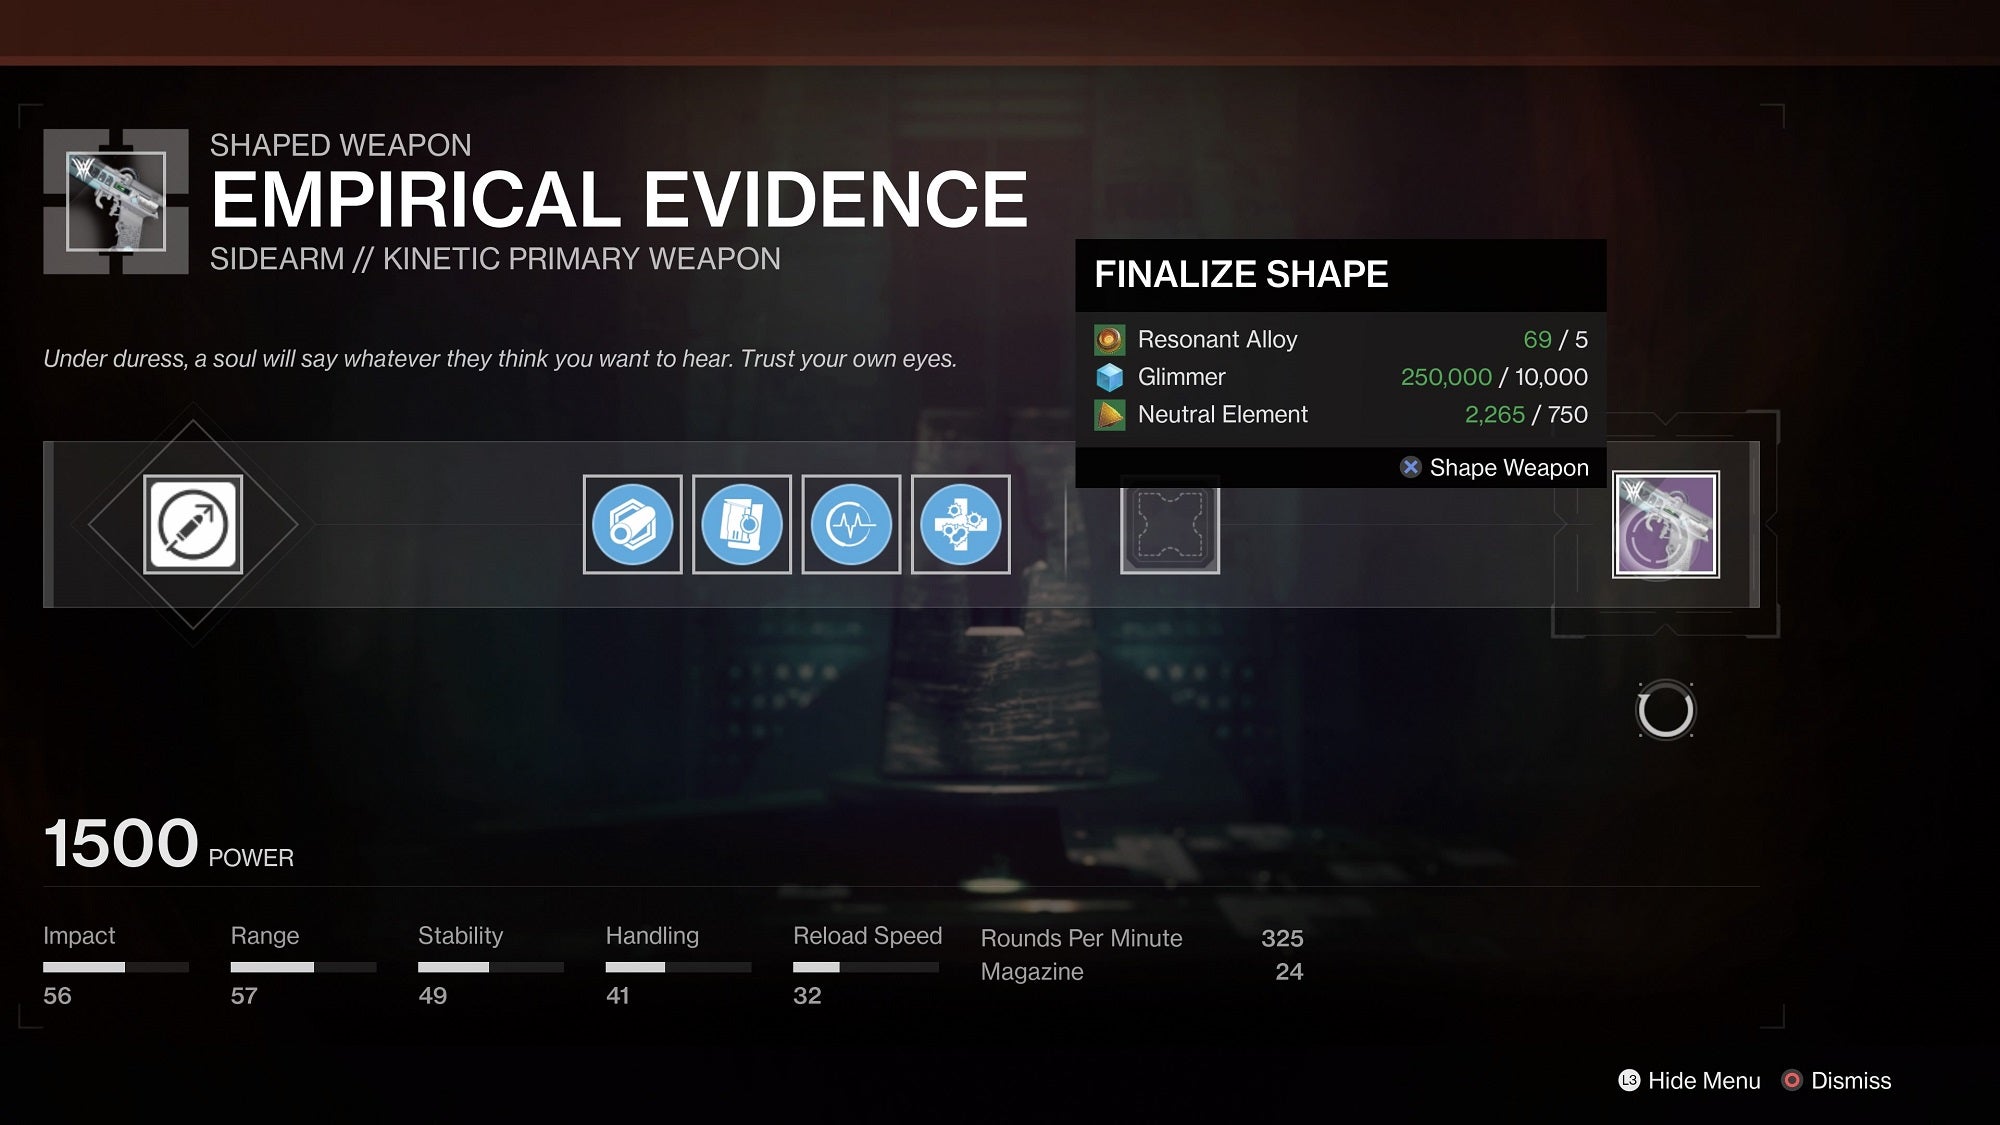
OK, that’s the basic loop, but here’s where things get tricky. There are seven crafting materials — Neutral Element, Adroit Element Energetic Element Mutable Element Ruinous Element Resonant Alloy, and Ascendant Alloy — and the game doesn’t track how much you have, nor how much more you need to get, except when you are at the Relic.
Of these materials, Ascendant Alloy is the most precious. Once per week, you can buy one from Master Rahool for 400 Legendary Shards. You can also get Ascendant Alloy from the Wellspring activity and the weekly campaign mission in the Throne World.
Don’t Reshape weapons until you’re ready
Crafting a weapon is just the start. Once you’ve done so you’ll need to level it up by shooting things and completing activities with it, in order to unlock more and better perk options. After doing so, you can Reshape the weapon to alter its perks. This process is expensive though, so you’ll want to hold off until you have everything unlocked and are ready to Reshape the weapon into your ideal roll.
Always be attuning or ranking up weapons
The crafting system has made Deepsight and Shaped weapons the new bounty system. In addition to juggling your daily tasks from the Gunsmith and Fynch, you’ll want to make sure you are maximizing progress on ranking up guns. You get 0-1% XP for each enemy you kill, 2% for patrols, 18% for Heroic public events, and close to 50% for Wellspring and other activities.
Every weapon you have equipped automatically gets XP at the time of completion, so make sure you switch to them right before turning in a quest or beating a boss.
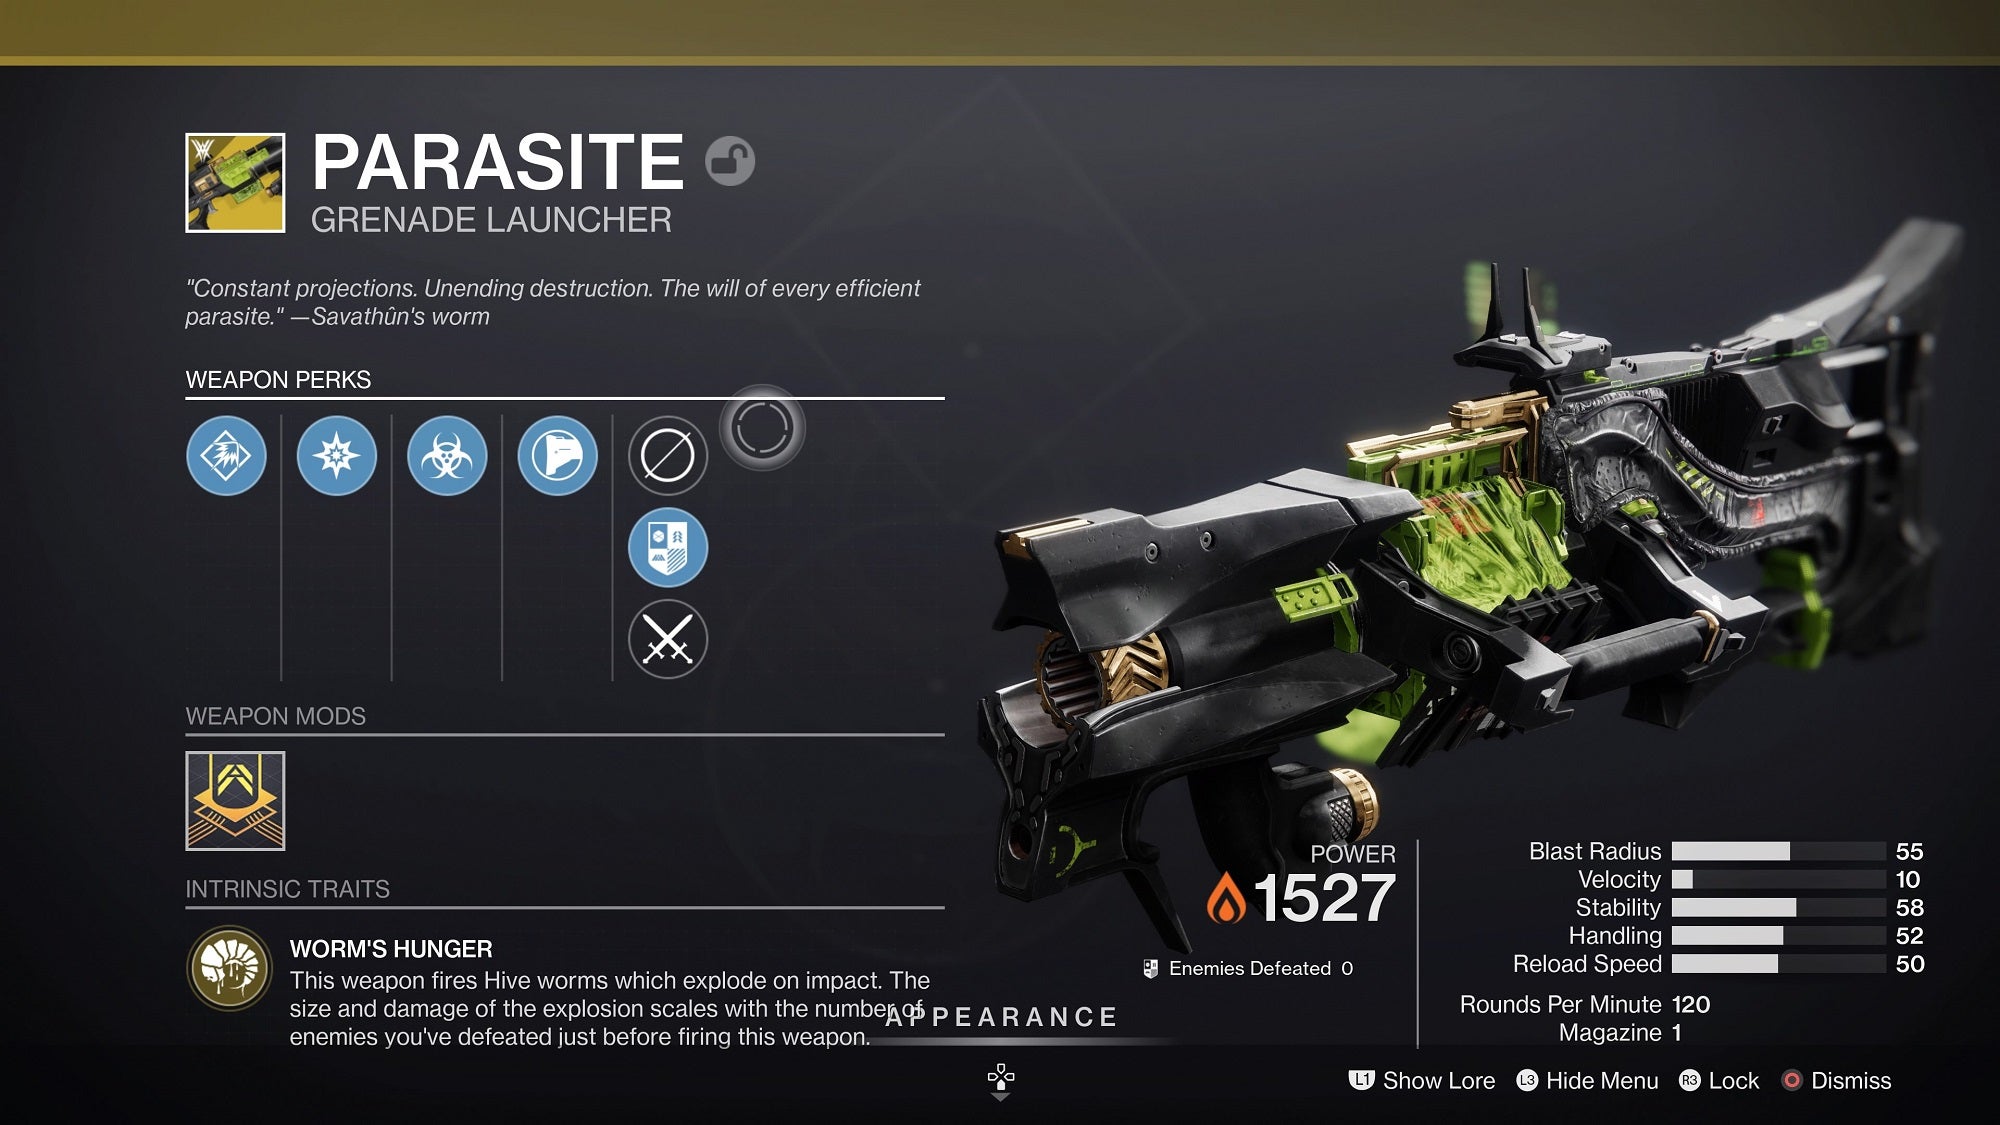
How to get the Parasite Exotic grenade launcher
Parasite is Destiny 2’s new worm canon. It shoots actual worms. They explode. It’s great. To get it, finish The Witch Queen’s main campaign and then complete these steps (almost all of them will be marked on your map):
- Go talk to Mara Sov in the Enclave out behind the Relic
- Complete the Birthplace of the Vile strike from the Throne World launcher
- Go talk to Fynch and find the Cryptoglyph Rune in the Temple of Cunning
- Kill 100 Scorn (I suggest Throne World public events)
- Complete the Sepulcher Lost Sector
- Do three patrol missions in the Fluorescent Canal
- Find the Cryptoglyph Rune in the Queen’s Bailey
- Complete the Metamorphosis Lost Sector
- Find the Cryptoglyph Rune in the Alluring Curtain
- Complete the Extraction Lost Sector
- Talk to Fynch one last time
- Embark on the Parasitic Pilgrimage mission
It is a lot of steps, but they are fairly straightforward, offer a wonderful tour of the expansion’s new locations, and will provide plenty of fodder to rank up your new weapons. There are also some major lore beats, so don’t skip it. You’ll be rewarded with a monster Exotic that can get up to a 20x damage buff.
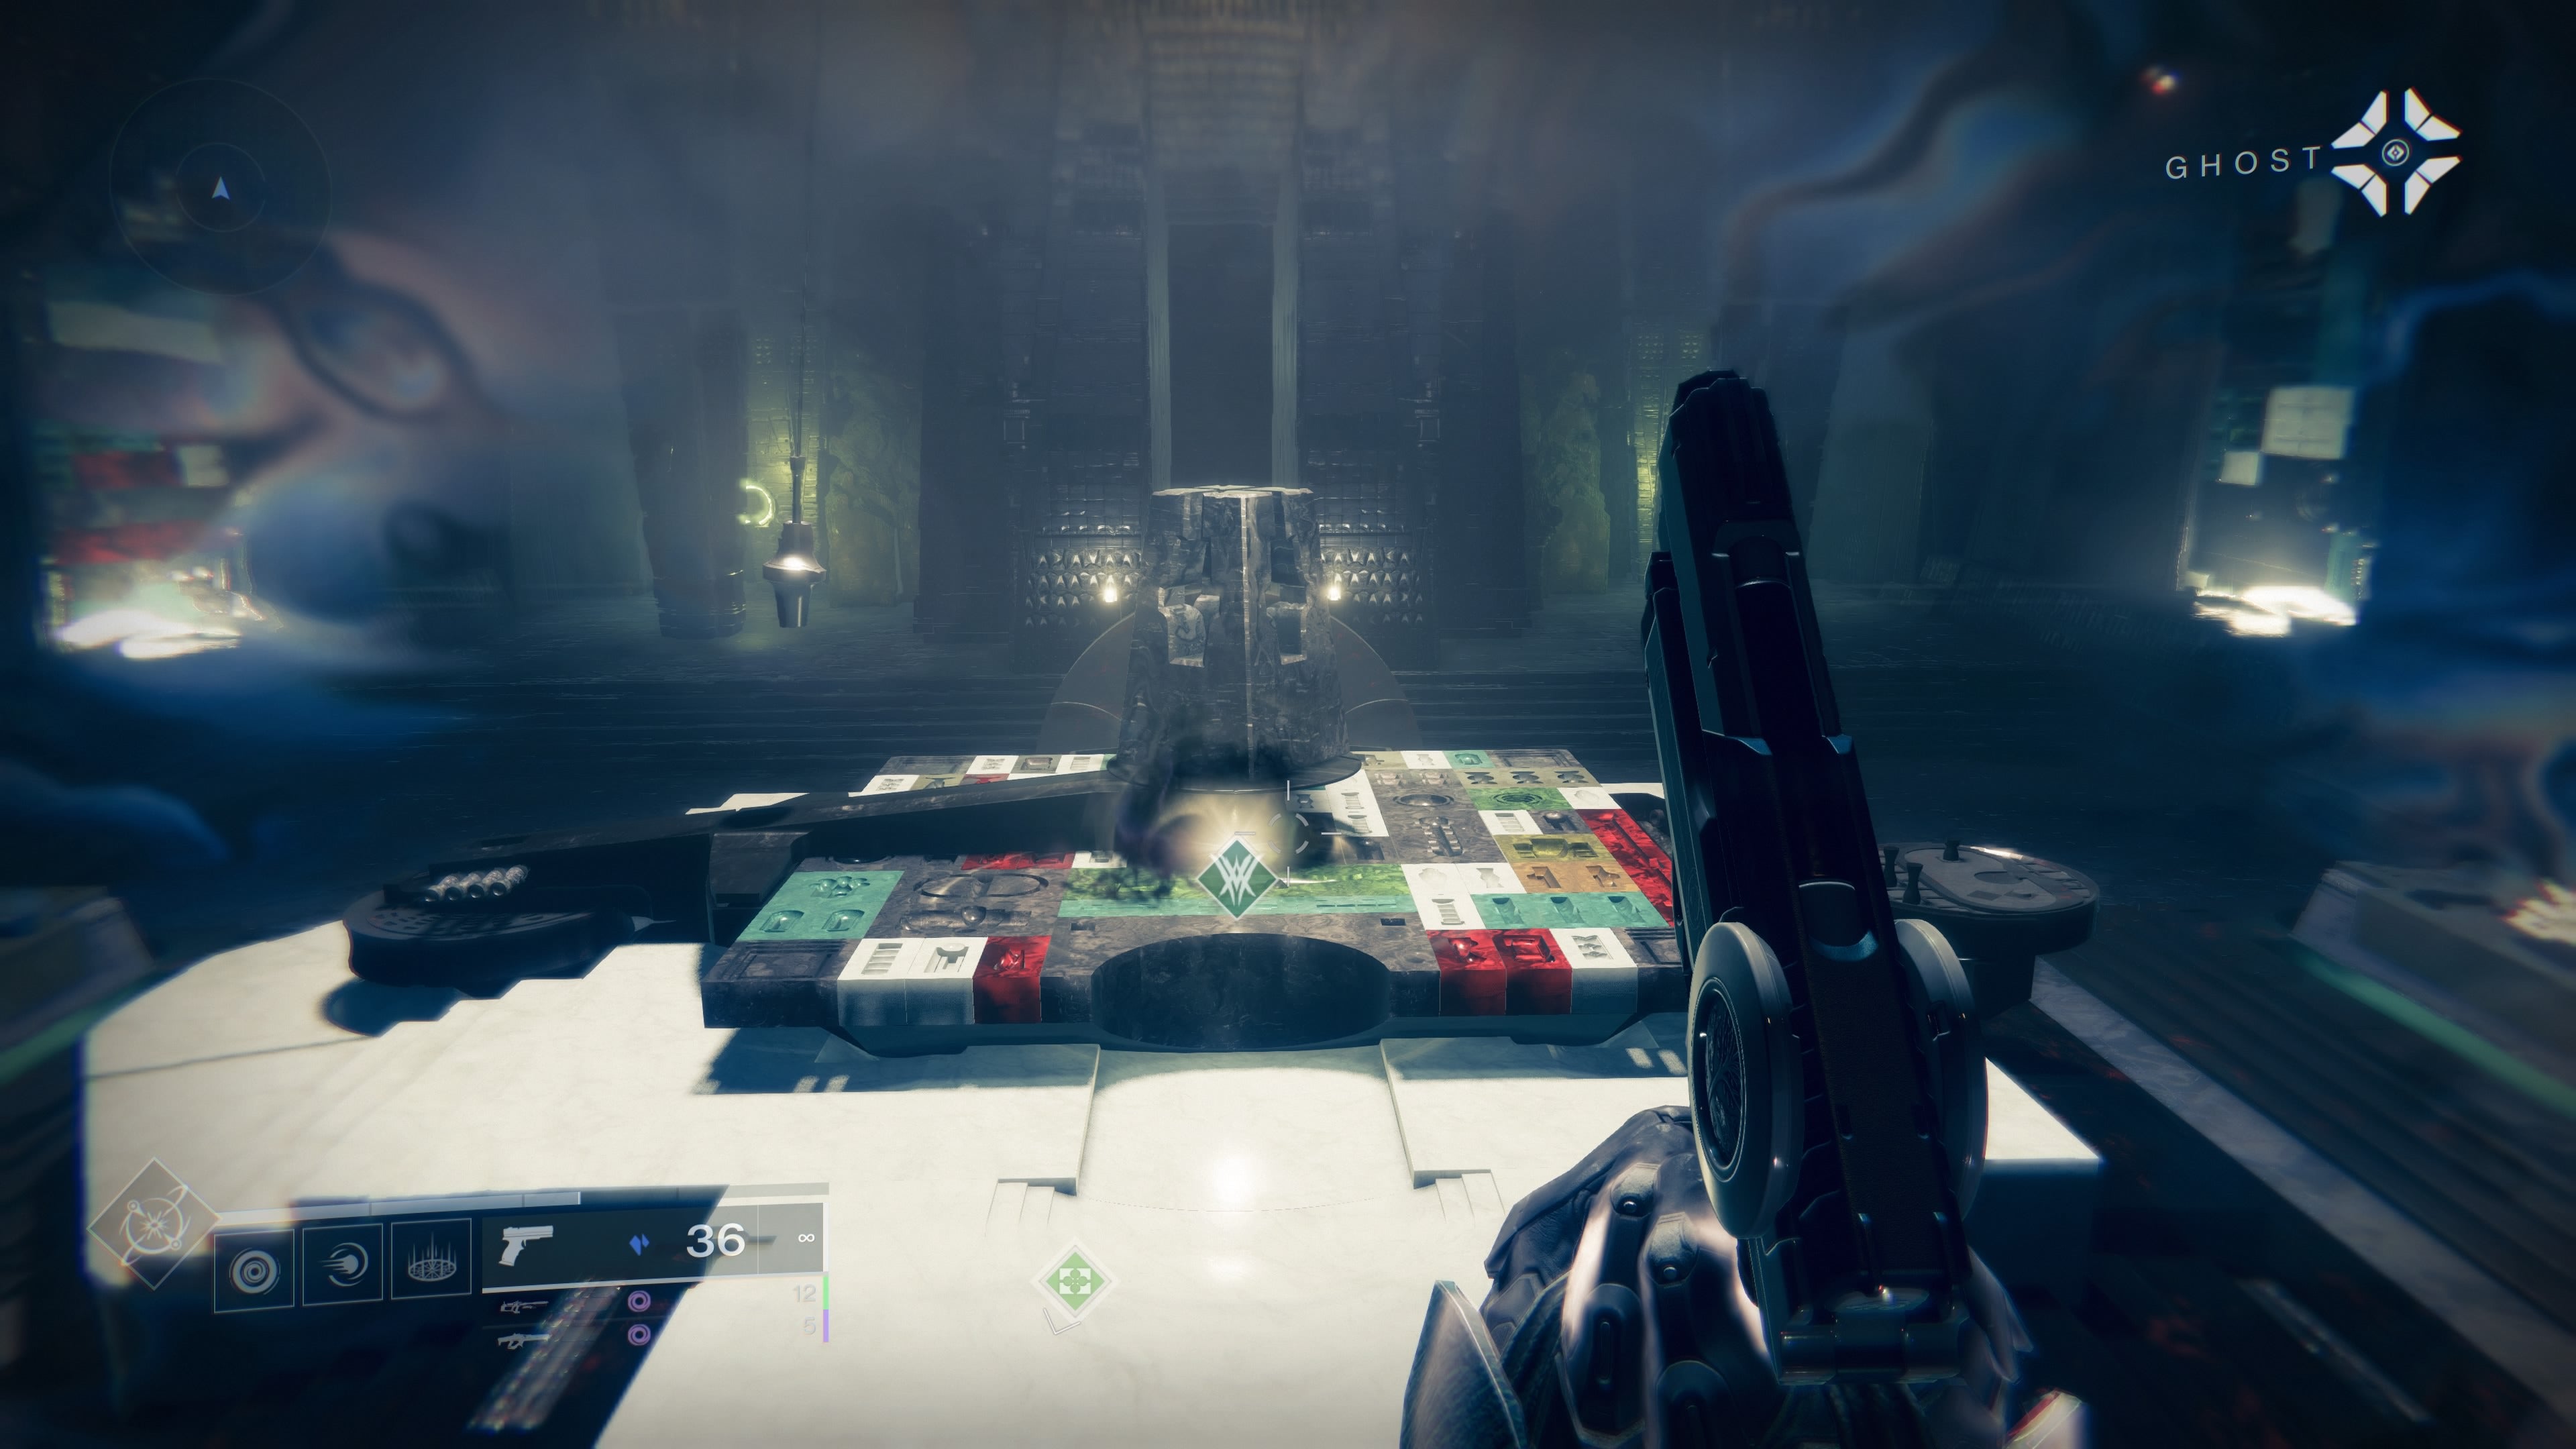
Craft the Exotic Glaive of your dreams
To get your hands on one of the class-specific Exotic Glaives you’ll need to first complete every existing evidence board mission. Those are:
- Hard Evidence
- Report: Resonance-Comp
- Report: Altar-Reflect
- Report: Relic-Data
- Report: Scorn-Order
- Report: Steps-Retraced
- Report: Pyramid-Inspect
After that you’ll unlock the Report: Reverse-Lure quest. Here are the steps for that:
- Grab the Osmic Fragment and place it in a bowl in the Queen’s Bailey
- Activate the nearby Deepsight orb to climb to the position marked on your screen
- Once the Hive comes and takes it go back down and inspect the spot
- Next head to the quest marker deeper into the Queen’s Bailey, kill all the Hive, and retrieve the Osmic Fragment
- go back to the evidence board and get your Exotic pattern
The best guns to get
There’s plenty of new loot to chase, but between The Witch Queen and Season of the Risen, here are a few of my favourite new guns floating around:
- Krait – Veist auto rifle that feels great and is a bullet hose with the Subsistence perk
- Funnelweb – Veist SMG that’s similarly great but can roll with Subsistence AND Frenzy
- Empirical Evidence – Beloved sidearm Breachlight has been out of the game for over a year now, but EE is close and decent with Perpetual Motion
- Palmyra-B – A great Legendary rocket launcher while you’re running around with an Exotic in the primary slot.Look for one with Impulse Amplifier and Lasting Impression
- Syncopation-53 – Syncopation-53 – Pulse rifles just got a 10% damage buff and this one feels especially punchy, plus you can craft the perfect combination (in my case: Outlaw and Headstone)
The fastest way to hit the new 1560 power cap
The Witch Queen adds another power grind, but it feels more generous than in some years past. The new soft cap is 1500. From there to 1550 only drops from powerful sources will raise your power. From 1550 to the new hard cap of 1560 you’ll need pinnacle drops.
Completing the campaign on Legendary will net you double chests and a set of 1520 gear, which will immediately get you within spitting distance of the recommended power level for the new raid. From there, powerful drops will be roughly three points higher than your existing power level, which is the average of the highest level gear in each slot.
One of the easiest ways to optimise the power grind is to make sure none of these slots fall too far behind. Otherwise you could find yourself in a situation where a powerful piece of gear drops for the slot that’s already at the high end of your average, effectively netting zero growth. To avoid that, bring up any lagging slots before finishing that final mission or bounty for a given activity’s powerful or pinnacle drop that week. You can do this by grinding for blue engrams and saving vendor rank up packages and Umbral focusing engrams for when you need to boost a corresponding slot.
You can solo the first Vow of the Disciple raid chest
Here’s a three minute video showing you how, or a written guide if you’d prefer. Until you’ve unlocked raid loot from beating bosses, the first chest will only grant raid mods and 5 Spoils of Conquest, but afterwards it’s an easy chest to complete on a second or third character each week.
And that’s it for now! I’ll update this list with more tips, reminders, and Destiny-hacks as I find them. In the meantime, feel free to share your own super good advice in the comments below.
Leave a Reply