
The galaxy is a big place in Starfield. With an epic main quest, tons of side-quests, and so many other activities, it’s easy to overlook the smaller, environmental storytelling moments.
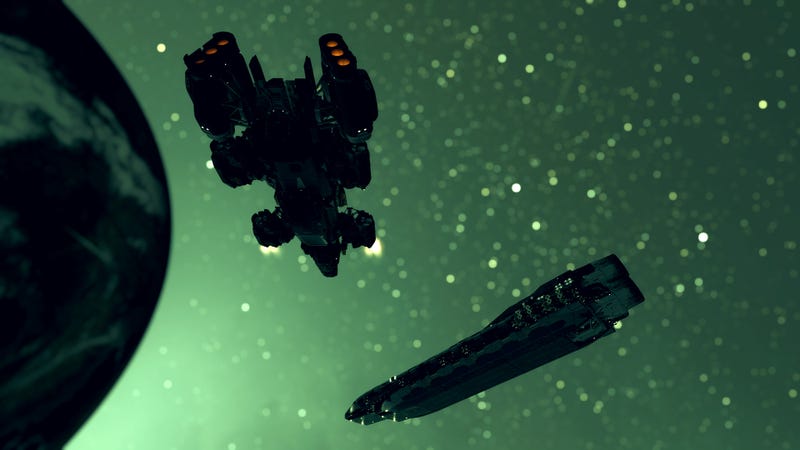
But if you’re in the mood for something a little spooky that feels like one long reference to classic sci-fi horror, you might want to check out a certain derelict starship. It’s just floating out there in the darkness. Always a great sign! Surely you can’t hail the crew because they’re having a big ‘ol party onboard. Or maybe the shit’s hit the fan. Good thing you’re there to check things out.
If you just want to know the location of the ship and discover the rest for yourself, just read the next section and stop there. Otherwise, continue onward for a complete walkthrough of this cool little sequence.
By the way, as far as we currently know, this is just a goof and doesn’t seem to be a part of any actual quest.
The Colander: ‘I’ve got a bad feeling about this’
You’ll need to jump to the Schrodinger system and head to Schrodinger III. Once there, you’ll see The Colander, a starship just floating there in orbit with no option to hail. Good thing you’re a Bethesda protagonist, here to solve everyone’s problems: Go ahead and get within 500 meters to dock with the ship, and get ready for some spooky business.
Note that you cannot take any followers with you aboard the Colander. You also won’t be able to drain any spaghetti here. Sorry. Also, make yourself a hard save before going aboard. For reasons.

Once inside, you’ll see a bit of an unpleasant sight: An unmoving, intact dead body! Well at least things haven’t gone totally Dead Space…or have they?
One of the first rooms you’ll see is Billy K.’s workshop. It’s locked with an Expert lock, but if you haven’t leveled up that skill enough, you can find the key by walking past the workshop, taking a left (with the medical bay facing your back), and looking for it on a stand next to a bed.
Read More: Starfield: Essential Skills To Snag (And How To Raise Them)
Grab some ammo in the workshop (maybe you’ll need it?) and read some of the messages on the computer. As you’ll learn, the crew needed to lock down the ship for reasons.
Leave the workshop and head into Dr. John M.’s Medical Bay if you haven’t already. Gather any supplies from this area and read the autopsy reports if you’d like. Head west (the thickest line on your radar points north) out of the medical bay and walk toward the lunch tables. On your right you’ll see another computer terminal. There you’ll read some notes about something the crew discovered that had “hyper-evolutionary traits” and how they “just need to find the gene that enabled it.” That kinda stuff never turns out poorly.
To the left of that computer, you’ll see an opening. Enter it and go left to find a hatch. Open it up and jump down.
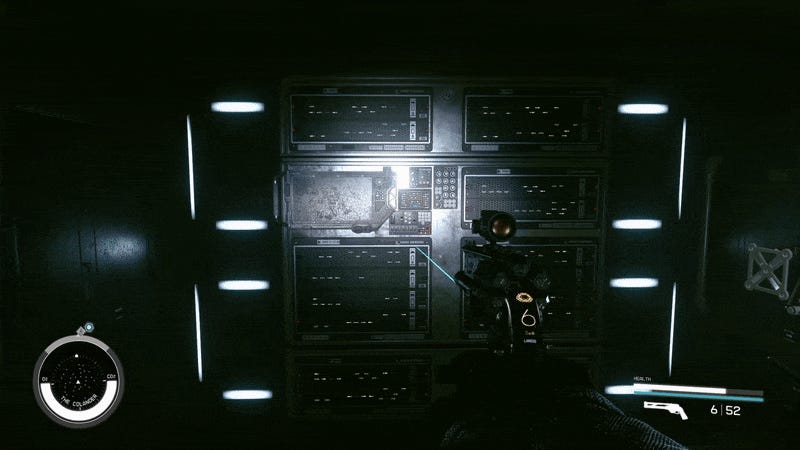
Once down, hang a right around the corner and you’ll pass by a computer terminal that contains information about life support systems (bet you can guess what that’ll say). Keep moving and hang another right until you get to a T-intersection. From here you can hang a right and follow the corridor around a bend until you find a locked laboratory door on the right side. It has a Master lock, so unless you have the ability to pick that, go back to that original T-intersection and go left instead.
Follow the corridor around a bend until you see an opening that ends with a bunch of boxes. Hop on them and jump up through the hatch opening to find a small room with some ammo and a locked chest with contraband, if you’re into carrying that stuff around. Now, onto opening up that lab door.
Unlocking the lab door to discover a big ‘ol surprise
Unless you can pick the lock to the lab door, drop down from the room with the contraband and walk toward the area you came in through, but go left down a narrow path instead. Once you reach the end, you’ll hit another T-intersection with a small room on your left with a corpse and some supplies. Grab what you can and take the right path from the T-intersection. Drop down that hatch and use the mainframe computer there to unlock the door in front of you.
Head out of that door and up the ramp to your left. Proceed to the room with the red glow just in front of you. Facing the lab door, go left and up the stairs, following them up to a second short flight of stairs that leads you to the main area. Hang a left and go all the way west to find a door that was previously locked now open.
Inside you’ll find a room with Sarah P.’s computer terminal (and a copy of Vanguard Space Tactics 03, which will add 5% more damage to your ships’ energy weapons). Have a read about the Interloper on that computer and then head down the stairs to the lab area on your left.
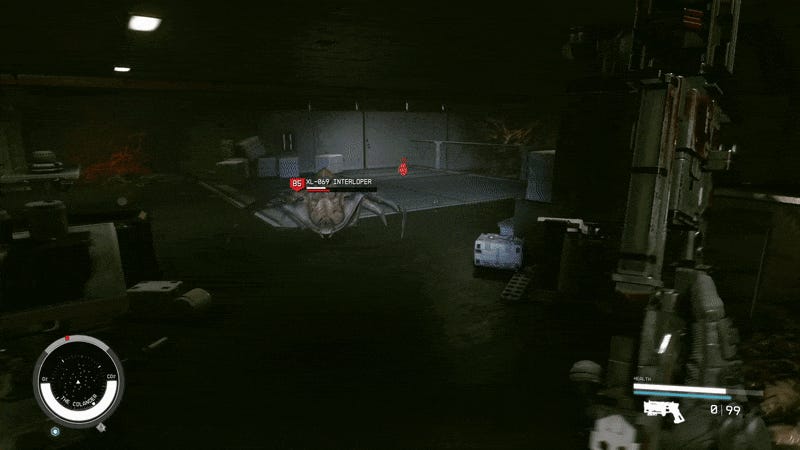
XL-069 Interloper
Ah, so this killed the crew. Despite its name, this necromorph-infector-form-lookin’ thing is not a fun time. Seeing as the creature is level 85, you may wish to recall that there’s no shame in being a coward. If you’re strong enough, put a few bullets (or lasers) into it.
In the lab you’ll find the computer terminal to open up the lab’s main door.
Aside from a few slabs detailing what happened aboard the Colander, this concludes Starfield’s horrorific little quasi-Easter egg. It’s a fun, creepy time, and certainly one of many, many other fun secrets we’re likely to come across in Bethesda’s epic galaxy.
Leave a Reply