I bet you own a few cords. You might have so many cords that they burst out behind your TV stand or below your desk. Play video games for any length of time and you’ll acquire all sorts of cords you don’t know what to do with. For just a few bucks you can rein that mess in though and make some sense of the cyberpunk sprawl lurking behind your TV or monitor.
There’s a lot of stuff that’s out of our control: stock markets, the weather, a pet cat’s claws. Messy cords aren’t one of them though. It’s a choice, and one you aren’t stuck with. More importantly, tidying things up will make it easier to sit down and enjoy your favourite games without being distracted by the black spaghetti spraying out from behind the TV at weird angles.
Everyone’s gaming setup is different. Some people house everything in a TV stand in their living room. Other’s have an auxiliary setup in their basement or bedroom exclusively for gaming. And then there are the sophisticated types who manage everything from a PC setup in their home office.
Personally, I utilise all three, but the principles and tricks for managing the cords involved in each are similar enough.
Keep stuff close together.
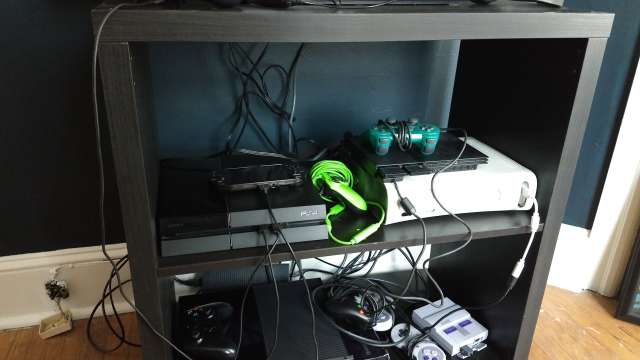
Every console comes with both a power cord and HDMI output. An ethernet cord makes three if you’re really serious about your multiplayer ping and download speeds. If at all possible, it’s best for organisational purposes to have both consoles as close to one another and or the cable box and modem as possible.
That’s because the goal of all this is always going to be to bundle your cords together. Having everything scattered to the far corners of your media cabinet or TV stand makes that practically impossible.
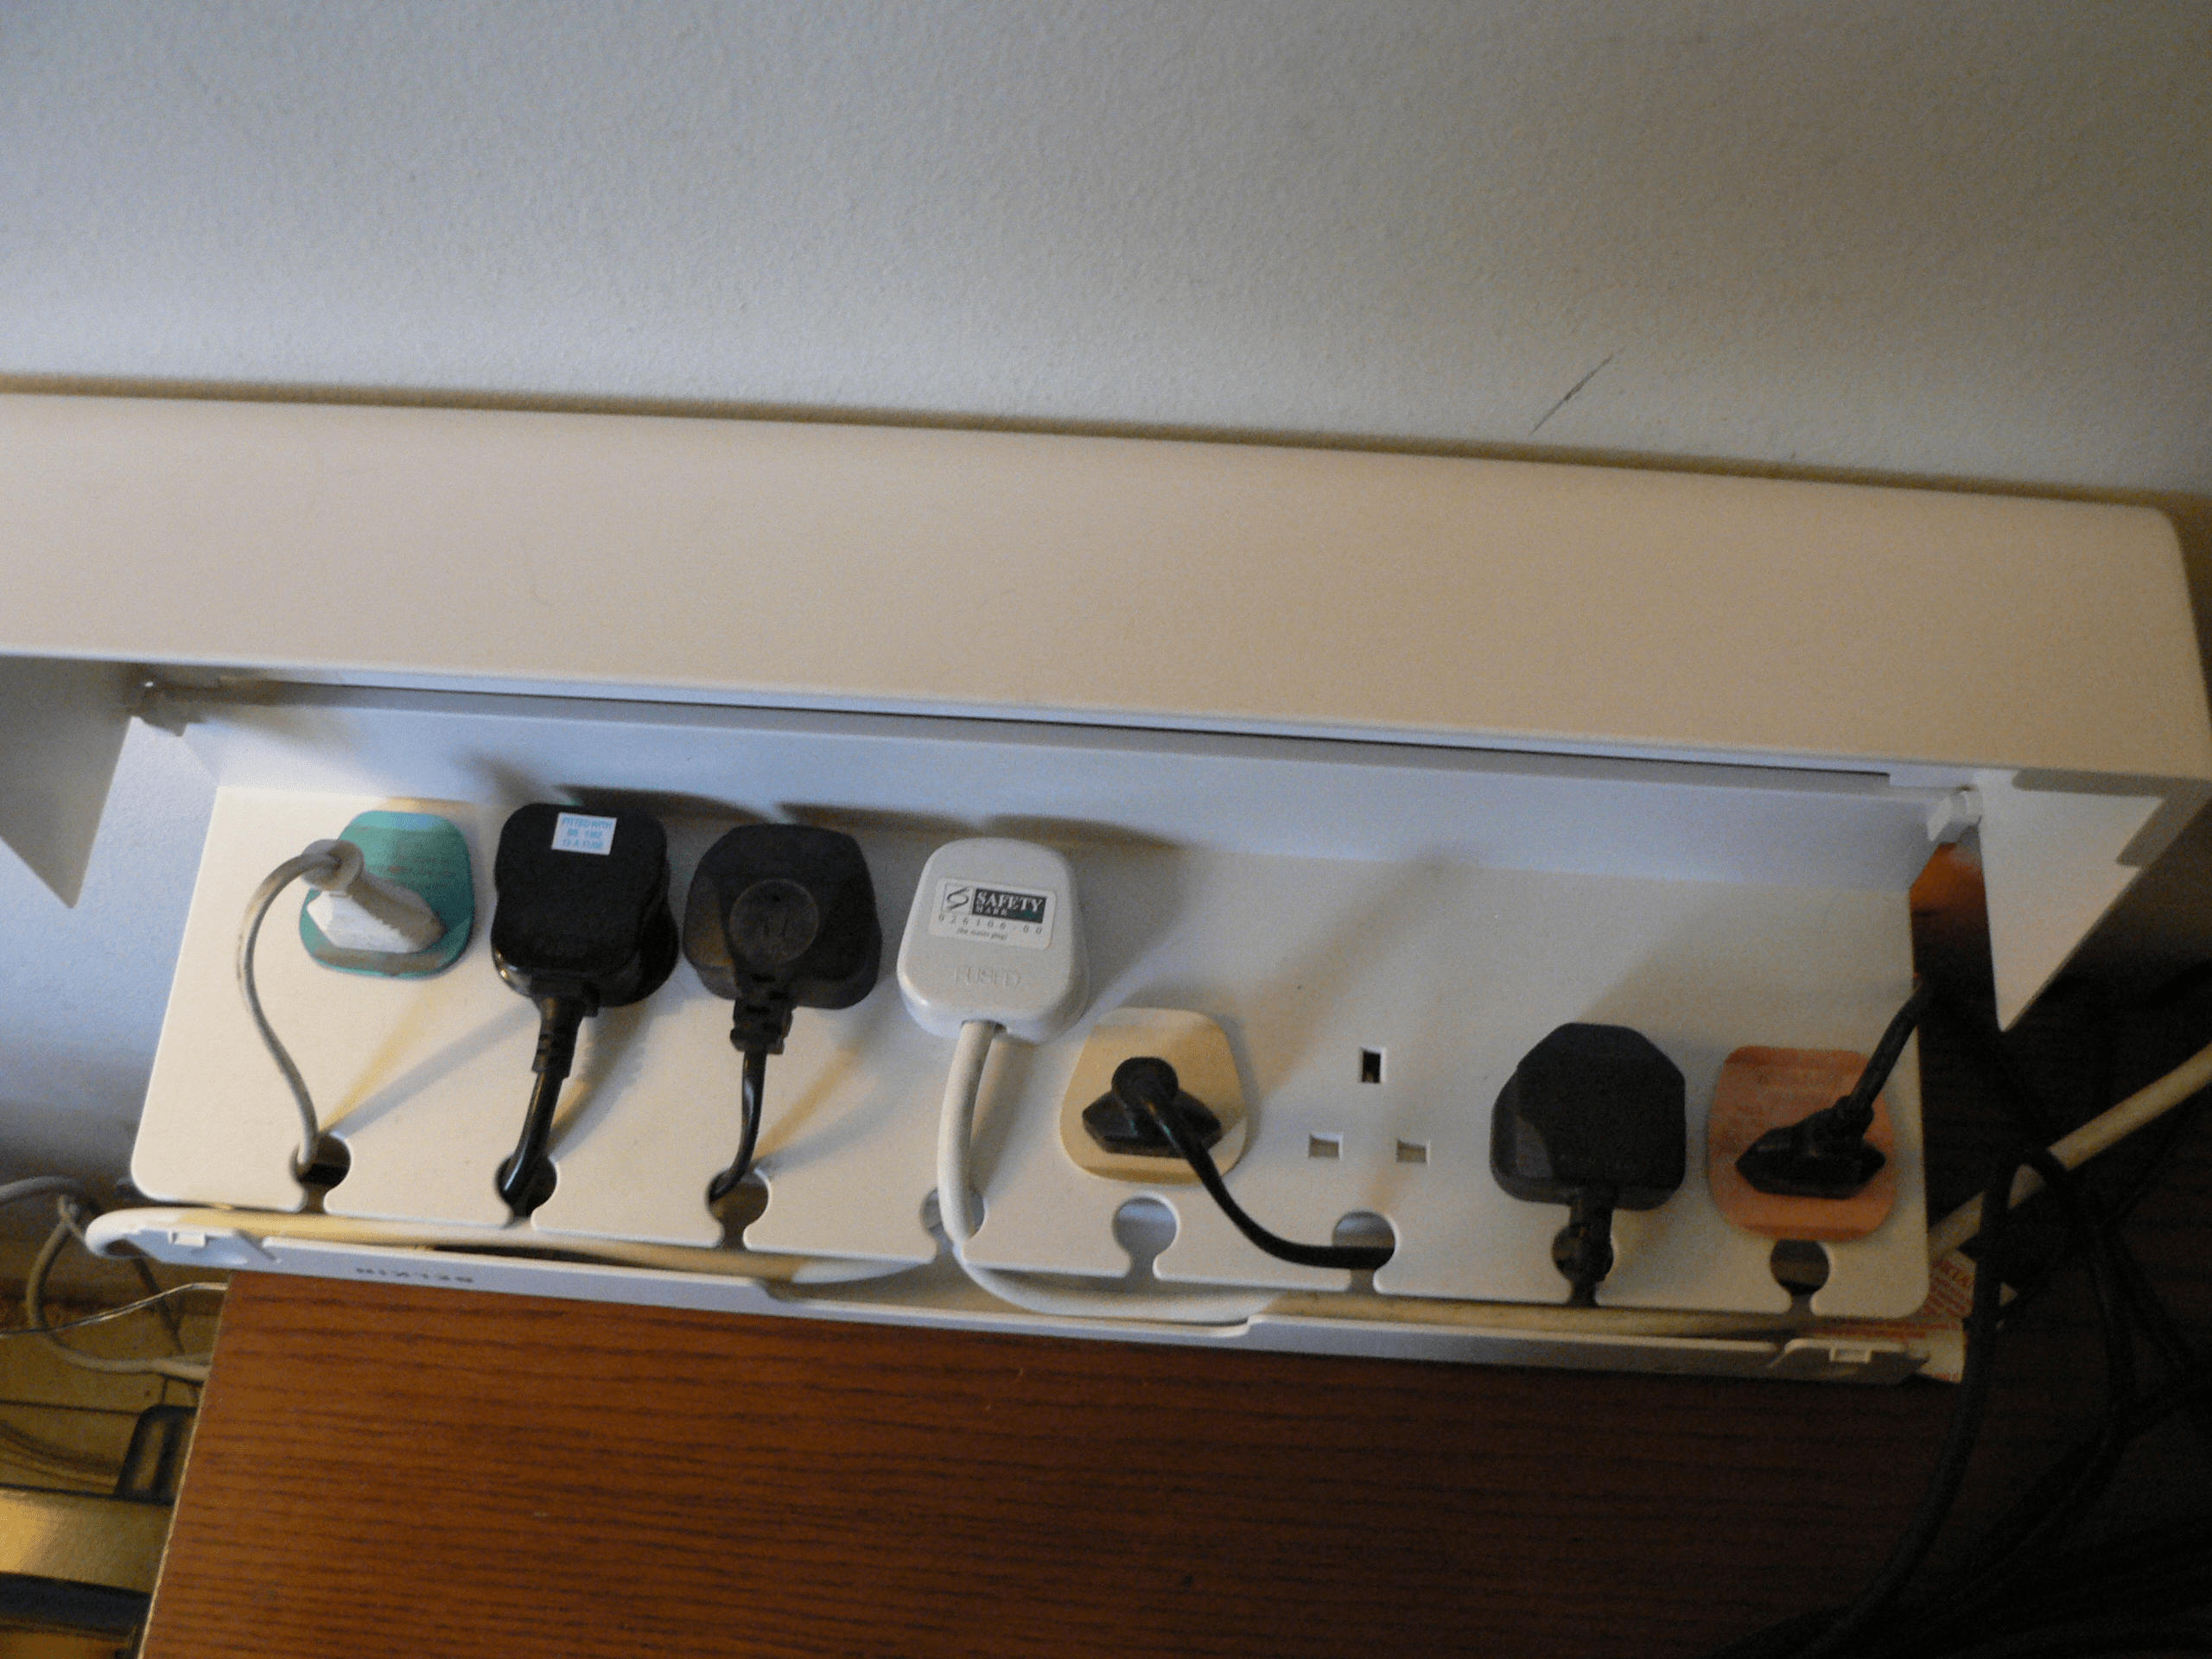
Image via Flickr.
Run power cords down and HDMI up.
The power cords should all be going down to a power strip on the floor (it’s both energy efficient and helps protect against power surges), preferably one encased in a small, weighted box so you don’t have to look at it.
I use a Bluelounge Cable with the lid taped down and that works well enough while a company called DMoose makes something similar with faux-wood look. The HDMI cords should all be headed in the same direction up to the TV, either directly in or into a minimal latency passthrough box. If your power outlet is in the ceiling or something weird, you’ll obviously have to improvise, but either way the idea should be to limit all the outgoing cords into no more than two bundles.
Left image via Monopiece. Right image via Kinivo.
Relieve the stress with accessories.
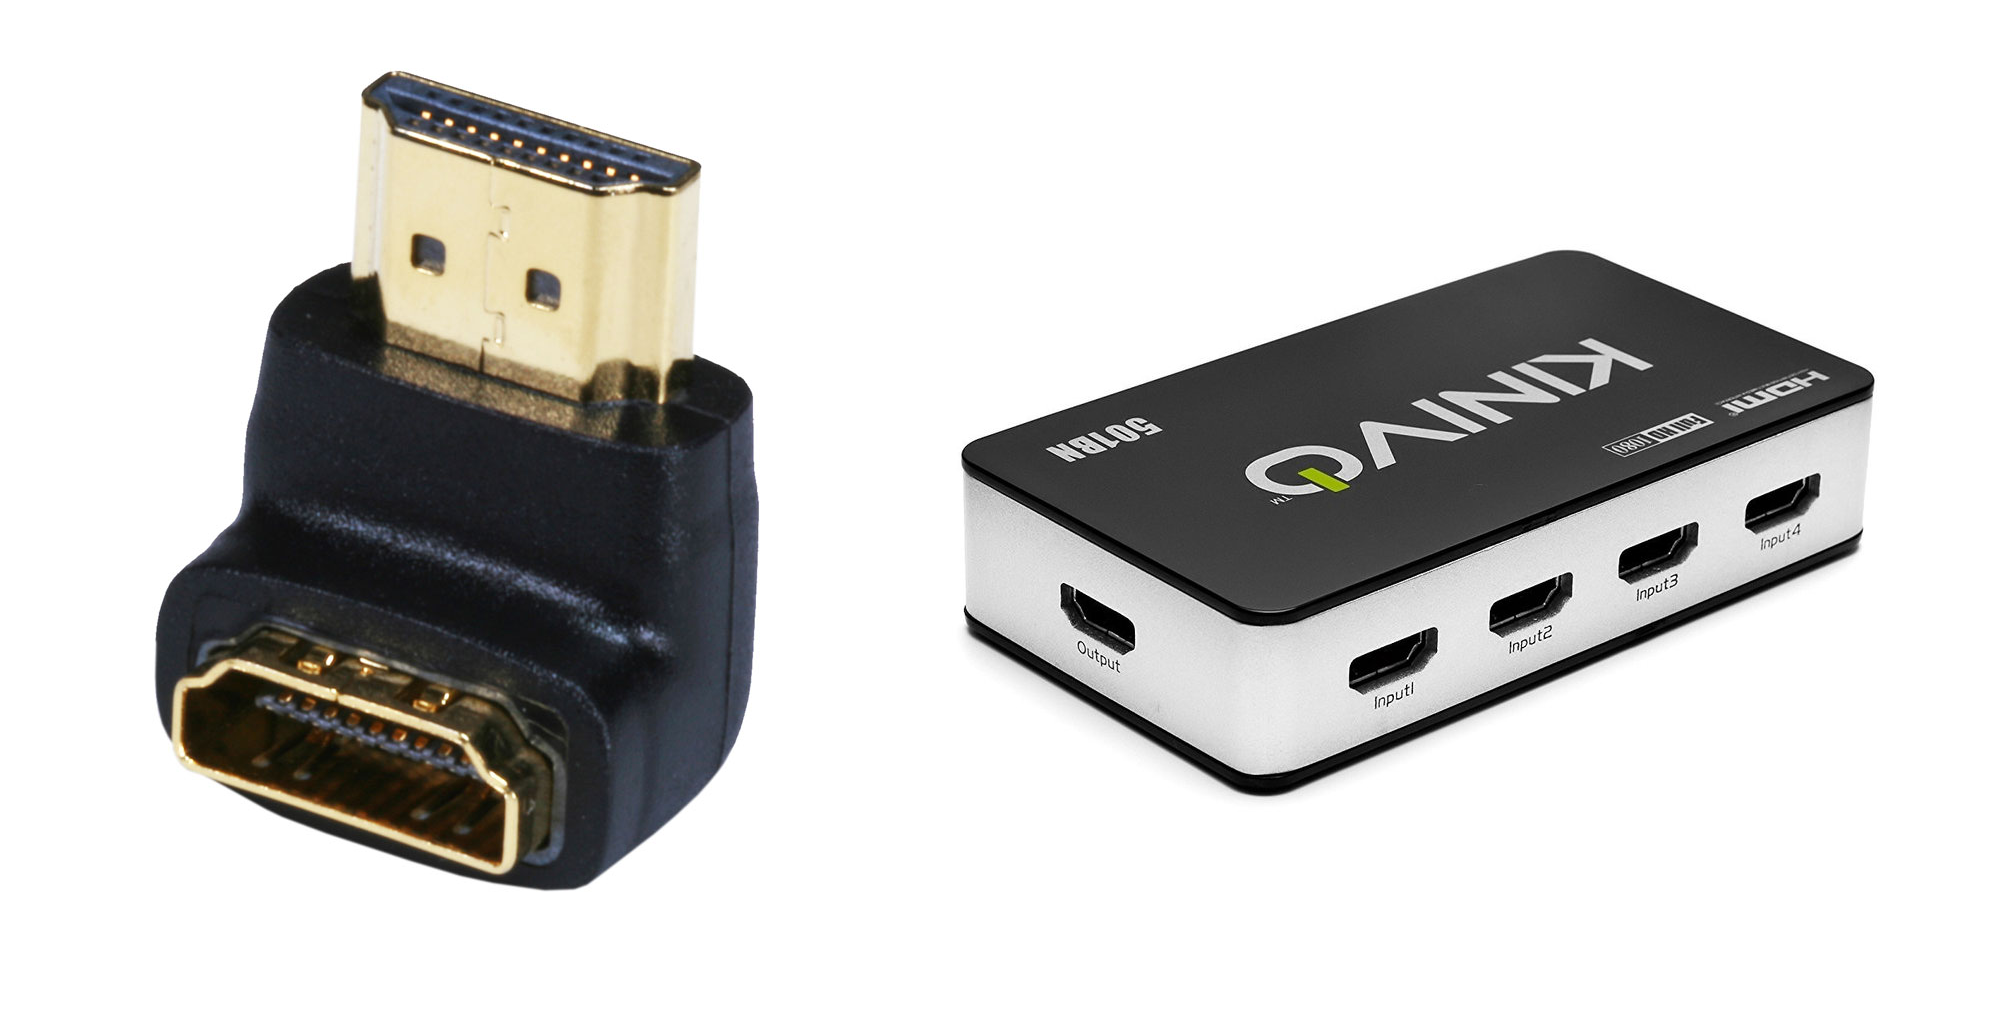
Cords are bundles of metal and plastic which have a tendency to get twisted and contorted over time. Do yourself a favour and try to take the stress off of them by not bending or forcing them into unnatural positions. Power cords are usually pretty heavy duty these days, but HDMI cords are often still rather flimsy. One of the easiest ways to help them last is by getting either and HDMI passthrough box so you only have one cord that’s actually going into the TV.
The Kinivo 501BN is a good utilitarian option at around $US40 ($51). The small box can take up to five HDMI connections with one output at 1080p and automatic switching to whatever device is turned on. However, depending on the speed of your HDMI cords and whether you have a 4K TV or not, something else might be called for, so it’s always prudent to ask around first at a place like AVForums.
Another simpler option is to buy angled adapters that let you plug your HDMI cords into connector that’s facing the same direction, rather than perpendicular as most TVs are. Monoprice makes HDMI port adapters of every imaginable permutation and they’re all under $US2 ($3). This lets you avoid having the cord buckle out as it bends back down making it easier to keep your bundle of wires clean and taught.

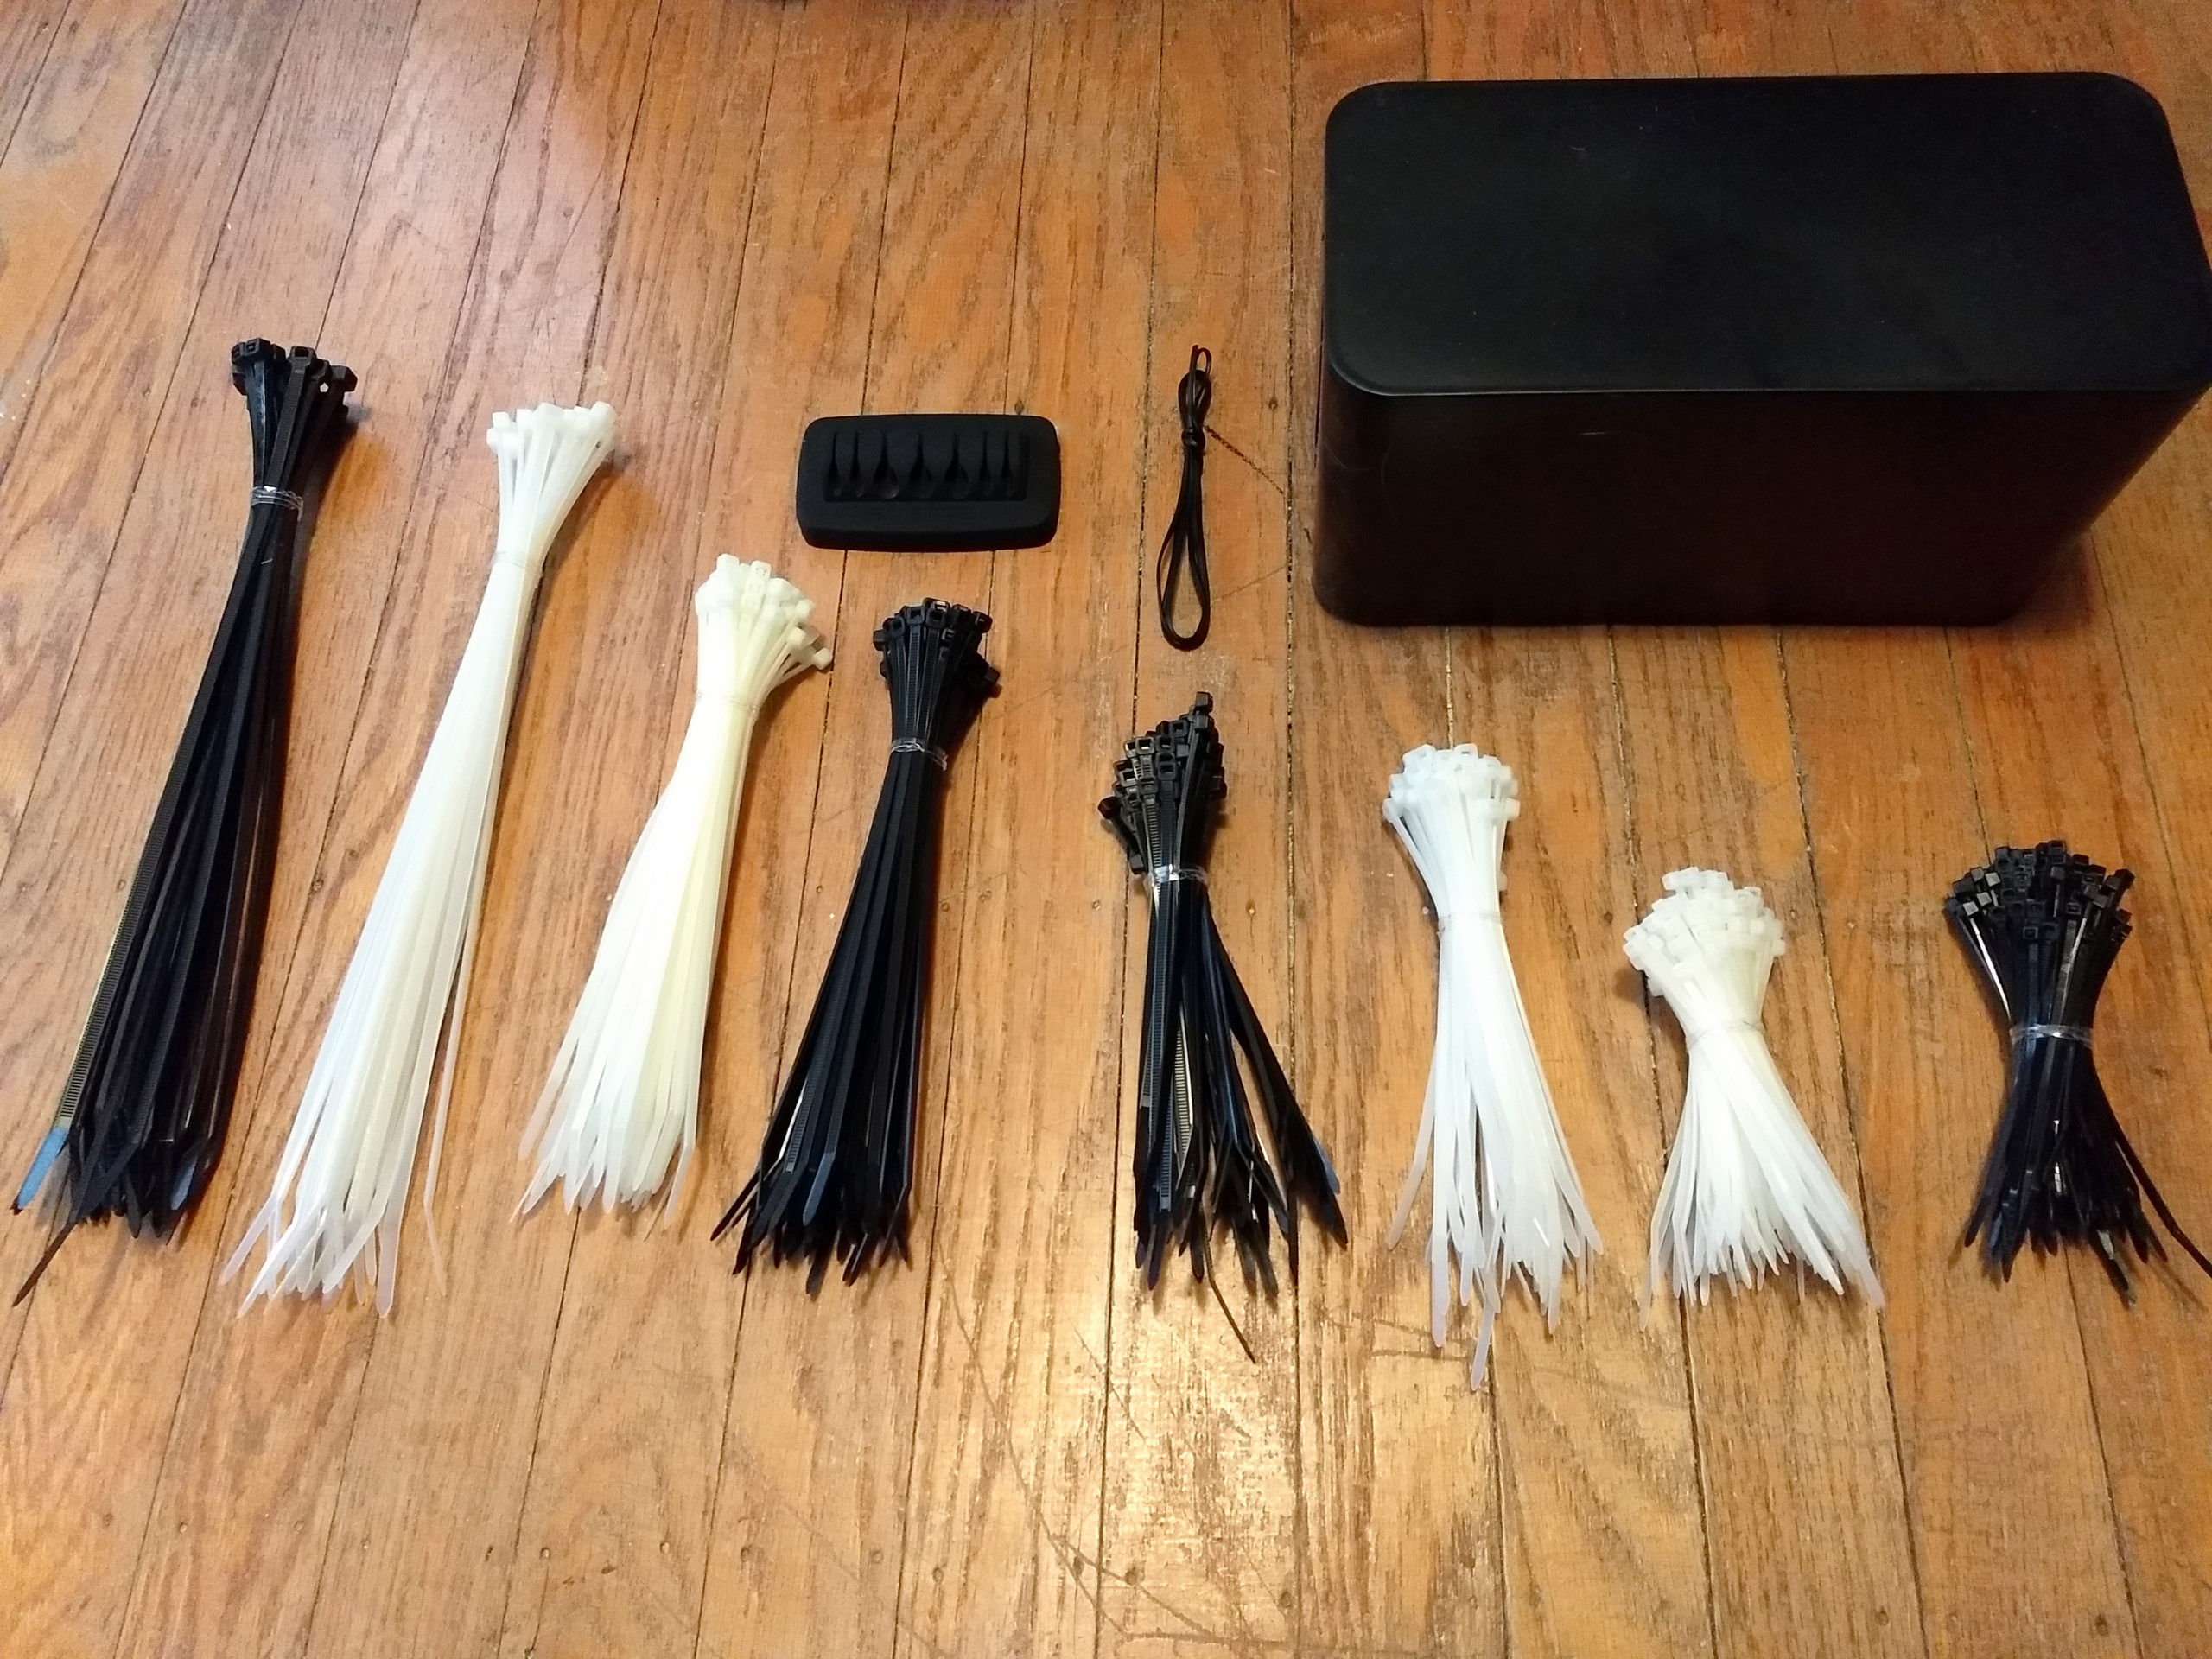
Zip tie everything.
With everything in place, you’ll want to zip tie it all together. Feel free to use velcro if you prefer, although I prefer zip ties because they’re both cheap, hard to see, and easy enough to replace if you decide you need to move or reconfigure something later. I like to use a zip tie every four to six inches, which might seem excessive but when it keeps everything tight and snug it feels worth it. The goal after all is to consolidate the profile of every cord in the bundle. I start zip tying everything as close to the inputs on the consoles as possible and then as often as necessary to wherever they’re going.
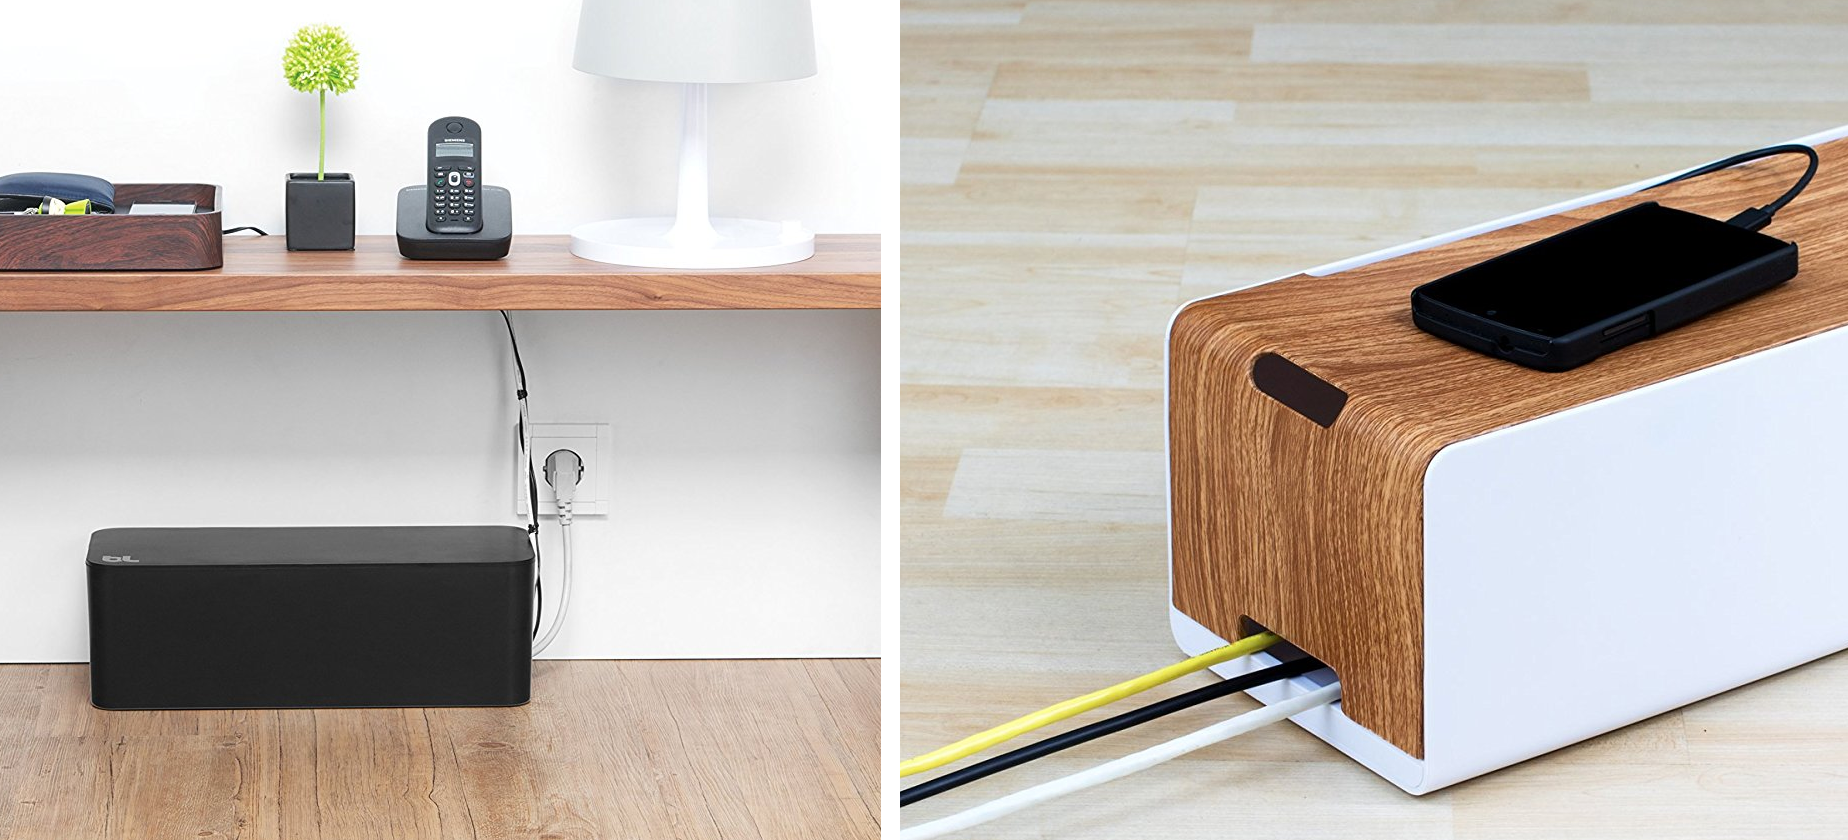
Left image: Bluelounge Cable via Amazon. Right image: DMoose via Amazon.
Find stuff to hide your cords behind.
In most circumstances having only one main set of wires running vertically behind your TV stand or media cabinet will be improvement enough. From there you can always knock some small picture-hanging nails into the back of your stand if it’s made out of wood and use them to guide the bundle of wires so they’re hidden behind shelves.
If the back of your stand or cabinet has a solid backing, you’re already golden. In the case of a PC setup, this same logic works for the back of the desk legs or drawers.
You can use adhesive-backed velcro for instance to tie up the bundle of wires running from the consoles or monitors on your desk down to where the PC is. If you’re monitor stand is negotiable, however, you’d probably be even better served by picking up a monitor stand that doubles as a cable management box.
You’ll lose a little desk real estate but will create a nice hidden alley for your cords to run along before going down the side of the desk closes to the PC tower.

Decide on a dedicated charging station
As someone with two phones, a tablet, and laptop, and a bunch of handhelds, charging stuff adhoc just isn’t feasible anymore. Selecting a spot to install another nondescript power strip and have all your AC adapters ready to go is straightforward enough, but what will really help make it feel clean and orderly is a nice weighted cable holder to sit atop your chosen charging perch. This way you don’t have to worry about cords getting tangled or fumbling around with your precious electronics attached.
A dedicated charging station, beyond letting you know everything’s always in the same spot, will also help clear up room in your already cluttered media cabinet. I’ve tolerated an ugly micro USB hanging off my PS4 into the room for far too long. At the very least I recommend spending the extra coin and picking up some nice charging docks to cut down on cords.
Throw that extra stuff in containers
Between old component cables, extra HDMI cords, micro USBs, mini USBs, and now USB-c, I’m sure you have a bunch of stuff that you don’t actually ever use but are worried you might at some point. It’s time to make a final decision on this stuff: either throw it out or organise it in some nice plastic containers.
I have a few I ordered from The Container Store, a place that continually ignites my aspirations toward a more organised life the same way someone who’s never managed to run for two weeks straight still has a really nice pair of runners.
Their small, stackable see-through drawers are a less than $US10 ($13) each and four of them labelled should be enough to house all of your cord overflow in an inconspicuous utility closet, or even under the bed.

It’s always nice to have an extra cord in a pinch, but you’ll be reluctant to ever check your hidden stash unless everything has some sense and logic to it. Put charging cables in one compartment, retro cords in another, and even whatever random stuff you have left over from when you built that PC in another.
And of course, ziptie all that stuff to keep it compact and untangled.
No doubt some day in the future it will be possible to transmit electrical signals seamlessly through the air from one thing to another. Utopian technology such as that hasn’t arrived yet though, so for now take a second and organise the literal lifeblood of your favourite hobby. You’ll feel better and your consoles will thank you, as will family, roomates, or that significant other who totally judges your ugly cords.
Comments
17 responses to “How To Organise Your Cords”
I use Ikea Signum under the desks, works well to hide pretty much everything
Also, don’t have kids.
Kids will systematically work to destroy whatever ingenious system you come up with.
Literally the first thing I taught all of my children is not to get under tables with tech gear on top, and to never touch cables.
Didn’t take that long for them to get the picture.
My system
1. Stuff all cords behind the entertainment centre, promise I’ll organise it at some point
2. Never do that
3. That day comes when I have to add or remove something and have to engage the cable monster and curse myself for not organising this better
4. Back to step 1
Its called holistic organisation, and celebrates the fundamental interconnectedness of all cables. We are just servants to the needs of our cables, embrace the chaos.
Why oh why does this not have more likes?
Actually Step 4. is :Ignore problem. Add new Cable
On every cord I have plugged in, I attach the plastic things from loaves of bread and mark it if it’s TV, Xbox etc.I even mark the cords that connect from unit to other unit. This helps out when you get to stages that MrBS has experienced and need to unplug or put in new device!!
That’s a really good idea that I always wanted to do. But its far too late to start now…
Ziptie nothing!!! Double sided Velcro will always win here especially if you need to make any changes to the cabling at a later date.
True that, I use those all the time, but man does Velcro attract dust (and cat hair).
Use those wire bag ties for your cables and put a piece of white electrical tape on the power plugs themselves (or make a little tag on the cable) and write on it with black marker. Helps when you have no idea what you’re unplugging or if you have a power board with switches
I would recommend against wrapping a coil of wire around a power lead.
It’s not really much of a coil if it’s wrapped around once.
You forgot the speaker cables required for 7.1 sound.
I have 7.2 for that one extra speaker cable. Amazingly, they’re the most organised of all the cables in the house. Only unwound as much as I needed, and kept the remainder twist-tied.
Whats left is still in a pile behind the entertainment unit (along with every other cable in the region), but at least its relatively organised.
Atleast im not the only one who threw the switch joycon controller grip away the minute it left the box.
Worst pack in accessory ever!