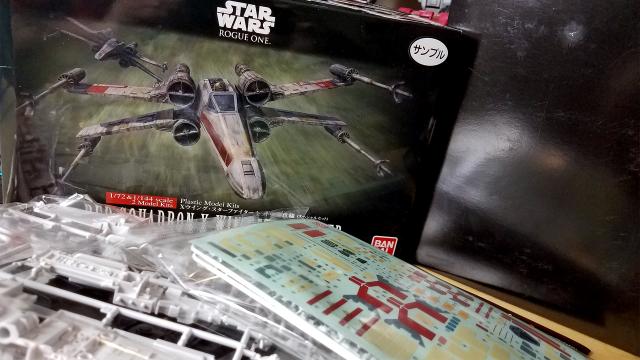
Inspired by the space battles of Rogue One: A Star Wars Story, I’ve decided to take a stab at model building. And though Bandai Hobby’s Red Squadron X-Wing Starfighter set is a simple snap and sticker affair, I’m really worried about screwing it up. Got any pointers?
The folks at Bluefin started bringing over Bandai Hobby’s Rogue One kits over from Japan earlier this month, beginning with this combo 1/72 and 1/144 scale X-Wing set. I’ve been eyeing Bandai’s Dragonball Z stuff for ages, but imagining my large hands applying tiny stickers and fiddling with delicate parts gave me pause. If the Star Wars set goes well enough, they’re next.
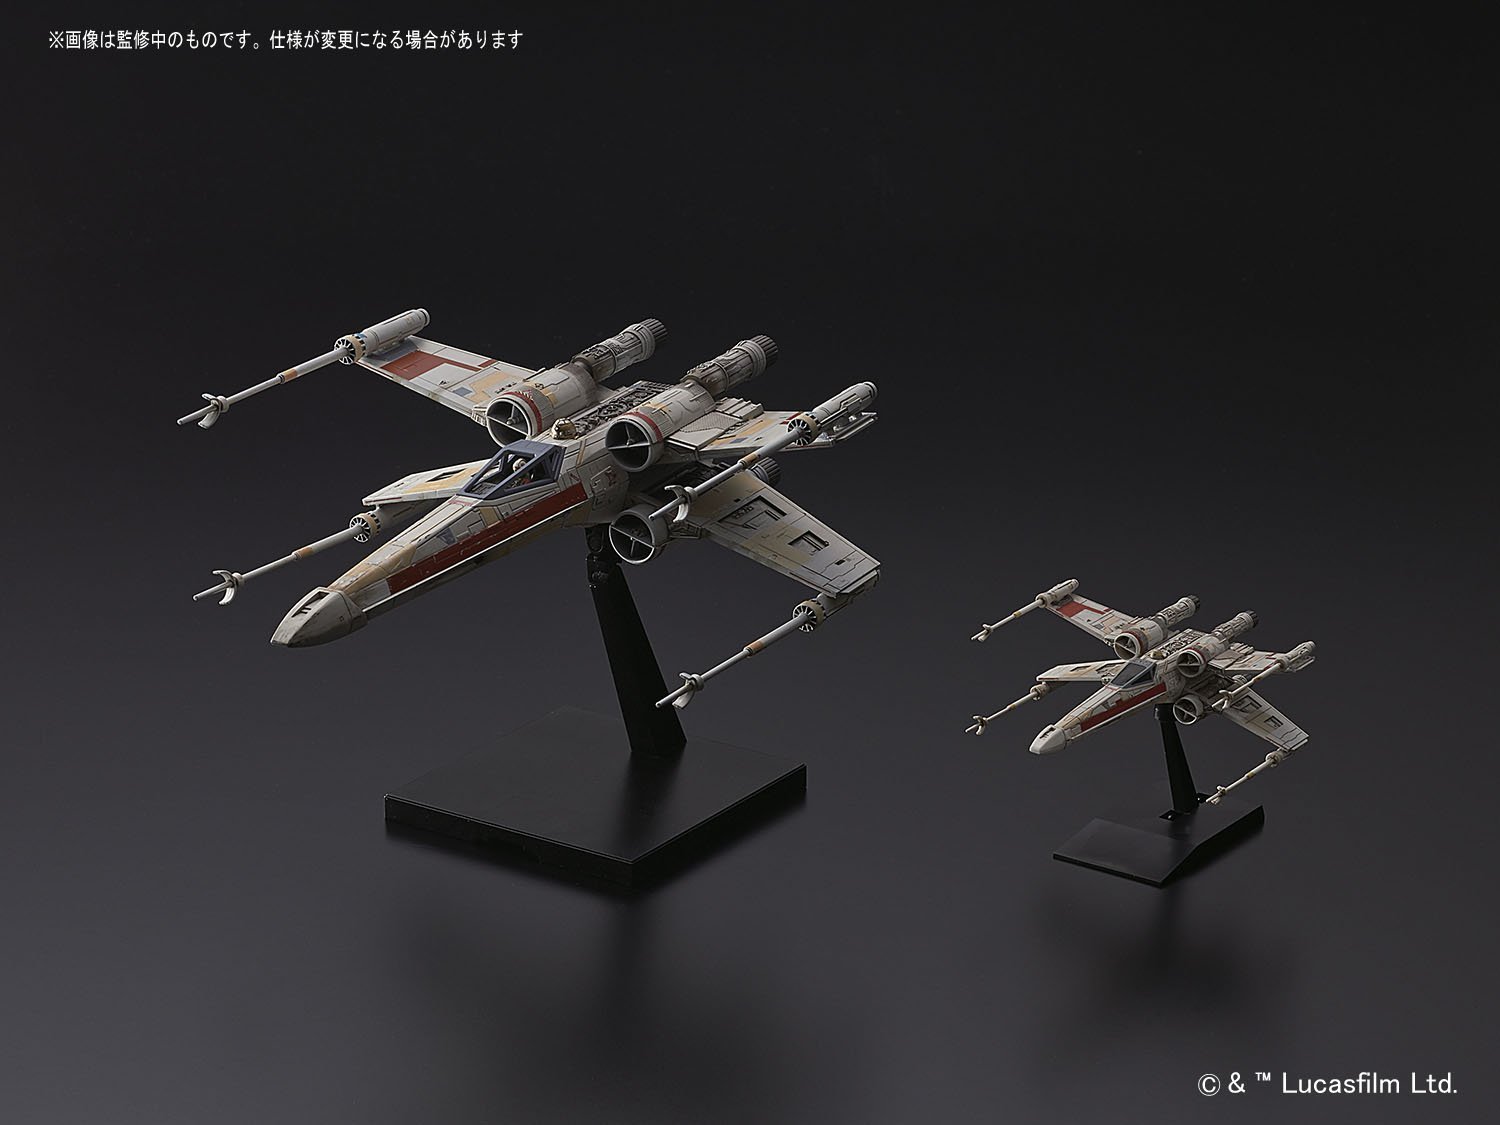
But for now I need to make this:
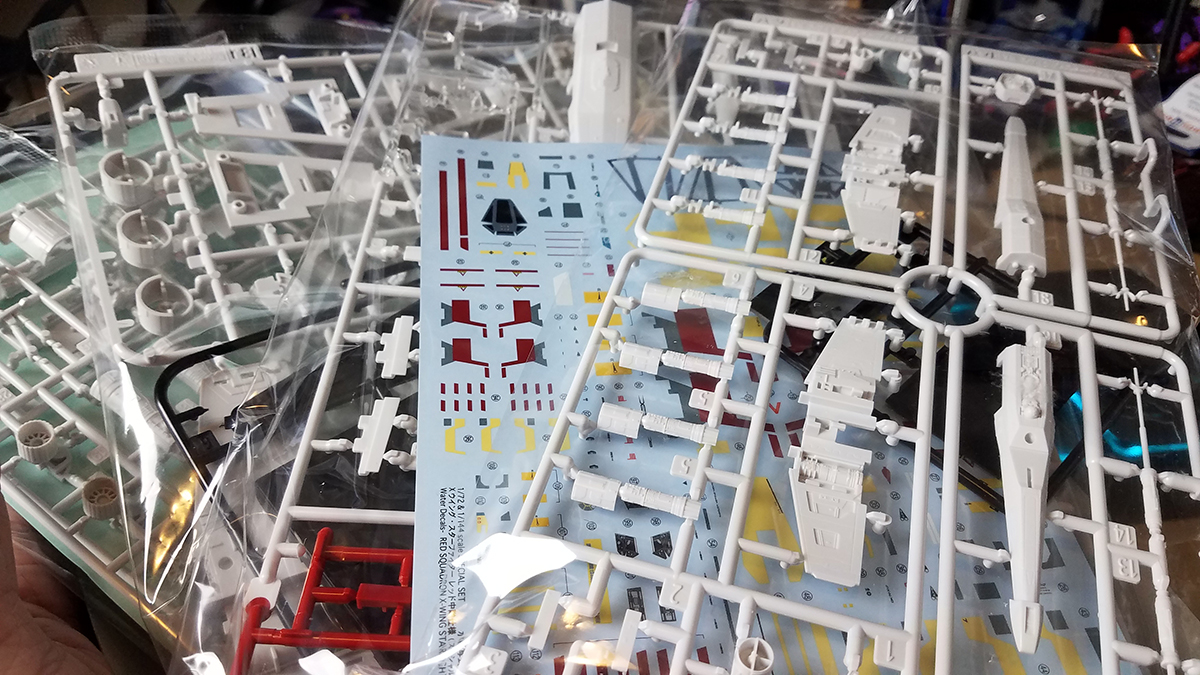
Look like this:
My biological father was big into putting together model planes and cars while I was growing up, spending hours assembling, gluing, sanding and painting. I came away from that experience having learned two things. First, simply snapping out and assembling the pieces from the starter models he would buy me resulted in a finished product that looked horrible, especially compared to his work. That, and accidentally breaking one of your father’s finished models was a very, very bad idea.
And so I look to the model building gurus in the Toy Time audience for aid. How should I go about trimming the bits? How can my sausage-like fingers properly place delicate decals? What sort of equipment should I be using? Let me know in the comments, and next week we’ll see how well I put your knowledge to use.
Comments
15 responses to “Please Help Me Assemble This Star Wars: Rogue One Model Kit”
First of all, without paints, it probably wont look like the box image anyway.
Snap kits are great fun – love assembling Gundam myself. Get a good pair of small side cutters, a sharp hobby knife and a small file and you are good to go. Stickers are just practice unfortunately, maybe try tweezers if you are all thumbs.
Follow the instructions, a fine hobby knife, the finest, finest sandpaper you can find or the finest file you can (I prefer the sandpaper myself) and yeah like randomabuse says, stickers are really a case of practice, take your time, dont rush as you’ll be fine.
Yeah, I’ve made a couple of Gundams like this. As randomabuse said, a small knife is all I use to cut the parts out of the mould (just be very careful where you cut). For stickers, I personally use the “close enough is good enough” mentality, it’s tricky to get them exactly right. Good luck!
Any one got any good places to pick up things like this in Melbourne? Any good stores or online recommendations would be great
http://melbournehobby.com/melbourne/Plastic+Model+Kits.html
I like Hearns personally.
awesome! thanks for that, I work pretty close to Hearns so I’ll check them out
Painting your model to look like the box top is an art and must be practiced. I’m still trying to get it right.
Clip the parts close to the part and clean up the attachment point with the knife and emery board.
Work on the part fit until there are no gaps. If you have a gap you can’t get rid of, there is probably something holding them apart. Well designed kits like these usually fit very snugly.
Check out Interstellar Modeller (not me) on YouTube for painting ideas
Here are some basic tools needed. The cutters are a little overboard, but worth it if you don’t mind the price.
Xuron – 2175ET Professional Sprue Cutter https://www.amazon.com/dp/B001TMZ7QA/ref=cm_sw_r_cp_apa_xZvxybX8866Q1
Xacto knife from your local hobby store.
Sanding and polishing emery boards from beauty supply shops.
http://weknowmemes.com/wp-content/uploads/2011/10/how-to-make-a-model-helicopter.jpg
This should help.
I just started playing warhammer. The secret is not to care too much and there is nothing that a file and some greenstuff can’t fix
Measure once, cut twice
Doesn’t sound right… but that is what normally happens >.>
All of the abov are great tips. Don’t whatever you do “twist” pieces from the Sprue.
Would also add:
Even though it’s a snap together, consider glue. You can get a better fit between pieces.
If you do decide to glue…
Practice assembly before gluing. Nothing worse than applying glue only to find pieces don’t quite fit, or don’t go together as you expected.
Glue with a fine nozzle is great – I use Tamaya glue which has a very fine “needle”. Whatever you do, make sure the glue is flowing freely, and use less than you think you should use. Putting a dollop on some card and using a pin to apply is good for fine/fiddly bit.
Also…
If you are going to paint, consider painting before assembly.
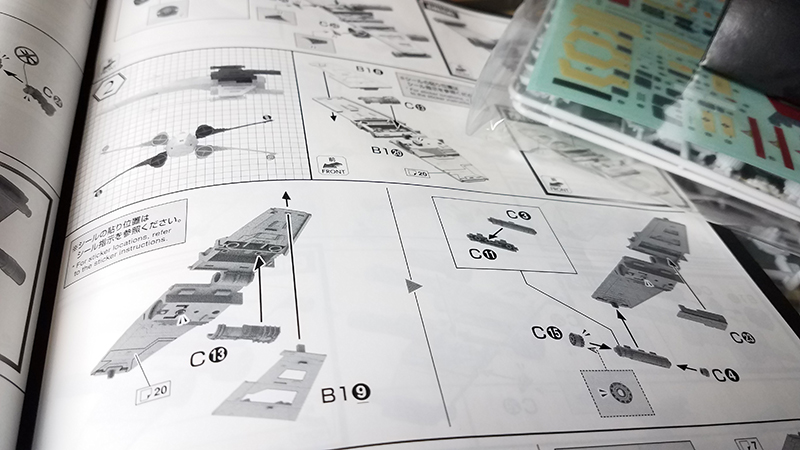
EDIT – forgot the most important. Read the instructions, then read them again!
Oh yeah, the Tamiya needle nozzle glue is the best!
Assuming this is anything like the x-wing model set from several decades ago, don’t glue the wings together.
Nail clippers can be handy to tidy up the points where you’ve had to twist or snap out parts and there’s that little bit of plastic sticking out. Also, a nail file can be used to give a quick smooth finish if there’s still a small rough area after you’ve trimmed off the excess. YMMV.