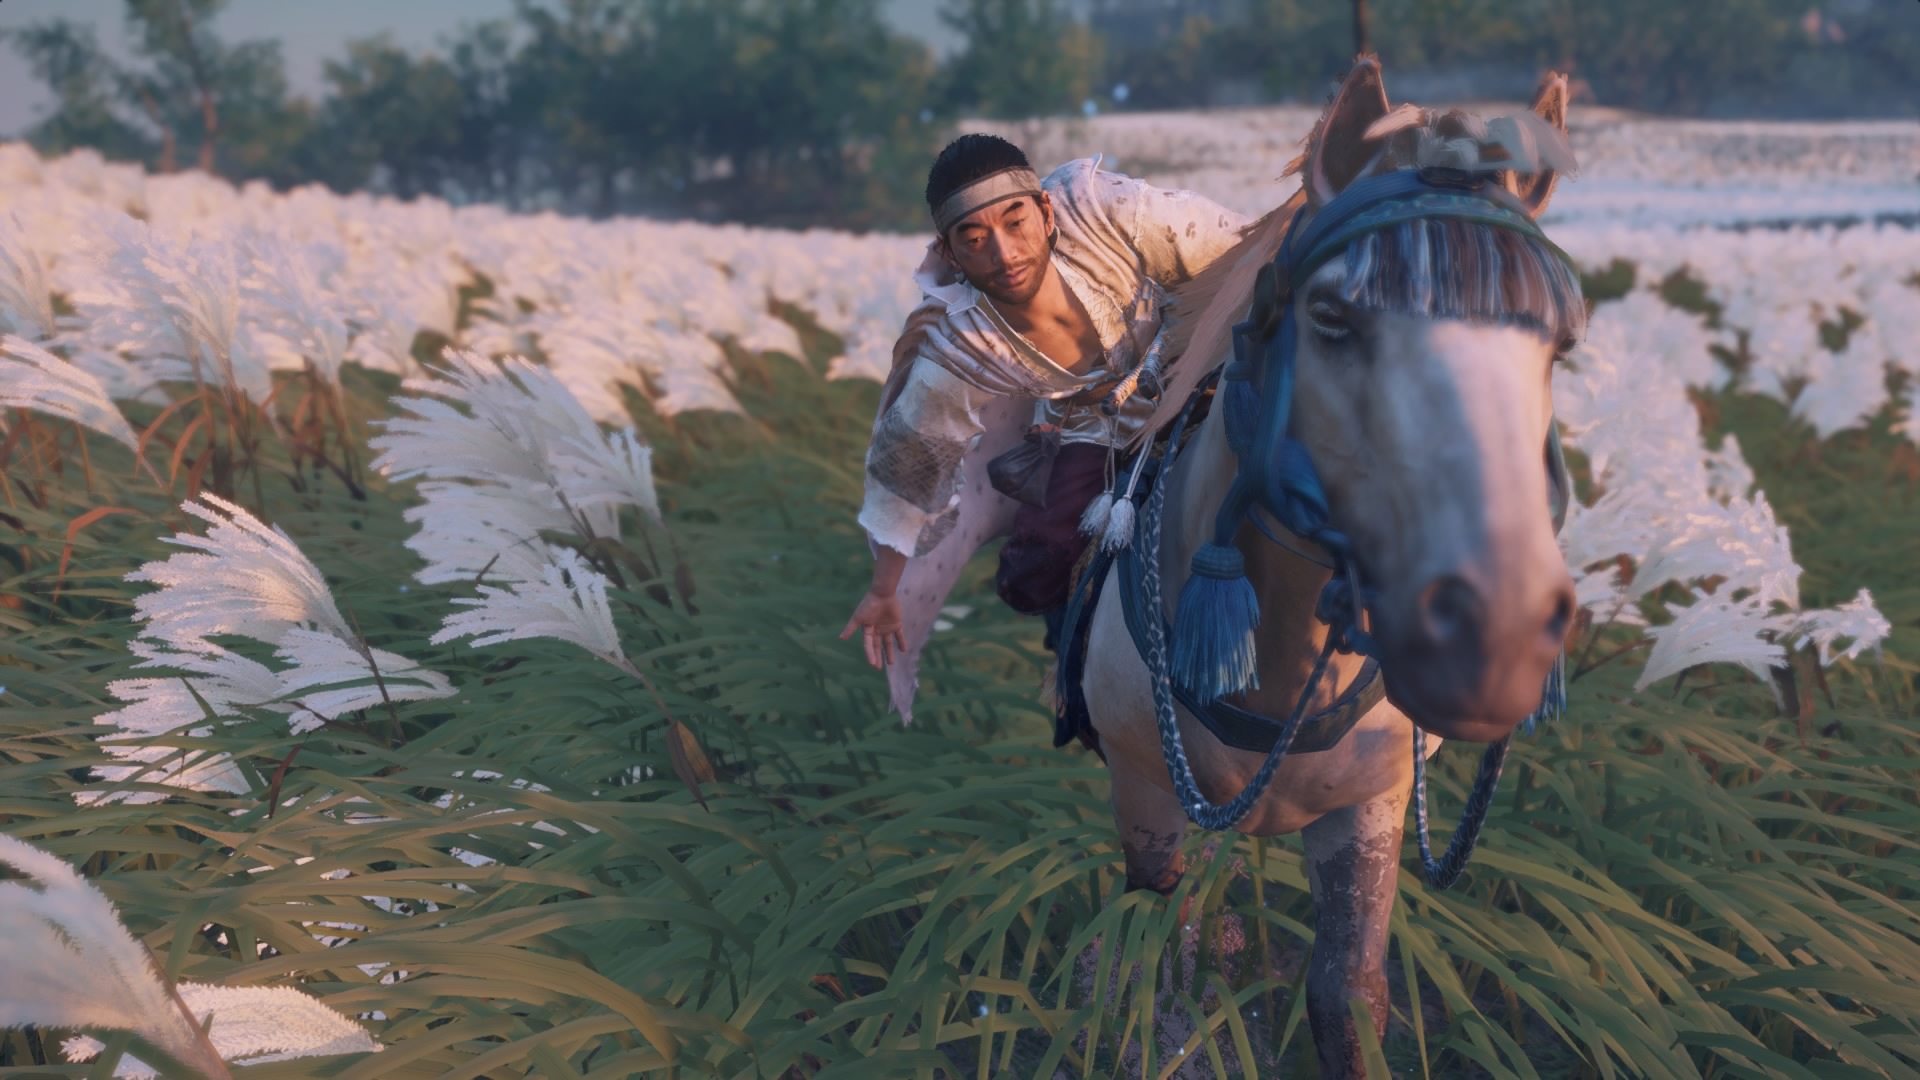
You’ve surely heard about Ghost of Tsushima’s overwhelming large open-world. But Sucker Punch’s action-adventure game is also overwhelming in a different way: In the first few hours, you’re given access to a mind-boggling number of skills to unlock and gear to upgrade. It’s enough to make a new player’s head spin with indecision. When you don’t yet get how the game works, where should you start?
Allow me to help. In the run-up to launch, I’ve unlocked every skill, upgraded every set of armour, and fully improved every weapon. I’ve tested out every ability and secondary gadget. In short, I know what’s worth your time, and what isn’t. If I could do it all over again — and I probably will at some point, because this game rules — here’s how I’d prioritise things from the jump.
The Best Skills In Ghost Of Tsushima
Skills — or techniques, to use in-game parlance — in Ghost of Tsushima are filed into three broad categories: Samurai, Stances, and Ghost. This classification system doesn’t make much sense, but don’t let that stump you. They all pretty much serve the same purpose of “killing Mongol invaders.” The only thing you really need to know is that, once you pick a skill, you’re stuck with it. Here’s how to choose wisely.
Commit to a combat skill tree.
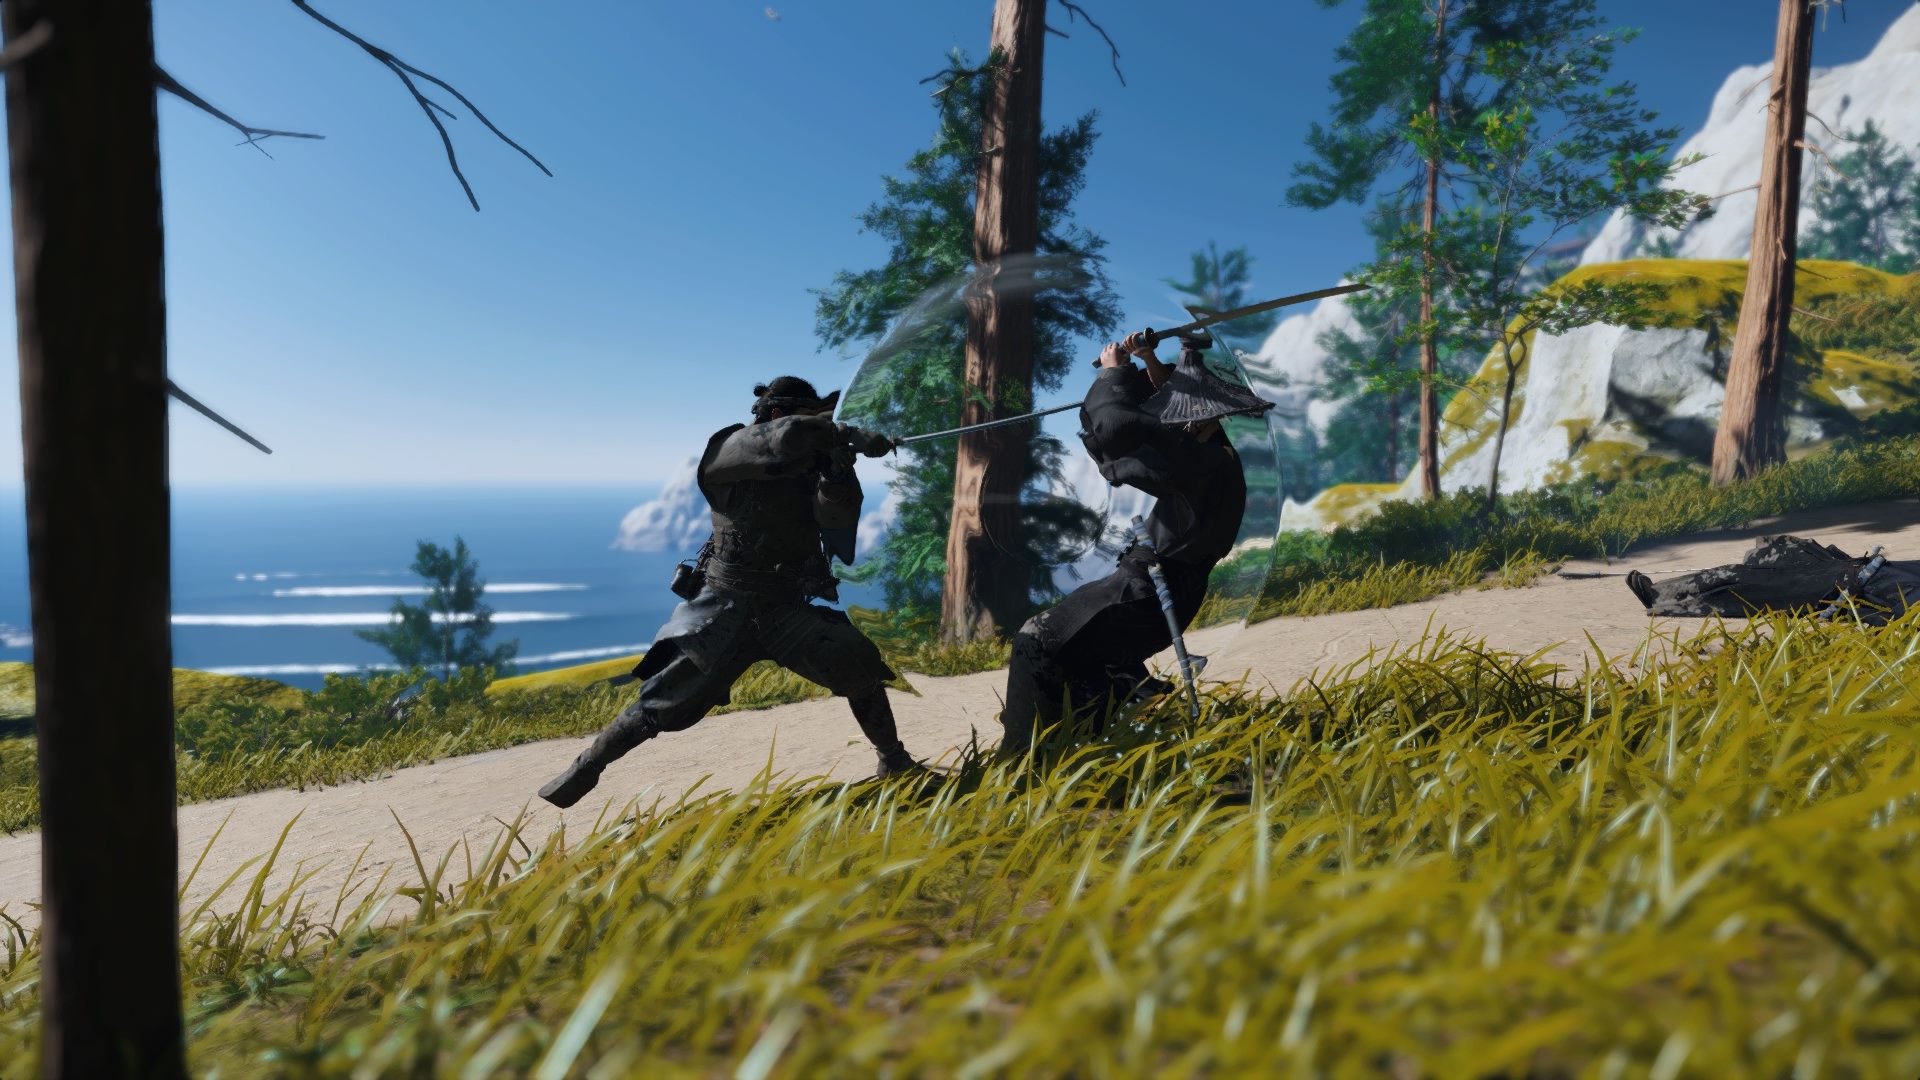
The bulk of your early combat encounters in Ghost of Tsushima will be defined by which base Samurai skill tree you invest in: Deflection or Evasion. You can split the difference, but you’ll only end up missing out on high-level moves for both. So it’s imperative to choose one at the get-go and commit to it. The choice breaks down as follows: The Evasion tree is more fun; the Deflection tree is more useful.
If you use rolling as a crutch in action games, by all means, snag the first Evasion skill, a helpful Link-like roll. Beyond that, few of the other Evasion techniques are terribly practical in the thick of it. Two moves involve sprinting headlong into enemies and timing attacks at the right moment. Landing them feels satisfying but never necessary. The Mounted Strike — a move in which Jin leaps off his horse and slashes the closest enemy — is cinematically awesome but also something you’ll rarely find use for. (Over the course of my 60-hour playthrough, I could count on one hand the number of times I spotted an opportunity to use it.) On top of all that, the final Evasion skill is functionally the same as the starter Deflection skill.
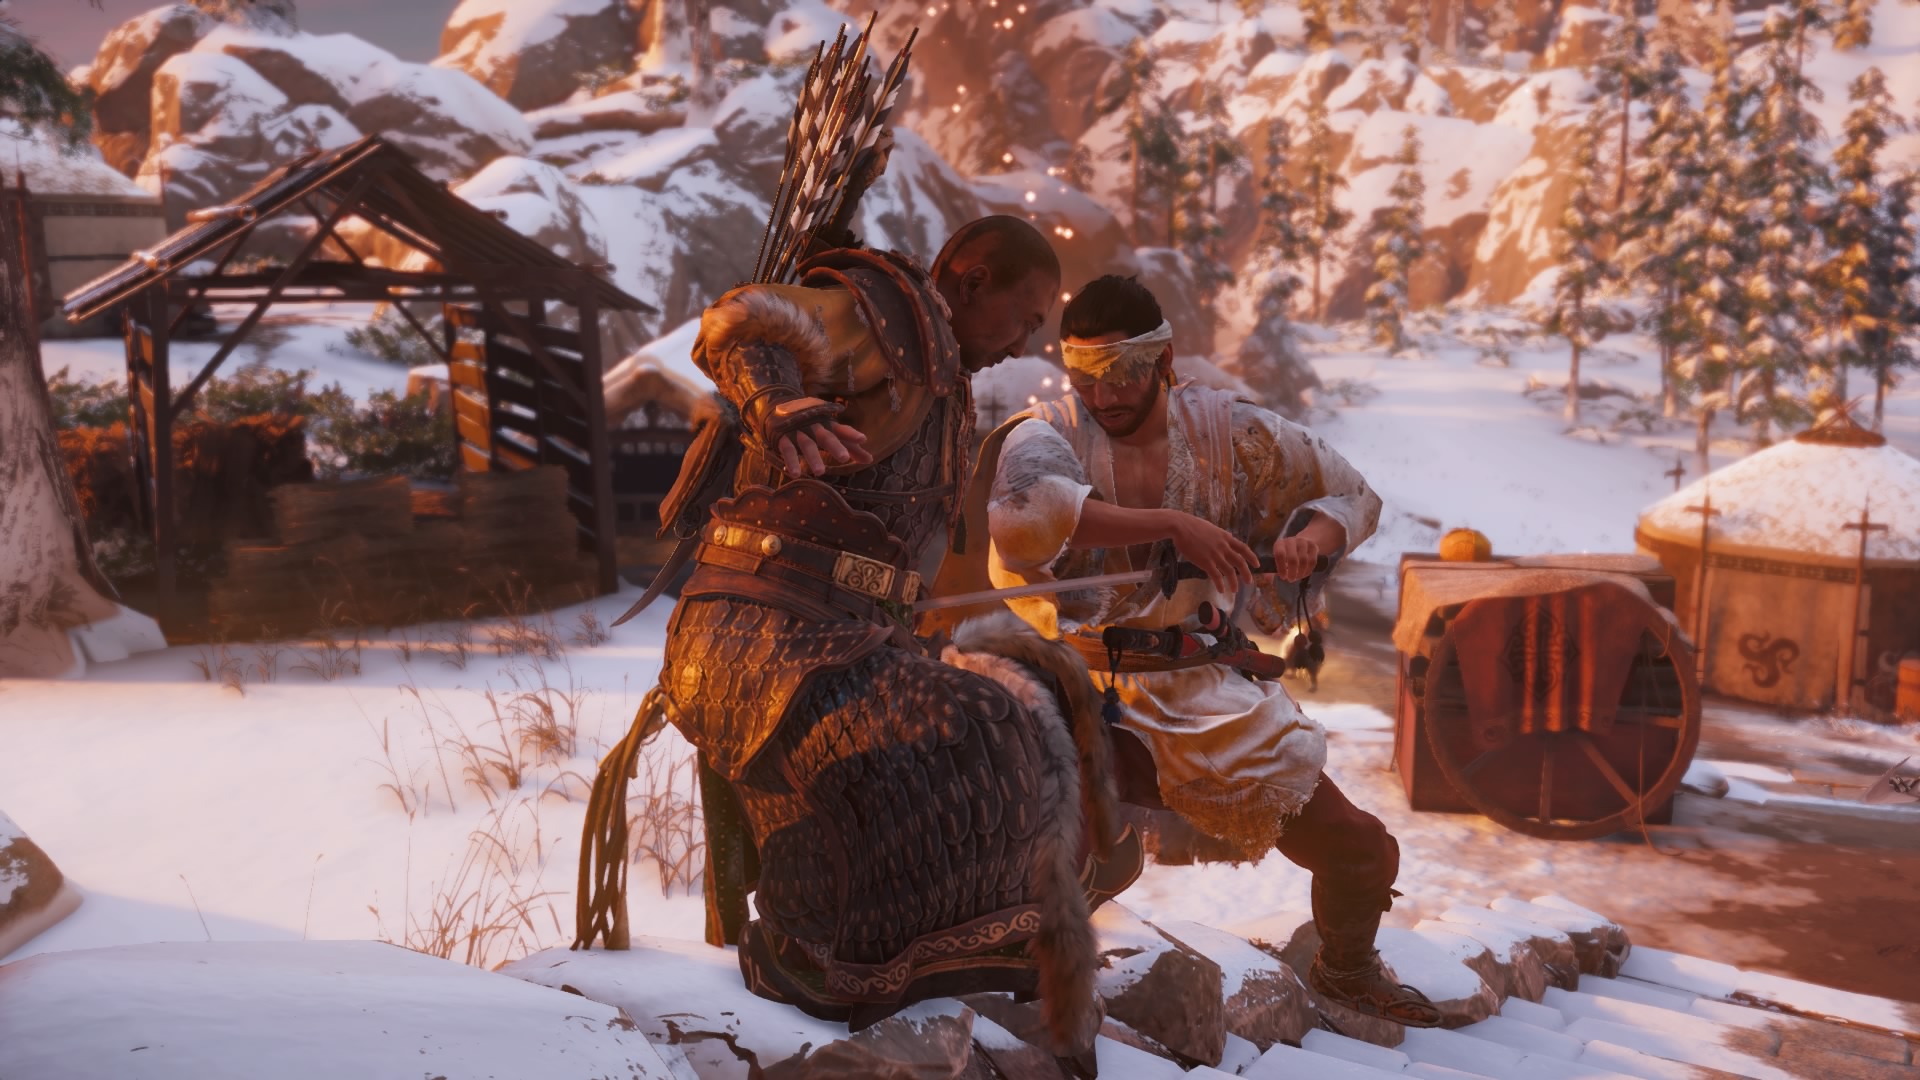
The Deflection tree, on the other hand, is practical from top to bottom. The first skill is something called a perfect parry: Perform your parries at just the right moment, and time will slow down, allowing you to land a deadly counterattack. You can eventually level this up to the point where it may “terrify,” or knock over, surrounding enemies. You’ll also learn a skill that allows you to automatically deflect incoming arrows, Jedi-style. Mongolian archers have way sharper aim than your average Stormtrooper, so you’ll definitely want this trick up your sleeve. But the two most essential skills are a pair of souped-up parries that allow you to deflect normally unblockable attacks from swordsmen and spear-wielders — two common enemy types that make up a good half of the Khan’s troops.
(For what it’s worth, I poured everything into the Evasion tree early on and soon found myself craving that respec option.)
Must-have skills: Deflect Arrows, Unyielding Sword Parry, Unyielding Spear Parry
Master the Water and Wind stances.
There are four sword stances in Ghost of Tsushima, each of which are effective against a different class of enemy. When you start, you’ll only have access to the sword-busting Stone stance. But it won’t take long before you unlock the other three — especially if you make sure to observe Mongol leaders before killing them, netting you two stance points instead of just one.
Whenever you get a new stance, you should level it up to the second stage, which will amplify that stance’s stagger damage against specific enemy types. (Most enemies in Ghost of Tsushima have a health bar and a stagger bar. Think of the stagger bar as a shield. You’ll need to deplete it before you can dish out real damage.) As the game progresses, you’ll soon find yourself switching between all four stances in every battle. By neglecting to upgrade, say, the Water stance’s stagger damage, you’re preventing yourself from dealing bonus damage to enemies with shields. If a few of them swarm your position, you’re done for. Truth told, it’s not a bad idea to constantly keep two technique points in the bank until you’ve upgraded the stagger damage for all four stances. Even the deity-grade Moon stance is ineffectual without that level-up.
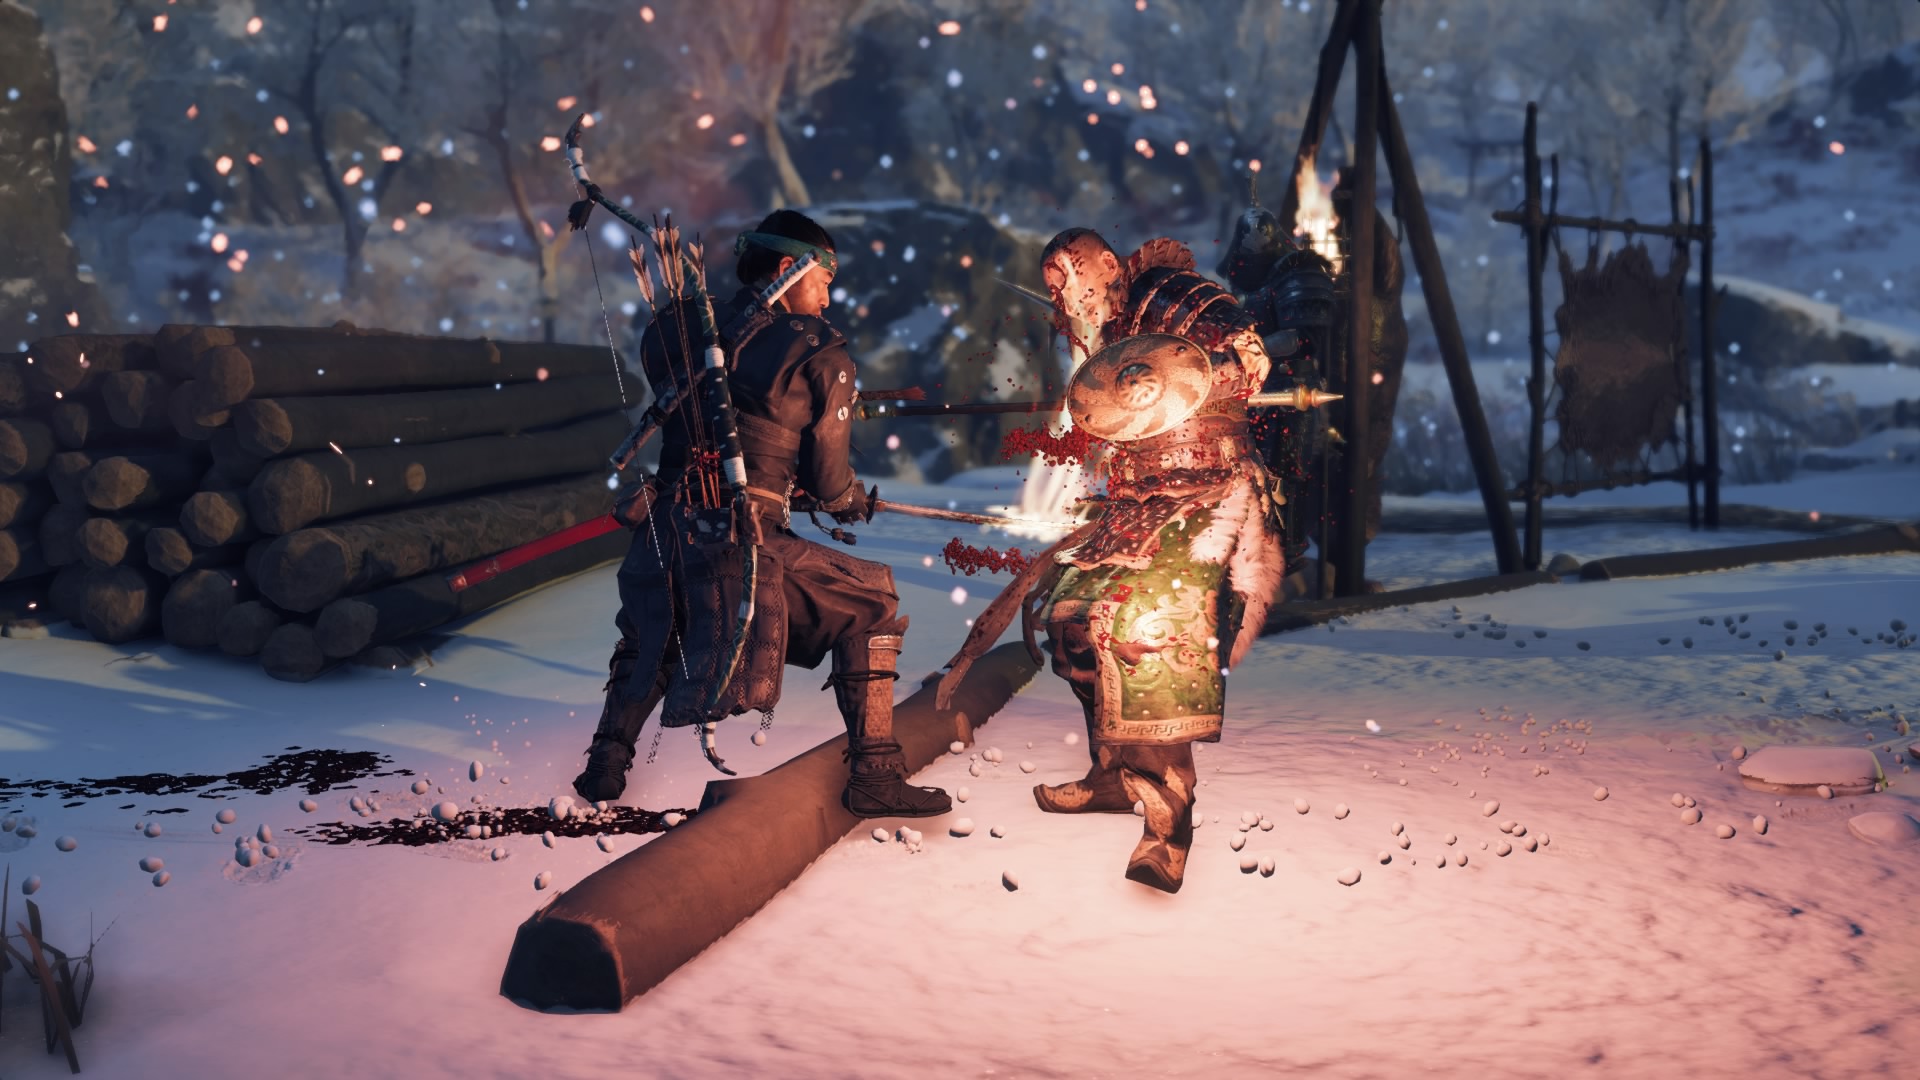
In Wind stance, you can parry any incoming attacks from spearmen with any basic light or heavy attack. This widens the parry window to the point where missing a parry is akin to Shaq on the free throw line. It’s worth spending technique points on the Water stance, too. When fully leveled up, the stance’s signature move, Flurry Strike, can take out shielded opponents in one neat five-hit combo.
Must-have skills: Surging Strikes (Water), Spear Defence (Wind)
Don’t stress the Guiding Wind upgrades.
Ghost of Tsushima doesn’t use traditional pathfinding. There’s no compass or minimap. You won’t see a convenient dotted line detailing exactly where you need to go. Instead, you use the wind — an ability called the Guiding Wind, to be specific — as a waypoint. Swipe up on the DualShock 4’s touchpad, and the breeze will change direction, pointing exactly where you need to go.
If it pleases you, you can spend technique points to upgrade the Guiding Wind to direct you toward hot springs (which boost your health), bamboo strikes (your resolve), Shinto shrines (where you can find new charms), fox dens (which increase how many charms you can hold), and various hidden locations of aesthetic bonuses (hats, katana sheaths, and the like). But you should know that not one of these upgrades is worth it. In fact, using the Guiding Wind to find hidden treasure is perhaps the least efficient method of doing so. Since Mother Nature won’t tell you how far away you are from these optional goals, you could very well end up galloping halfway across Izuhara before finally ending up at that bamboo strike.
Instead, it’s more efficient to make use of Tsushima’s natural markers. Keep an eye out for chirping yellow birds; while maddening, if you follow them, you’ll end up at something worth your time (whether it’s a health-boosting hot spring or yet another frayed straw hat that obscures Jin’s photogenic face). Fox dens similarly need no waypointing. Just look for bright yellow trees surrounded by fireflies. While you’re at it, leave no Mongol outpost untouched. Clearing one will defog a section of the map, revealing any points of interest in the vicinity. All together, these three tricks render Guiding Wind upgrades null.
You could also just use the age-old open-world hack of “going about your adventures until you see cool stuff.” This game, as you’re surely aware, is quite a stunner. Do you really need an excuse to aimlessly ride into the sunset?
Must-have skills: None. Don’t waste your technique points.
Evolve your Evolving Tactics.
The Ghost skills include unique abilities called Evolving Tactics. You’ll unlock the base techniques as the story progresses, but it’s up to you to choose which ones you want to upgrade. Some aren’t worth the time of day. Others are total game-changers. But nothing beats the bow.
By levelling up the bow, you’ll open up a priceless time-slowing mechanic — perfect for lining up headshots like you’re Master Chief. Combine that with a set of armour that restores your slow-motion metre after every headshot (more on that in a bit) and a charm that sometimes returns arrows to your inventory, and you’ll be able to take out six enemies in five seconds.
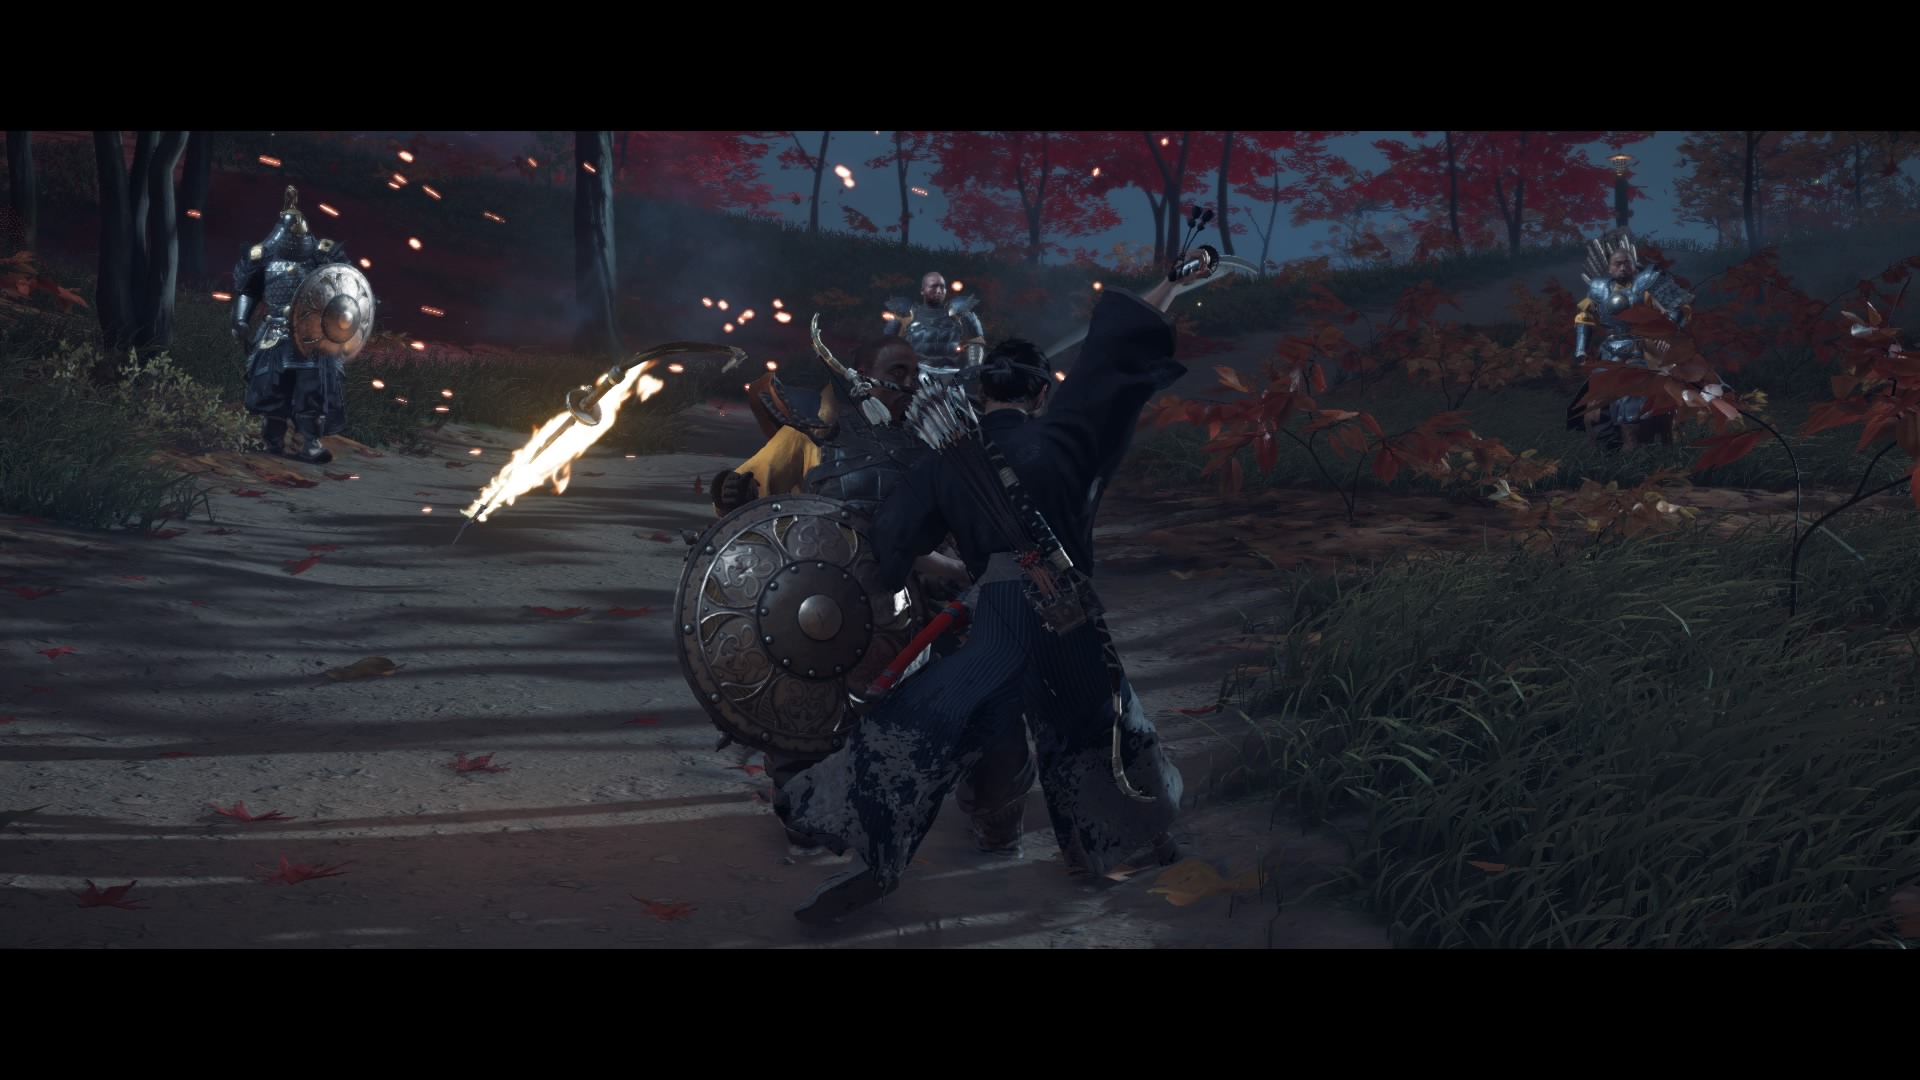
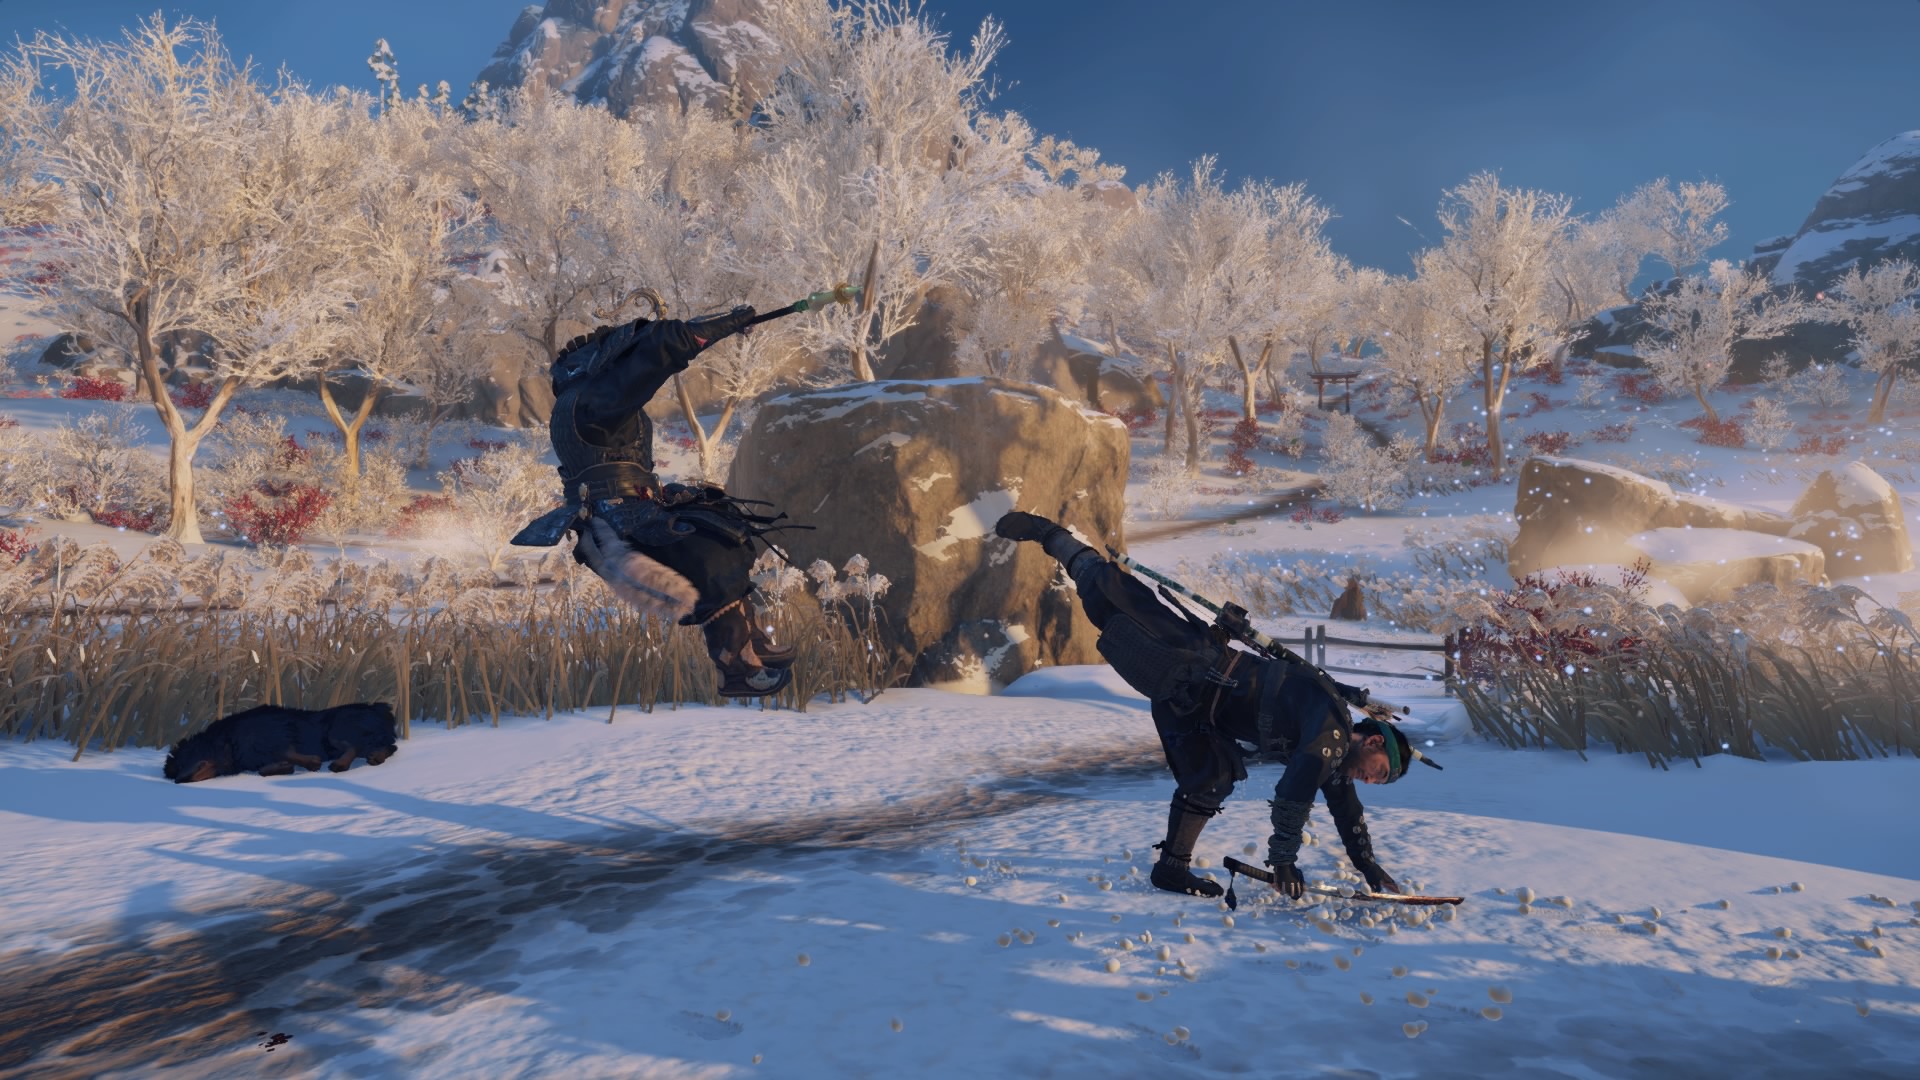
The standoff ability, too, should be near the top of your wish list. (Why the standoff, about as non-stealthy a game mechanic as game mechanics can get, is classified as a Ghost skill is beyond me.) Improve it, and you’ll be able to take out two or even three enemies in one standoff. Often, roving Mongol patrols travel in groups of four. By maxing out your standoff streak, you can quickly take out three and fire off an arrow for the fourth.
Personally, I also found a lot of use out of the ability that mitigates fall damage (from most heights). But I also approach open-world games with burning restlessness, and leapt off every cliff that came between me and my destinations. Maybe you’re patient enough to spend the extra 1.7 seconds looking for an alternate route. I was not.
It can be tempting to get Iron Will, an ability that allows you to revive yourself, early on. Don’t. Even after you rejoin the living, which costs two resolve points, you’ll come back with the barest sliver of health. To still stand a fighting chance, you’ll then need to heal yourself with another resolve point — and just like that, you’ve depleted your entire resolve reserve. Iron Will doesn’t make sense until you’ve buffed up that metre a bit. Once you have five or six resolve, it’s something to consider, but not before then.
Must-have skills: Concentration, Safe Landing, Improved Standoff Streak
With Ghost weapons, let intuition decide.
The Ghost weapons are neat but largely unessential. If anything, they serve as a way to mix up battles rather than save your hide. You’ll get the first one, a kunai that automatically targets and stuns enemies, by playing the story. What you get next is up to you, and it’s here where Ghost of Tsushima really allows for divergent playstyles. It’s best to just go with your heart.
But if I may offer some advice: Rather than trying to unlock every weapon at once, choose one and level it up all the way before moving on to the next. For one thing, it takes some time to learn how to balance all of Ghost’s various moves and abilities in the midst of battle. Slowly introducing new skills smooths that process out. For another, Ghost weapons grow exponentially more powerful with each level-up. Depending on your playstyle, you might get a kick out of these two.
For rowdy players, the sticky bomb is (sorry in advance for the pun) a total blast — so long as you wait to use it until after you’ve unlocked the second skill. That’ll protect you from the explosion’s adverse effects. Nothing worse than planting an adhesive explosive on an enemy’s face for them to turn heel and sprint in your direction. Levelling the sticky bomb past that both turns it into a fatal weapon and also significantly increases its blast zone. Fully leveled-up sticky bombs are essentially kunai that can stun five Mongols at once.
Wind chimes will surely thrill those who prefer a quieter approach. The way it’s presented, you’d be forgiven for thinking the firecracker skill is an improvement on and replacement for the wind chime. That’s not the case. Get that skill, and you’ll find both firecrackers and wind chimes in your arsenal. Stealth players, take note.
Must-have skills: Guarded Throw, Firecracker
The Best Upgrades In Ghost Of Tsushima
There’s a lot of stuff to upgrade in Ghost of Tsushima, and only so many supplies in your inventory to work with. You can quickly stock up on resources by equipping the Charm of Inari, but even that won’t magically grant you a fully supercharged arsenal. Some choice is necessary. Here’s where to start.
[referenced url=”https://www.kotaku.com.au/2020/07/ghost-of-tsushimas-best-early-charm-will-have-you-rolling-in-loot/” thumb=”https://www.gizmodo.com.au/wp-content/uploads/sites/3/2020/07/17/sydk0p85f3m0zfzgyp3u-300×169.jpg” title=”Ghost Of Tsushima’s Best Early Charm Will Have You Rolling In Loot” excerpt=”After an hour of flashbacks and melodrama, Ghost of Tsushima, out tomorrow for PlayStation 4, cuts you loose in an open world. The game features a whale-sized map, full of a dizzying amount of question marks and fogged-up regions. With all those options, it can be hard to know where…”]
Light spoilers follow — nothing about the plot, but if you’d rather learn firsthand about Ghost’s various unlockable armour sets and some hidden locations, turn back now.
Sharpen your blades.
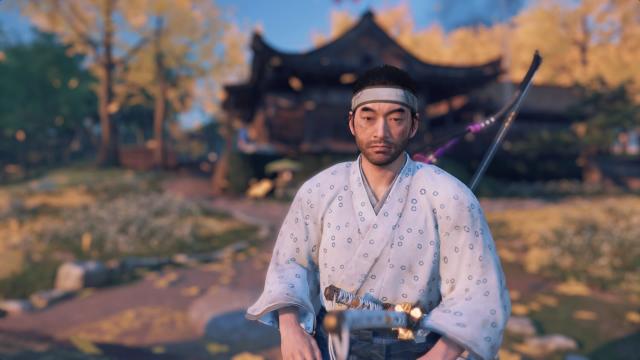
You have two blades in Ghost of Tsushima: a katana, for use in open combat, and a tanto, for “dishonorable” assassinations. (At every turn, Ghost of Tsushima shames you for using Altair’s playbook. These sporadic cutscenes have no impact on gameplay.) Your katana and tanto stick with you for the entire journey; they’re the only weapons you use, and you won’t be able to swap them out, so it’s a good idea to invest early on.
Dumping supplies and iron into the katana is helpful, particularly when you start going up against seven-foot-tall brutes and bosses with massive health bars. But don’t sleep on the tanto. When the tinier blade is maxed out, you’ll execute assassinations in the blink of an eye. Seeing as some story missions railroad you into a silent but deadly approach — where you’ll fail and reload if spotted — it’s wise to nab some stealth upgrades. Try to max the tanto out (it only has three tiers!) and get your katana to the fourth tier before the end of Act 1.
Get these: Katana IV, Tanto III
Bow down to your bows.
Jin’s bristly pal Sensei Ishikawa (voiced by The Expanse’s Francois Chau) will give you a half bow early on. It’s great in a pinch, and indispensable for managing crowds in the early game. But don’t lean on it to dish out massive damage. Just level it up to the point where the draw speed and reload speed are comfortably expanded. If you’re not landing headshots with the half bow, you’re probably not getting any kills with it, so don’t sweat the relatively meager damage output.
After completing the optional mythic quest “The Curse of Uchitsune,” you’ll add a longbow to your inventory. The longbow is terrific in all the ways the half bow is not. For one thing, you can zoom in. For another, it deals magnitudes more damage. Plus, heavy arrows pierce armour — crucial for landing headshots on helmeted enemies.
Honestly, the longbow is so good you don’t need to level it up. But those who like it will want to max out the range and zoom, turning the thing into a bona fide sniper rifle that can cover the span of an entire Mongol outpost. The final upgrade doubles its stability, something that sounds good on paper but doesn’t change much in practice. If you took my word and unlocked the slow-motion Concentration skill, you won’t need that stability bonus.
Get these: Half Bow III, Longbow IV
Don’t expand your wardrobe — tailor it.
When it comes to armour upgrades, it’s best to sit on your resources for a bit until you’ve pinpointed a playstyle that suits you. You’ll be able to upgrade everything eventually. It’ll just take a while until you get there. In the interim, you’ll get more bang for your buck if you pick one or two armour sets and max them out. Think things over for an hour or two of in-game time before you accidentally go all in on a wardrobe that, whoops, actually doesn’t mesh with how you want to push back the Khan’s invasion.
All players should spend some supplies on the Ronin Attire. Its boost to melee damage is key for efficiently clearing large waves of Mongolian troops, and is also invaluable in one-on-one duels. For sneak-and-stab missions, the reduced enemy detection speed is the difference between life and death (or, rather, an instant restart). There’s also a late-game mission that forces you to wear Ronin Attire. If you’ve left it untouched, you’ll be at a serious disadvantage.
Even though the Ronin Attire is well-suited for all situations, it’s not the best armour in the game. That honour arguably belongs to Tadayori’s Armour, something you’ll earn only after completing one optional mythic quest, “The Legend of Tadayori.” You won’t get any stealth or health benefits, but your archery skills will match Apollo. Every bonus included in Tadayori’s Armour is essential. When maxed out, you’ll notch arrows faster, increase your slow-mo metre by two full seconds (an eon according to an archer’s stopwatch), and restore a full half of said slow-mo metre with every headshot.
Don’t discount your first outfit, the Traveller’s Attire. The Traveller’s Attire belongs in a GQ cover shoot: It won’t help much in a fight, but you’ll want to wear it wherever you go. Not only does it look amazing, it’ll also cause your controller to vibrate whenever you’re within spitting distance of a collectible. What’s more, this high-minded couture defogs the map at a greater rate than lesser garb. Wear it as you travel between objectives. Swap to something more practical when duty calls. For reference, here’s a visual comparison of how much of the map a third-tier set of Traveller’s Attire will reveal:
That said, don’t max it out. The final stage of the Traveller’s Attire doubles the range at which it registers nearby collectables. Even at the standard 30 meters, it’s sometimes frustrating to find the one elusive thing setting off your sensors. Increasing the range to 60 meters makes it nearly impossible.
You might also find yourself enticed by the Samurai Clan Armour, with its damage reduction and health boost. Don’t fall victim to its wily ways. You’ll eventually find other armour sets that serve a similar, combat-focused purpose and also offer other bonuses — and look way cooler, to boot. You’ll want to upgrade those sets when you get them, of course, but at that point, you’ll have plenty of resources to do so. Until that happens, if you need a boost to your defence, just equip charms that bulk up your health bar and minimise incoming damage.
Get these: Ronin Attire III, Tadayori’s Armour IV, Traveller’s Attire III
Don’t get these: Samurai Clan Armour II, Traveller’s Attire IV
Don’t forget about quickfire ammo pouches.
You’ll never really want for ammunition in Ghost of Tsushima, but there’s nothing else to spend your predator hides on, so why not? Just don’t forget about the quickfire upgrades. I went the whole game without realising that I could increase capacity for kunai, smoke bombs, sticky bombs (a personal favourite), and something else you’ll have to find for yourself.
While you’re at it, increase your capacity for explosive arrows. You’ll be able to restock other arrow types at ammo caches in Mongol outposts. Explosive arrows are only found in rare chests — and they aren’t a guaranteed score, either.
Get these: Explosive Arrow, Sticky Bomb
Save your flowers.
Merchants in Tsushima will colour your clothing in exchange for Tsushima’s scarcest resource: flowers. Hold on to your flowers, at least until you discover the White Dye Merchant, in northwest Izuhama. This reclusive retailer sells, without debate, the hottest wares in the game. Flip through his lookbook before wasting your flowers on an Amber Assassin skin for Ronin Armour. To borrow a phrase from fantasy author Patrick Rothfuss (The Name of the Wind), a fearsome warrior wears red so you can’t see him bleed. A peerless warrior wears white. He doesn’t bleed.
Get these: Everything from the White Dye Merchant
More Ghost of Tsushima
[referenced url=”https://www.kotaku.com.au/2020/07/ghost-of-tsushimas-loading-times-are-so-good-that-they-had-to-be-nerfed/” thumb=”https://www.gizmodo.com.au/wp-content/uploads/sites/3/2020/07/17/maqxrt4ocbbh855luibk-300×169.png” title=”Ghost Of Tsushima’s Loading Times Are So Good That They Had To Be Nerfed” excerpt=”Ghost of Tsushima, out now, features some of the fastest loading times I’ve seen in a modern game despite its beautiful, expansive environments. They’re so short, in fact, that it’s often hard to read more than one or two of the gameplay tips the developers included as filler between gameplay….”]
[referenced url=”https://www.kotaku.com.au/2020/07/ghost-of-tsushima-the-kotaku-review/” thumb=”https://www.gizmodo.com.au/wp-content/uploads/sites/3/2020/07/15/ghost-of-tsushima-300×167.png” title=”Ghost Of Tsushima: The Kotaku Review” excerpt=”Ghost of Tsushima is a game of compulsion. Like most open-world adventures, everything is designed to get you to explore what’s over the next hill or across that nearby river. The map is peppered with question marks, many of which surround towns and temples in which you meet allies and…”]
You can buy Ghost of Tsushima here:
Leave a Reply