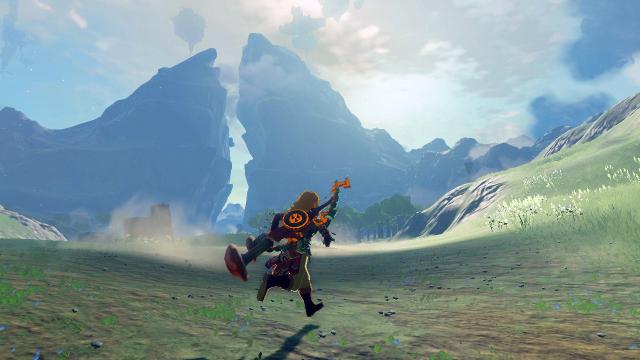
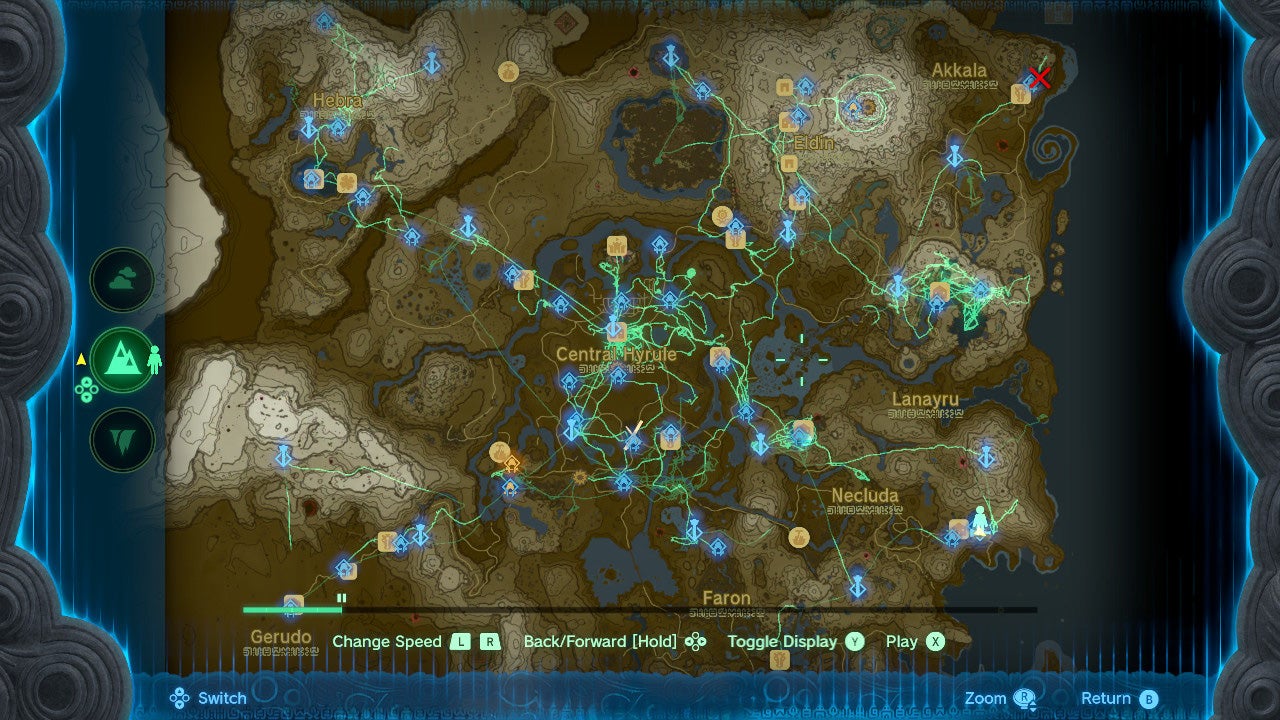
If you’ve spent a decent amount of time in Tears of the Kingdom, then you know the world is vast and filled with tons of fast-travel points by way of Shrines and Skyview Towers. Still, even with all those options, sometimes you need to get back to a specific location, and it doesn’t always conveniently line up with the game’s predetermined fast-travel spots.
Enter: the Travel Medallions, handy items you can use to pick your own fast-travel point virtually anywhere in the game’s world. You can earn up to three of them and, along the way, earn some other great upgrades to your Purah Pad as well.
How to get Travel Medallions in Tears of the Kingdom
Unlocking Travel Medallions will require a bit of work and a series of quests. We cover which quests to complete in our guide for farming diamonds. That guide will show you how to unlock the Sensor+, which is the same path you follow to get the quest to unlock Travel Medallions.
Read More: Tears Of The Kingdom: Best Way To Farm For The Rare Diamonds You Need
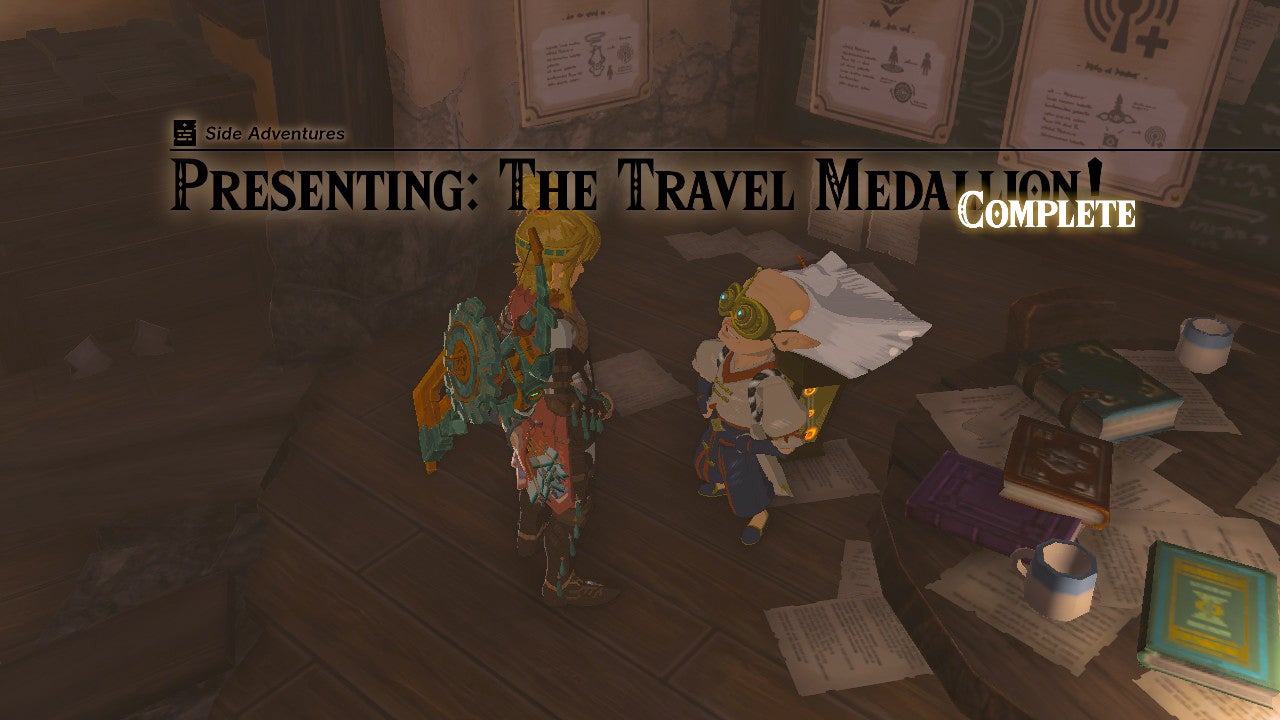
Travel Medallions are awarded by completing the quest “Presenting: The Travel Medallion!” which becomes available after you complete the quest chain consisting of “To The Kingdom of Hyrule,” “Camera Work in the Depths,” any of the four “Regional Phenoma quests, “A Mystery in the Depths,” and “Hateno Village Research Lab.” This will potentially take a few hours to complete, but by the end of it you’ll have unlocked the Camera and Auto-Build, in addition to being ready to grab some Travel Medallions (and more).
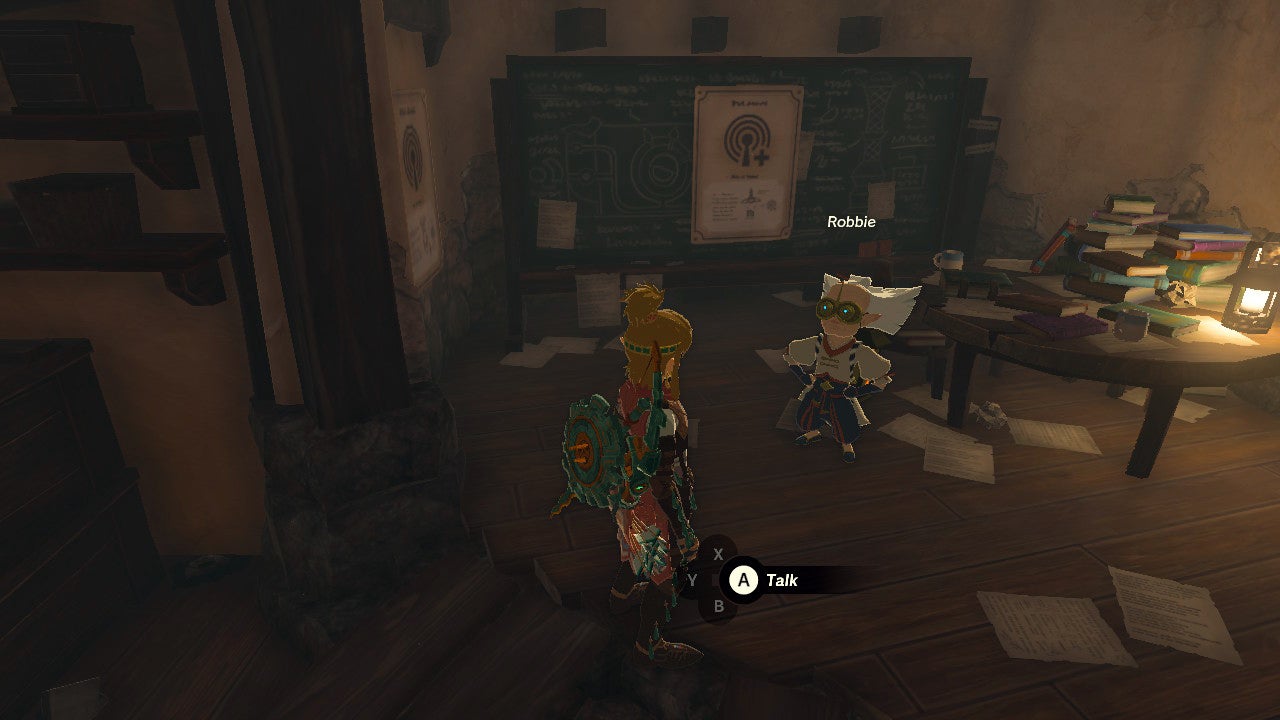
Once you’ve completed all these quests, talk with Robbie about Travel Medallions and he’ll get you started on the Travel Medallion quest, the first step of which sends you all the way to Akkala to Robbie’s abandoned lab from Breath of the Wild.
Robbie’s lab is tucked into the far northeast corner of the map. I recommend getting to the Ulri Mountain Skyview Tower, launching yourself and heading northeast. Be sure to visit the East Akkala Stable along the way and activate the Jochi-iu Shrine just northeast of it.
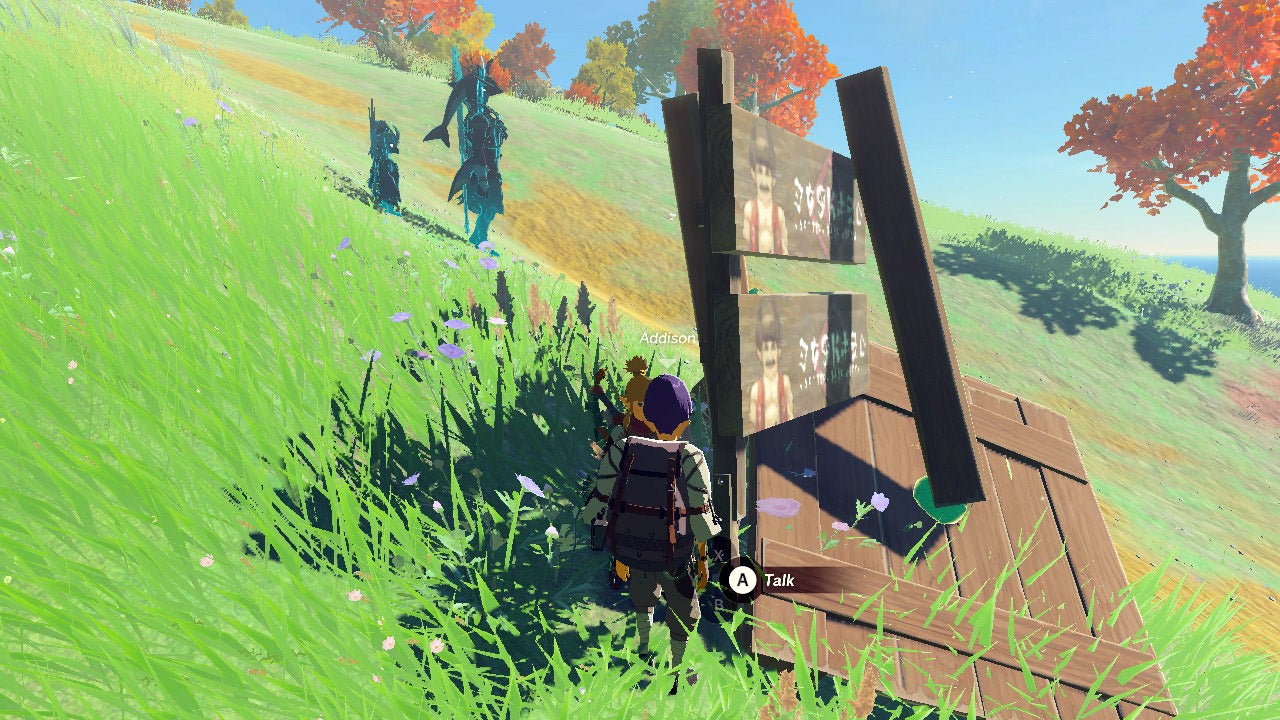
Continue up the path northeast. As a word of caution: The enemies in this area can be rather tough if you aren’t well-equipped. See our guides on essential armour and weapons to kit yourself out appropriately. You’ll also find Addison, yet again, struggling to hold up a sign. Give him a hand by stacking some items appropriately. (The steep incline of the hill makes this a challenging one. My solution wasn’t terribly elegant, but it got the job done.)
Once you get to Robbie’s lab, it will be clear things aren’t totally as they should be. The place looks like a wreck and there are some Clan Yiga symbols hanging around. Peeking through the hole in the door will actually reveal a Yiga clan member, which means it’s time for a fight.
Examine the door and two Yiga clan members will come outside to fight you. The larger enemy hits pretty hard, so if you don’t have great armour or enough hearts, you could be looking at one-hit deaths.
After defeating the Yiga clan members, enter Robbie’s old lab to have a chat with an NPC who’ll give you a piece of Yiga Armour. Then hit up the corner with a workbench. Inside a chest you’ll find the prototype Travel Medallion. Head back to Robbie in Hateno Village and give it to him. This will unlock your first Travel Medallion.
Unlock two additional Travel Medallions (and more)
Depending on how much you’ve played Tears of the Kingdom, you might be able to unlock Travel Medallions two and three right away. To get an extra one, you’ll have to unlock nine Skyview Towers, while the third medallion requires all 15 Skyview Towers. Speak to Robbie when you’ve accomplished this.
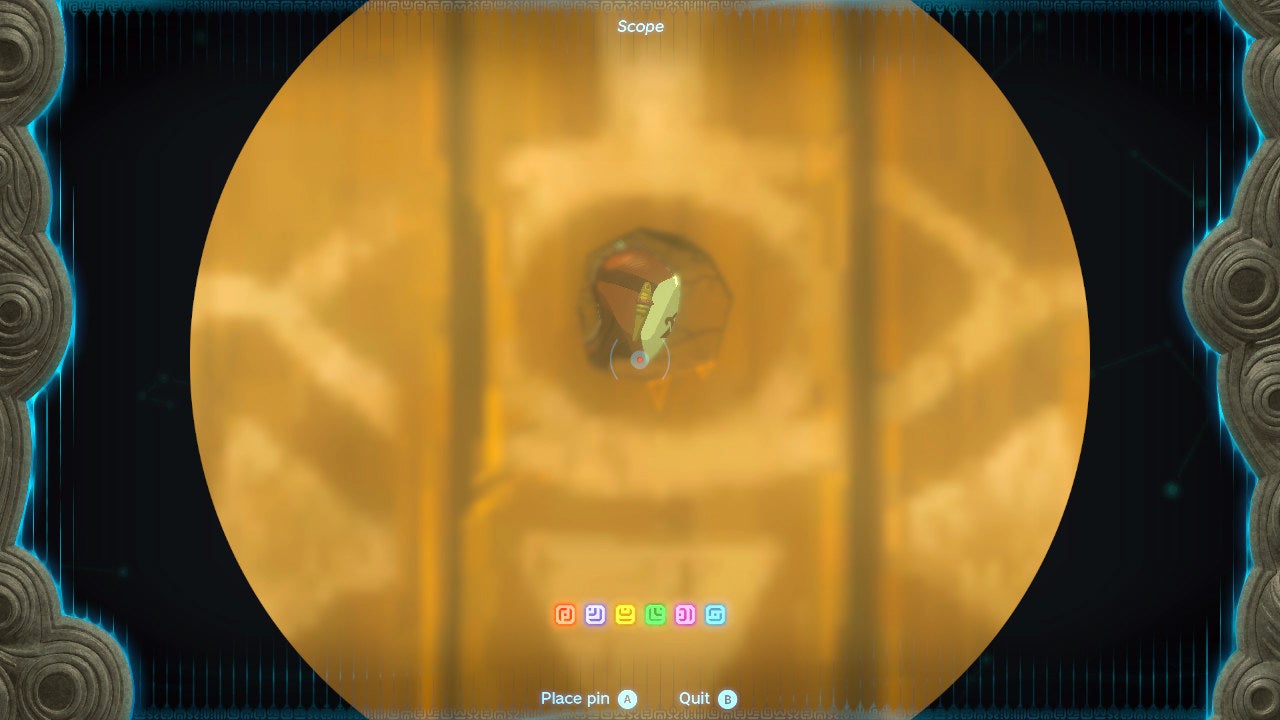
Here, Robbie will also give you quests for the Sensor+ (which lets you ping not only Shrines, but specific enemies and resources to aid in farming) and the Hero’s Path (which shows every place you’ve been on the map for the last 256 hours of gameplay). The Sensor+ will require you to photograph five different kinds of monsters, while the Hero’s Path requires you to finish 15 shrines. That last ability will even show you an animated path of your entire trip (or whatever fits into the last 256 hours of gameplay), complete with death sounds to indicate every time you died.
Why you should unlock Travel Medallions
There are a bunch of fast-travel points in Hyrule by way of the Shrines and Skyview Towers — so many that you’ll more often than not be able to get to where you need to go just by warping to one of these predetermined areas and hoofing it a little bit. So why would you need three custom fast-travel points?
One excellent use-case for Travel Medallions is farming resources and weapons. Various items and weapons are sometimes located in areas that might require as much as a few minutes of travel from a preset fast-travel point. By tossing down a Travel Medallion near a farming spot, you can continue to revisit areas quickly, making your farming techniques that much more effective.
If you’re hunting specific enemies to steal their resources or weapons, you can also place a Travel Medallion near a specific spawn point so that every Blood Moon (a sequence where enemies respawn on the map), you’ll have a clear fast-travel point to warp to. They’re also helpful if you’re well into one of the game’s temples or dungeons, and want to pop out to restore your health or stock up on supplies without having to navigate back to your current spot from the dungeon’s entrance again.
Also, Travel Medallions are very handy for just that: Travelling. If you’re just exploring and taking in the sights, Travel Medallions help you revisit areas you might like, but they also can be placed down near campfires and cooking pots, or even specific stables where you’ve boarded a horse. You can also place them in safe areas along a path so that if a thunderstorm occurs, you can warp back to a specific area to wait it out without necessarily having to backtrack too far.
Read More: Tears Of The Kingdom’s Horses Are Invaluable, Here’s How To Tame Them
With three different Travel Medallions, you can have designated areas for farming, safe travels, and the joys of taking in the pretty sights of Hyrule.
Leave a Reply