Just as we were getting a hang of Destiny‘s latest six-person raid, Bungie releases a new hard mode to keep us on our toes. Enemies are tougher, bosses have a few new tricks, and… well, everything else is pretty much the same. Still, some tips are in order.
Launched this past friday, the “heroic” version of the King’s Fall raid suggests a light level of 310 and, in addition to a few new surprises, removes the ability to revive teammates who go down mid-fight.
I spent the last weekend working through the Hard Mode raid on all three of my characters, and while we didn’t defeat Oryx — much respect to any who did — I still figured I’d share and solicit some tips on the sections leading up to him.
Before you start:
Pick a Good Team: You’ll want to have players who have all beaten the raid on Normal Mode multiple times and are comfortable with the basic mechanics of each fight. Everyone should be around 305 light, minimum — it’s certainly doable if you’re lower, but get too low and you’ll have trouble mustering the DPS you need to bring down bosses quickly.
Gear: As usual, bring a good sniper rifle and a good LMG. Hopefully you have some solid raid guns at this point. Touch of Malice makes the final two encounters much more manageable.
Classes: Hunter Nightstalkers are prooobably the most important class to have along for Hard Mode, due to the fact that their tether can significantly increase the team’s DPS on bosses. Titan Defenders are a close second. Warlocks… well, sorry Warlocks, you’re not actually that useful in hard mode. A team of three Hunters and three Titans would do very well.
Attitude: Hard mode isn’t that hard, and if you’ve been raiding consistently since The Taken King came out, you should be fine. All the same, go in with the understanding that you’re gonna fail more than you might be used to. Relax and go with it, and be open to the idea that your problem could well be that your light is just too low.
Let’s start at the very beginning, a very good place to start. Though it could probably go without saying, spoilers for King’s Fall Hard Mode follow!
1. Opening the door.
This section is mostly unchanged. My main tip is, don’t get too cavalier about rushing in to dunk the relics; those Taken centurions in the middle hit a lot harder than they do on normal mode.
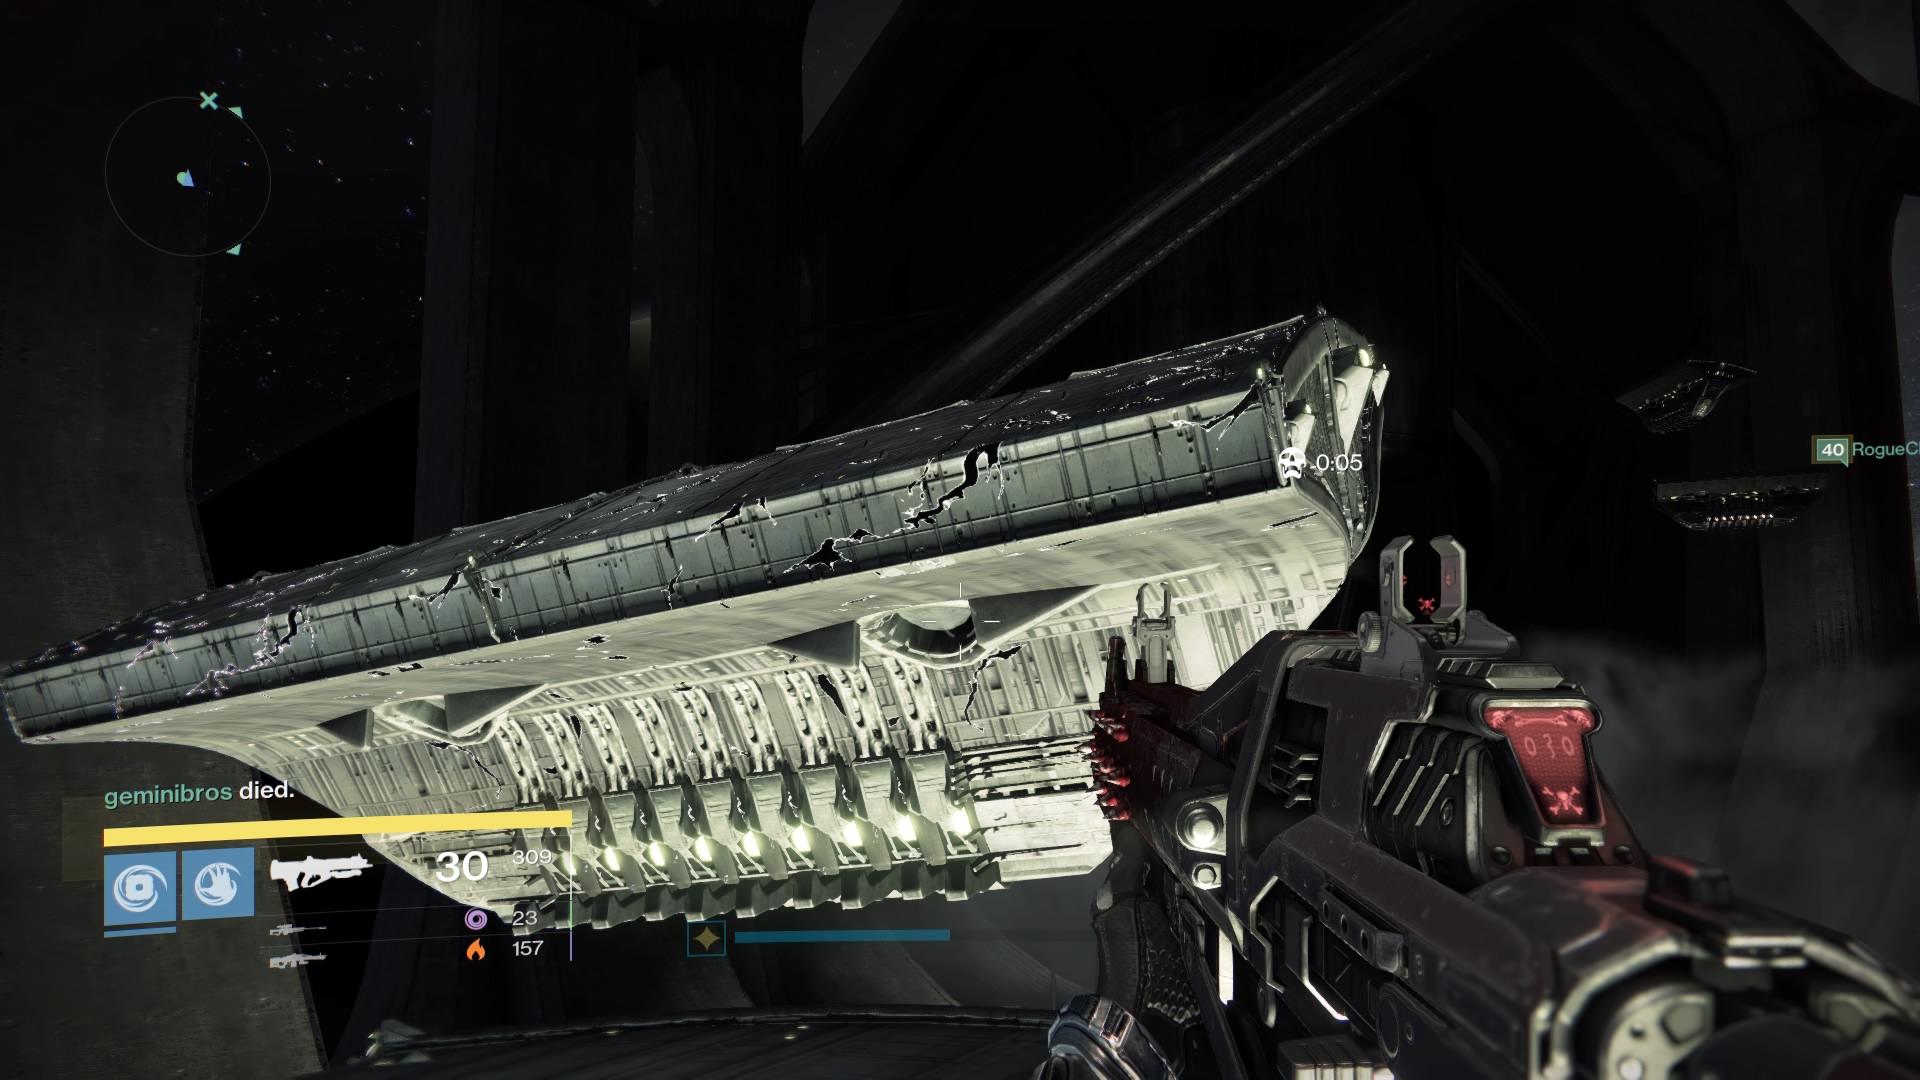
2. Tomb ship platforming.
It’s the same as before, with the sole change being that the checkpoint platform has been removed. If you fall near the end of a run, you’ll have to start over at the beginning. What a shitty change! It’s kind of a “fuck you” to anyone who complained to Bungie about this section, and it sure does make it even more frustrating for the one person in your group who always falls and makes everyone wait on them. If you’re that person… sorry.
3. The relay race.
Not much has changed here, either, though partway through you’ll start seeing some yellow-bar knights charging out toward the totems. Players discharging on the central plate should keep an eye on the warp door (after dealing with their wizard). If they see a knight coming through, they should drop everything and bring it down.
Other than that, the usual strategy applies. The best tip for this is that when the transfer is complete out on the totem, the person who’s about to head in should stay long enough to deal with the boomer knight that walks out onto the balcony overhead. A headshot from a 1000-Yard Stare or comparable sniper should still do the trick, even on hard mode. (The raid sniper needs two shots, which is a bummer.)
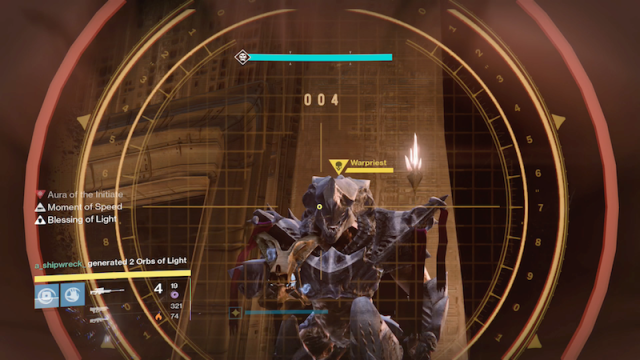
4. The Warpriest
Hello, and welcome to the new most difficult pre-Oryx fight! I’m betting this is the fight that stymied a lot of groups over the weekend. The increased difficulty isn’t obvious at first, but everything has been dialed up until you’re regularly at risk of losing one or two players.
Split into your regular groups of two. Make sure everyone’s on the same page regarding what to call each platform. My team calls the platforms one, two, and three — as you walk into the room and face the Warpriest’s stage, one is to your right, two is in the middle, and three is up top on the left. Here’s a map:

The biggest problem in the Hard Mode version of this fight is actually the Warpriest himself. He wasn’t a big deal on Normal Mode, but on Hard his gun will do crazy damage and can eviscerate an unaware player. That’s a big problem for the people who hang out in the middle at platform Two.
Fortunately, there’s a way to deal with it: your two central players should go all the way up to the front of the room, underneath the lip of the stage. The Warpriest won’t be able to shoot at them, and it’s easy to deal with the waves of thralls and knights as they enter the room.
The fight’s new Hard Mode mechanic is the fact that after each round of DPS, the Warpriest gains a new Taken ability. These abilities are tied to which obelisk you hid behind at the end of the preceding DPS round. We found that it was best to do our first DPS round from platform one, since afterward he’d get the easy-to-dodge Taken Captain blinding cloud. (Obelisk two gives him a Taken Hobgoblin homing rocket, which can wipe out an entire team on a DPS round. Obelisk three gives him those Taken Centurion homing orbs, which we never really had to deal with, since we always killed him before that if we made it that far.)
Our approach was to clear enemies as normal untill the sequence started. One of our players (usually me) in the middle under the stage would call out the order, which, incidentally, always started with platform three. Whichever person wound up with the aura, we’d all convene on platform one. Our Titan would drop a bubble with blessing of light behind us, which everyone would grab to help us stay alive. We’d then tether and DPS the shit out of the Warpriest. If we did everything right, we were able to carve off around 50% of his health in a single go.
For the second round, we’d go to platform two and try to finish him off. If we didn’t beat him on the second round of DPS, we’d just re-convene in the middle on the third round and finish him off.
One last funky tip for this room that I picked up over the weekend: If you do wind up choosing to go to platform three (the high one) for a DPS round, don’t have everyone make the climb up to the platform. Instead, you can congregate under the platform and still be safe in the shadow of the Obelisk. Go check it out before you start the fight; you can see the shadow.
OK! You beat the Warpriest. If you’re like me, you got a 310 harrowed rocket launcher, aka the worst roll you can possibly get on a harrowed gun. Whoo-hoo! RNG is awesome. Let’s keep going.
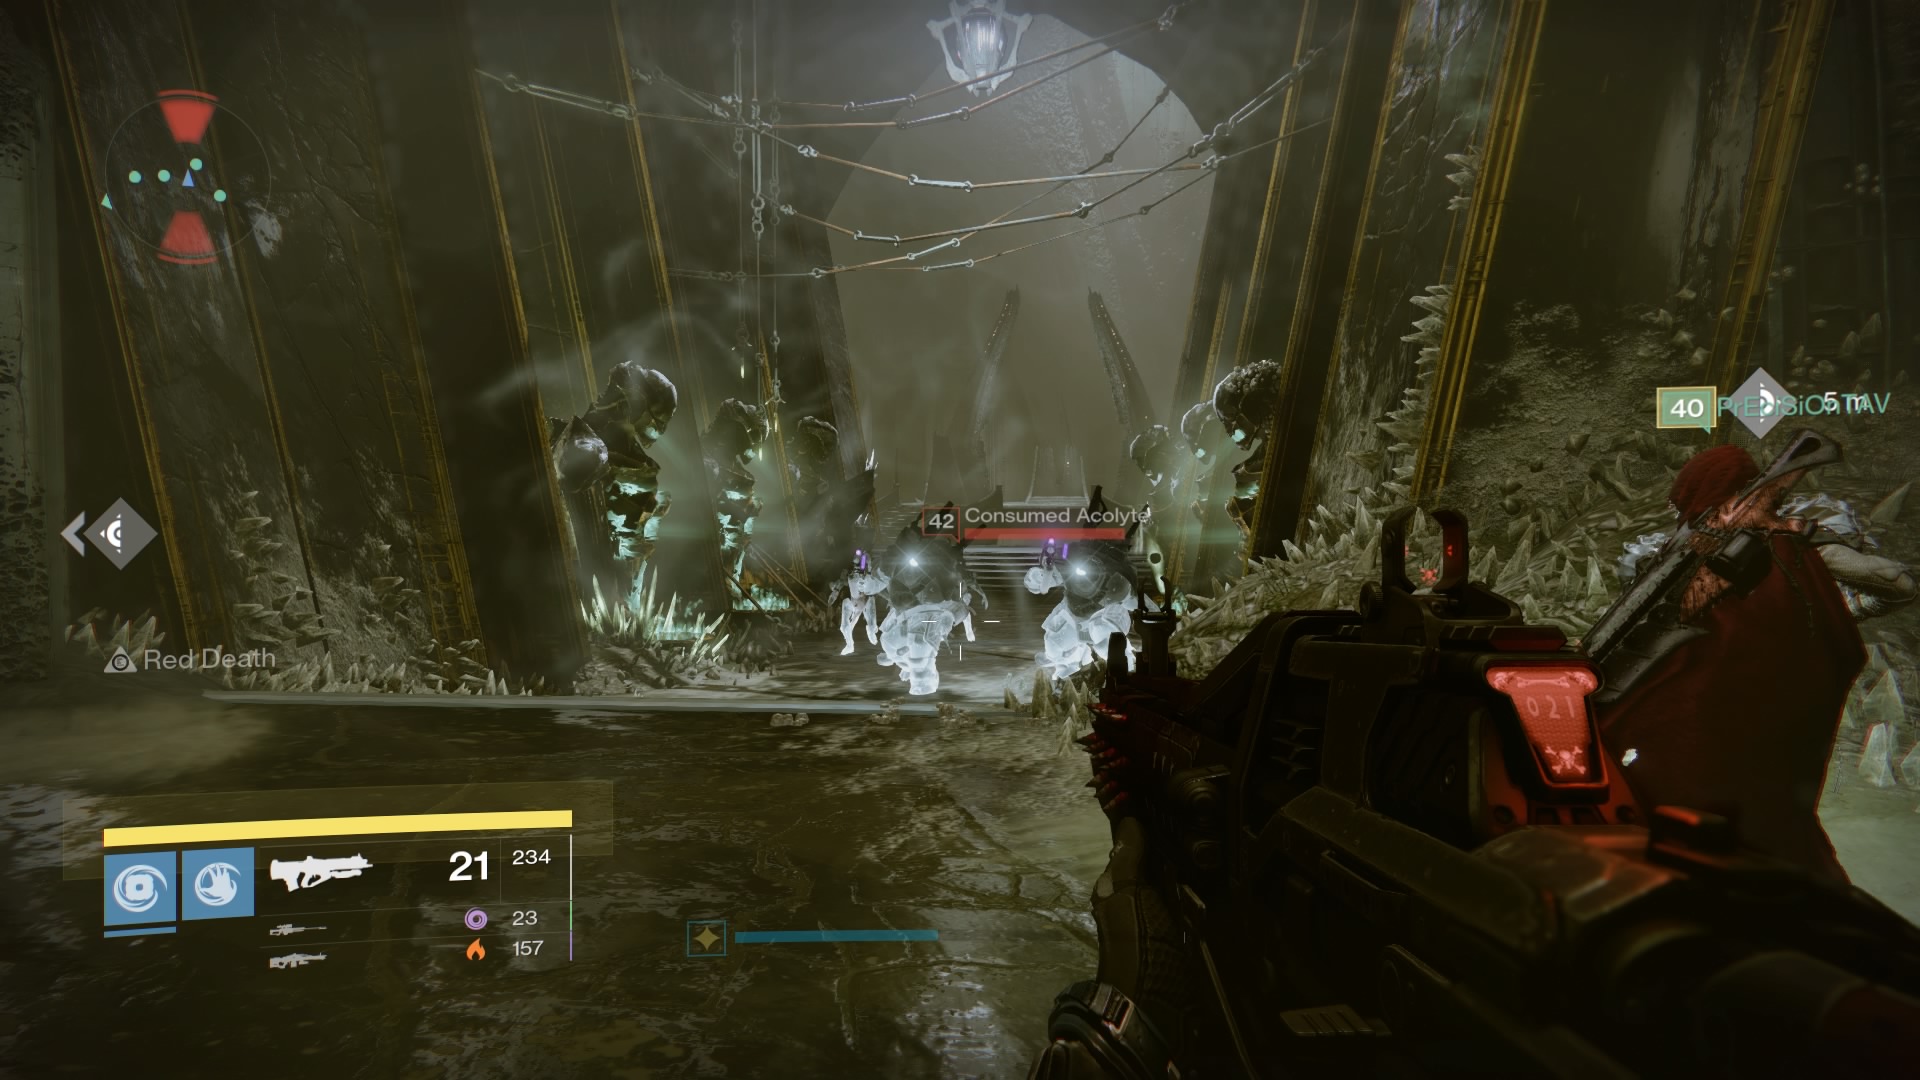
5. Golgoroth’s Labrynth
Unchanged. We don’t even care about moldering shards anymore, so my group actually wound up skipping the chest.
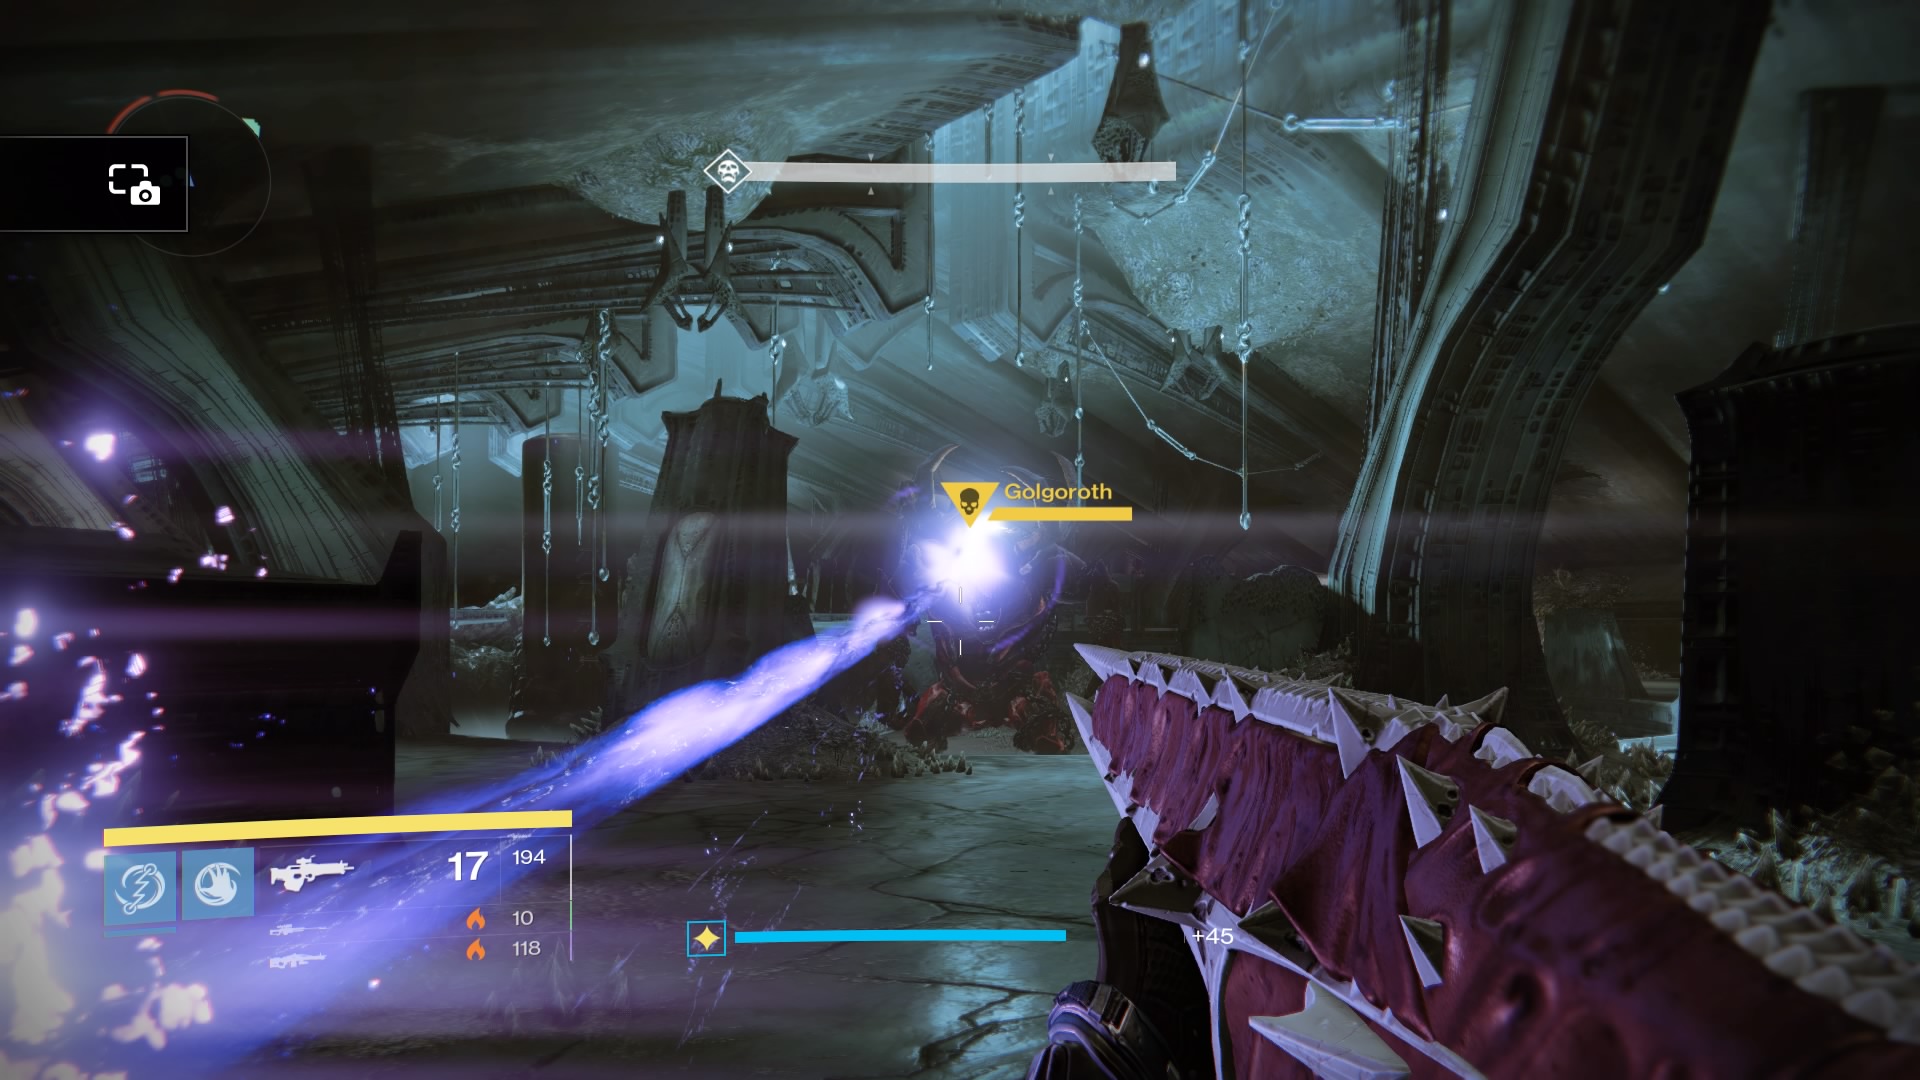
6. Golgoroth
Here’s some good news: You can still use the one-gaze strategy on Golgoroth. I was convinced it wouldn’t work in Hard Mode, and it’s a relief that it does.
So! Split into the usual left-side/right-side teams. Clear out the first round of enemies. Have your gaze-grabber (preferably a hunter with shadestep) go and prepare to grab Golgoroth’s gaze, while a few other players get ready to knock down an orb. We have our grabber go over on the left side of the room, and we knock down the left-middle orb for DPS. Do whatever makes you happy, though.
As your hunter grabs the gaze (and shadesteps away from Golgoroth’s orbs to break their lock-on), the rest of your team will be in the pit doing DPS to the boss. (Black Spindle is tremendous for this — time to infuse that sucker up past 300 if you haven’t already.)
At the end of the round, someone who was standing in the pool of light will be hit with a new debuff called Unstable Light. That person have to get clear of everyone else before their timer reaches zero, otherwise the debuff’s explosion will kill anyone near them. You don’t actually be that far away from everyone — just keep an eye out and call out if it’s you, go run off into the corner for the detonation, then get back in cover. Bonus points if you do what my team does and say, “I gotta go fart” before going off to do your business.
Congrats! You beat Golgoroth and got some decent armour that you’ll probably just infuse into something else. Onward to…
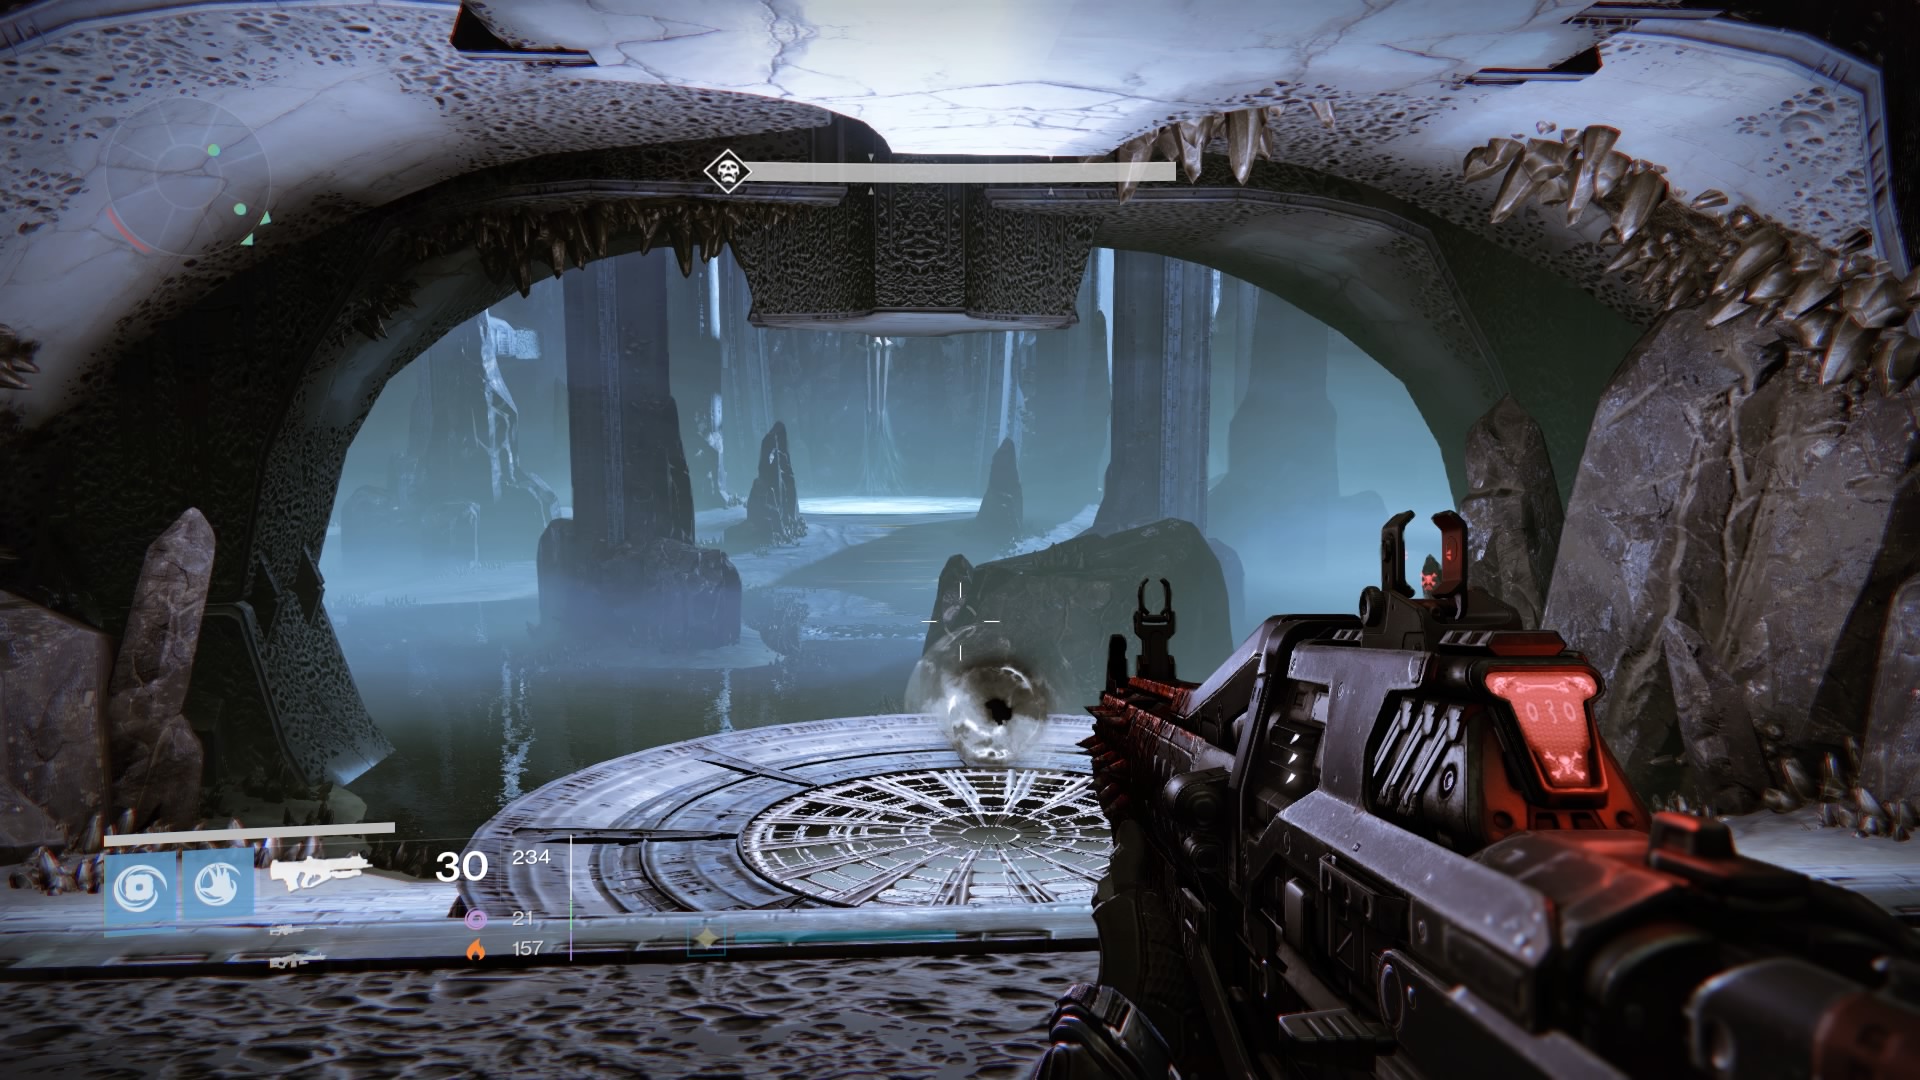
7. The Death-Plunger Jumping Puzzle
No change here. Be sure to take off your old Bones of Eao before opening the chest, Hunters.
8. The Daughters of Oryx
This fight’s not too bad. The big change is that there’s no downtime between rounds, so you’ll have to communicate well and move quickly. We were still able to bring the daughters down in two rounds, but if you don’t have many Touch of Malices in your group, it’s fine to go three rounds.
After taking out the first Daughter, we had one of our hunters designated as the person who would throw a tether into the space between the pedestals where the new enemies spawn in at the start of the second round. That tether makes it much easier to deal with those enemies, which frees people up to get to their platformas and take out the snipers that appear above them. The snipers appear much faster than you may be expecting, so keep an eye on the timer. Nail your marks and this shouldn’t be too much of a problem.
9. Oryx Himself
We… didn’t beat Oryx on any of my Hard Mode attempts over the weekend. Related to that, my first tip is probably: Don’t worry too much about beating Oryx this week. Sure, if you want to spend a few hours banging your head up against the fight, you can do that… or you could just play through the first parts for a couple weeks, get your character’s light more comfortably in the 310-315 range, and take Oryx down once everything is a little more settled and comfortable.
If you do want to take Oryx out, there’s one strategy that sounds like it works better than other ones. It’s well explained here by redditor pirated-ambition.
The gist: Your three platform-standers simply get on their platforms, do a bit of damage to their ogres, but mostly just stay alive. Two floaters sit up on the Daughter’s pedestals and help get all four ogres down to about a third of their health. The runner grabs the brand, and everyone kills the central knight. Everyone convenes on a Daughter platform to DPS and stun Oryx, then everyone brings down their ogre and quickly detonates their light before the new hard-mode knights have a chance to do anything.
The strategy is tricky, but it bypasses those troublesome new knights, so I’d imagine it’s easier than killing the ogres immediately like we would on Normal Mode. You can watch a team pull it off here:
(I love how at the end, the dude gets a 313 chest piece… and that’s it.)
If you have any other pointers, I hope you’ll share below. Good luck out there, and remember — if you’re stuck and it’s bumming you out, you can always come back and try again next week.
Comments
5 responses to “Tips For Hard Mode In Destiny’s King’s Fall Raid”
Pretty much how we have been doing it. I disagree with Warlocks being useless. I’m maining one atm and Stormcaller is great for clearing adds in the first two stages before the Warpriest. After that, I run Sunsinger with Self-Res. But just to add some tips for the Warpriest:
1. Titans should run Weapons of Light, instead of Blessing. The difference in damage adds up. But it’s important to stagger the boss ASAP when you get inside the aura or else people will die. Our group ranges from 302-307 light.
2. We use the same strategy of going to number one platform first. We then do middle. Boss is dead in two runs. We can actually get him to 1/3 health on the first run. Weapons of Light is one reason. But the other tip: the player with the brand should be sniping the Warpriest in between killing his adds. It makes a hell of a difference. And obviously, the person with the brand should be waiting til the timer is at 1-2 seconds before killing an add. I know it isn;t always possilbe, but the closer the better.
We also didn’t beat Oryx. We spent ages getting to him and we just couldn’t be bothered. We had four or five goes, but just couldn’t survive. We plan to just run the hard mode a few times until we get higher light, then have another crack at him.
Agreed with warlocks, I’m not sure how someone can say during a hard mode raid with no res’s that a selfing resing warock isn’t handy, I’d say it’s the handiest class of all. Also stormcaller is great for ads in the middle of the warpriest room or during golgy when the taken spawn in.
Weapons of light is massive. Added 15-20k per black spindle shot on golgy. If you’re running hammers though, change your melee to the melting point perk and you can punch golgy to much the same effect and everyone doesn’t have to worry about running in and out of a bubble.
We figured we’d just get everyone’s light over 310 at least before attempting a serious crack at oryx. I’m still running on legs and a bond below 300 for my warlock. All that keeps on dropping are chest pieces and rocket launchers 🙁
Just a word of warning from experience – Melting Point doesn’t stack with Shadowshot, they actually cancel each other out. It’s because they both debuff the boss – for whatever reason you can’t have two of the same “effect type” active on the boss at the same time.
WoL/Melting Point or WoL/Shadowshot are fine though, because WoL is a buff to you rather than a debuff on the boss.
It can work pretty well to alternate between a Titan with Melting Point and a Hunter with Shadowshot if you’re short on orbs though.
Agreed on Sunsinger Warlock though – they’re almost always a solid class choice on Hard Mode with lack of revives. Plus it means you get to use silly DPS Tlaloc more of the time!
EDIT: I should say, they don’t cancel each other out as such – just that only one will be active, not both.
@sernobulus Hahahaha!
Also worth noting that sunsinger self-res doesn’t work if you get killed by the the Brand of the Initiate in the Warpriest encounter – one too many rounds I’d make a metal note of add placement, look away for about 3 seconds to empty a sniper mag into the boss, and look back to find they’d all buggered off. Good tip about the left obelisk, tho – will have to try that this week.
Had a decent run over the weekend with a PUG group – got to the Daughters in about an hour to an hour and a half. Then everything fell apart – people not notifying everyone when they were torn or just saying “I’m torn” or “it’s me” (for the love of god, if you’re playing with people you don’t know, even if it’s just one or two new guys in your team, refer to yourself by name – effective communication makes things so much easier). Frustration ensued, and after an hour or so of this, people called it quits for the day. Can’t say it wasn’t worth it, tho – a few drops got my warlock to 310.
Tips for Oryx
1: Kill ogres and knights, I cannot emphasise enough how lazy and imcompetent a team must be if they struggle with this. Platforms 1 + 2 should easily kill their ogres and the knights spawn quickly after. 3rd ogre is a little trickier and killing the 4th ogre and knight uses a slightly different strat – the floaters should be focusing on it and keeping an eye out for the knight during the stagger oryx stage. He’s not that tough.
2. Bring the right guns. As much as it irritates me considering Bungie’s stance about everything being viable. Some weapons are vastly superior to others. If you haven’t already realised, the best way to bring down the ogre and knights are sniper rifles. The best group of snipers are the 1000-yard stare stat group. The raid sniper greatest weakness is that it can’t kill enemies and shouldn’t be used.
3. Titans: author of the article is wrong, Defender Titans are always the most useful class in any PvE environment, there is no comparison. In the fight your permanent floater should be a titan who pops a blessig shield in the middle. You ideally want at least one more.
4. KISS: The best strat to use in any oryx fight is the one that is the most easily understood by th team. The successful ones for me were literally kill ogres and your knights. Run to the middle when the runner grabs the relic (where a titan shield is there) The floaters kill the 4th ogre and the extra floater (determined by where oryx slammed) just keeps an eye out for the knight while everyone else DPS’d oryx
Relic runner and designated floater focus on adds while everyone else detonates bombs and returns.
5. LFG
How to spot a bad player: Uses the weong equipment and refuses to change them if they actually have the option to do so. Keeps screwing up their role and accepts no blame – e.g not taking out their correct knight. Boot them, a good player will admit to their mistakes.
A bad team leader: If they start any plan with a phrase that sounds like they’re bragging about how good their usual team is (“my group can clear oryx in one go) consider leaving. This host has not made the fundamental connection that they’re not playing with their team and should instead anticipate less cohesiveness and use a plan that’s as simple as possible.
Expect them to get upset when they’re too difficult plan falls apart and to place pressure on others (“I have to go soon”). They’ll also tend to take the easiest role (floater) so they can criticise everyone.
Very well said, especially #5.