While there are plenty of amazing pre-built mechanical keyboards on the market these days, it can be tough to find one with the perfect combination of switches, keycaps, case and electronics. The solution? Build your own. It’s much easier than it sounds. It just takes the right parts, a couple of tools and a relatively modest investment.
There’s nothing wrong with buying a fully-assembled keyboard from a brand-name manufacturer. There’s a chance that the perfect keyboard for you just happens to be made by Ducky or Filco, Coolermaster or Razer. I own keyboards from each of these companies, and I enjoy typing on each. But there’s something special about putting together a keyboard from parts, taking a pile of switches, a case, a printed circuit board and keycaps and creating a thing you can use every day.
The board I assembled for this project is exactly how I wanted it to be. Here’s how it all came together.
Parts
The PCB And Case
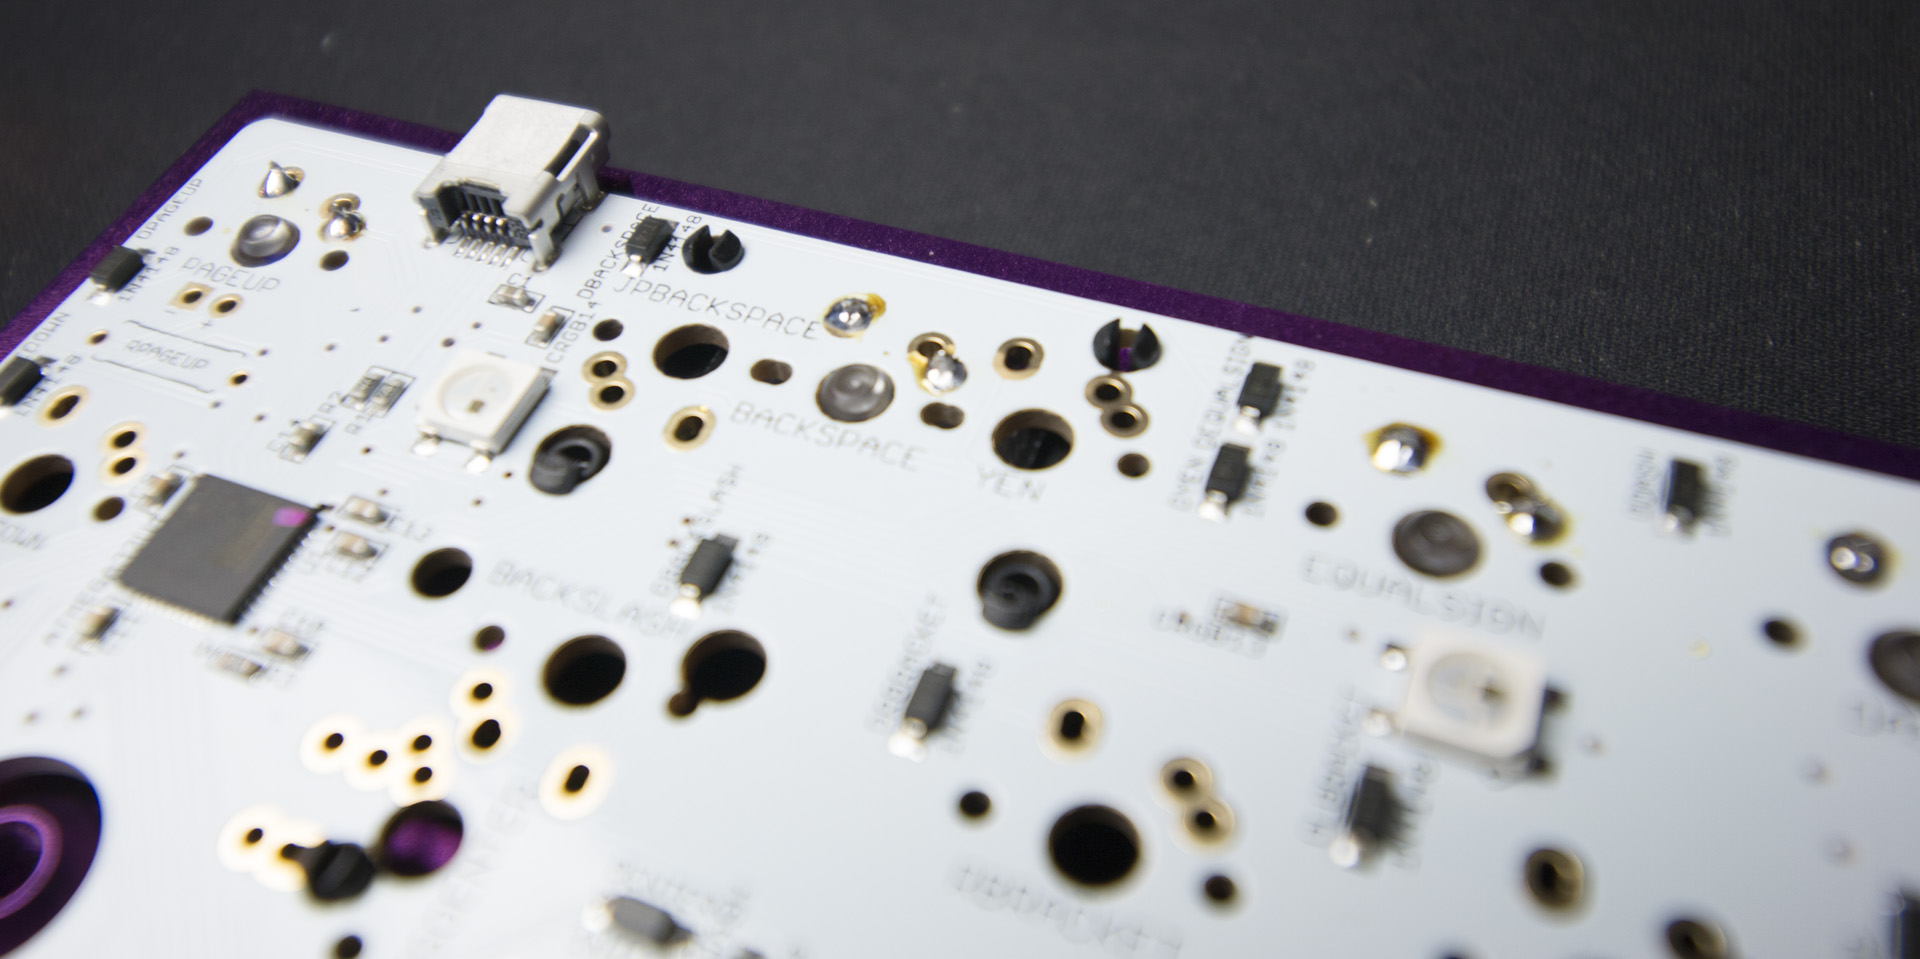
The PCB (printed circuit board) serves as the base for almost all keyboard builds (save the brave hand-wiring crowd). It’s what allows the signals from the switches soldered onto it to communicate with the computer. It really ties the whole thing together.
Some PCBs require a lot of extra toil to get into working condition. My first build, an ortholinear (keys are in line instead of staggered) split board called the “Let’s Split,” had me soldering on two controller chips, a pair of ports to connect the two halves, a whole bunch of resistors and then the key switches. From my second build, I went with something a little simpler.
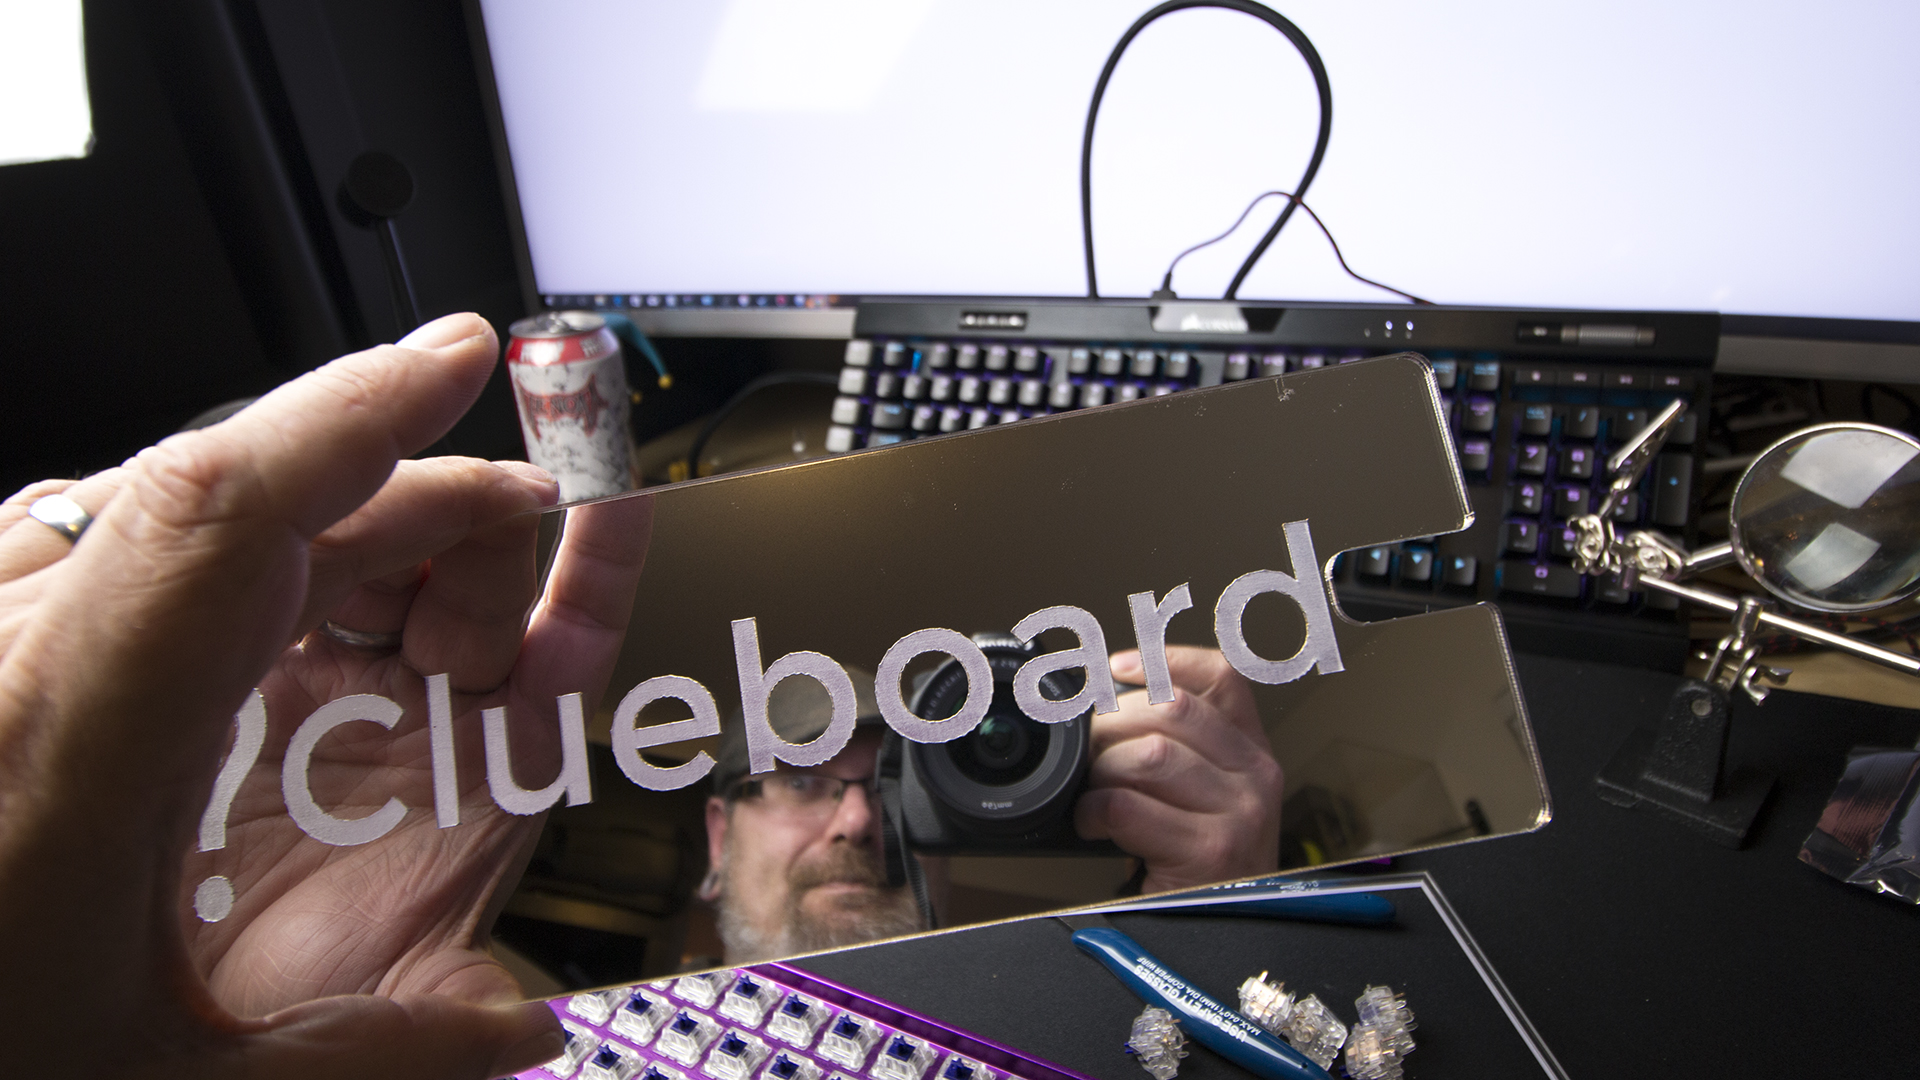
Clueboard
Clueboard is a company that makes a damn fine keyboard kit. The fully-programmable PCB comes pre-soldered with resistors and controller, so all you have to add is the switches of your choice. It’s a 66 per cent board, so it doesn’t take up a lot of room, while still featuring the all-important arrow keys.
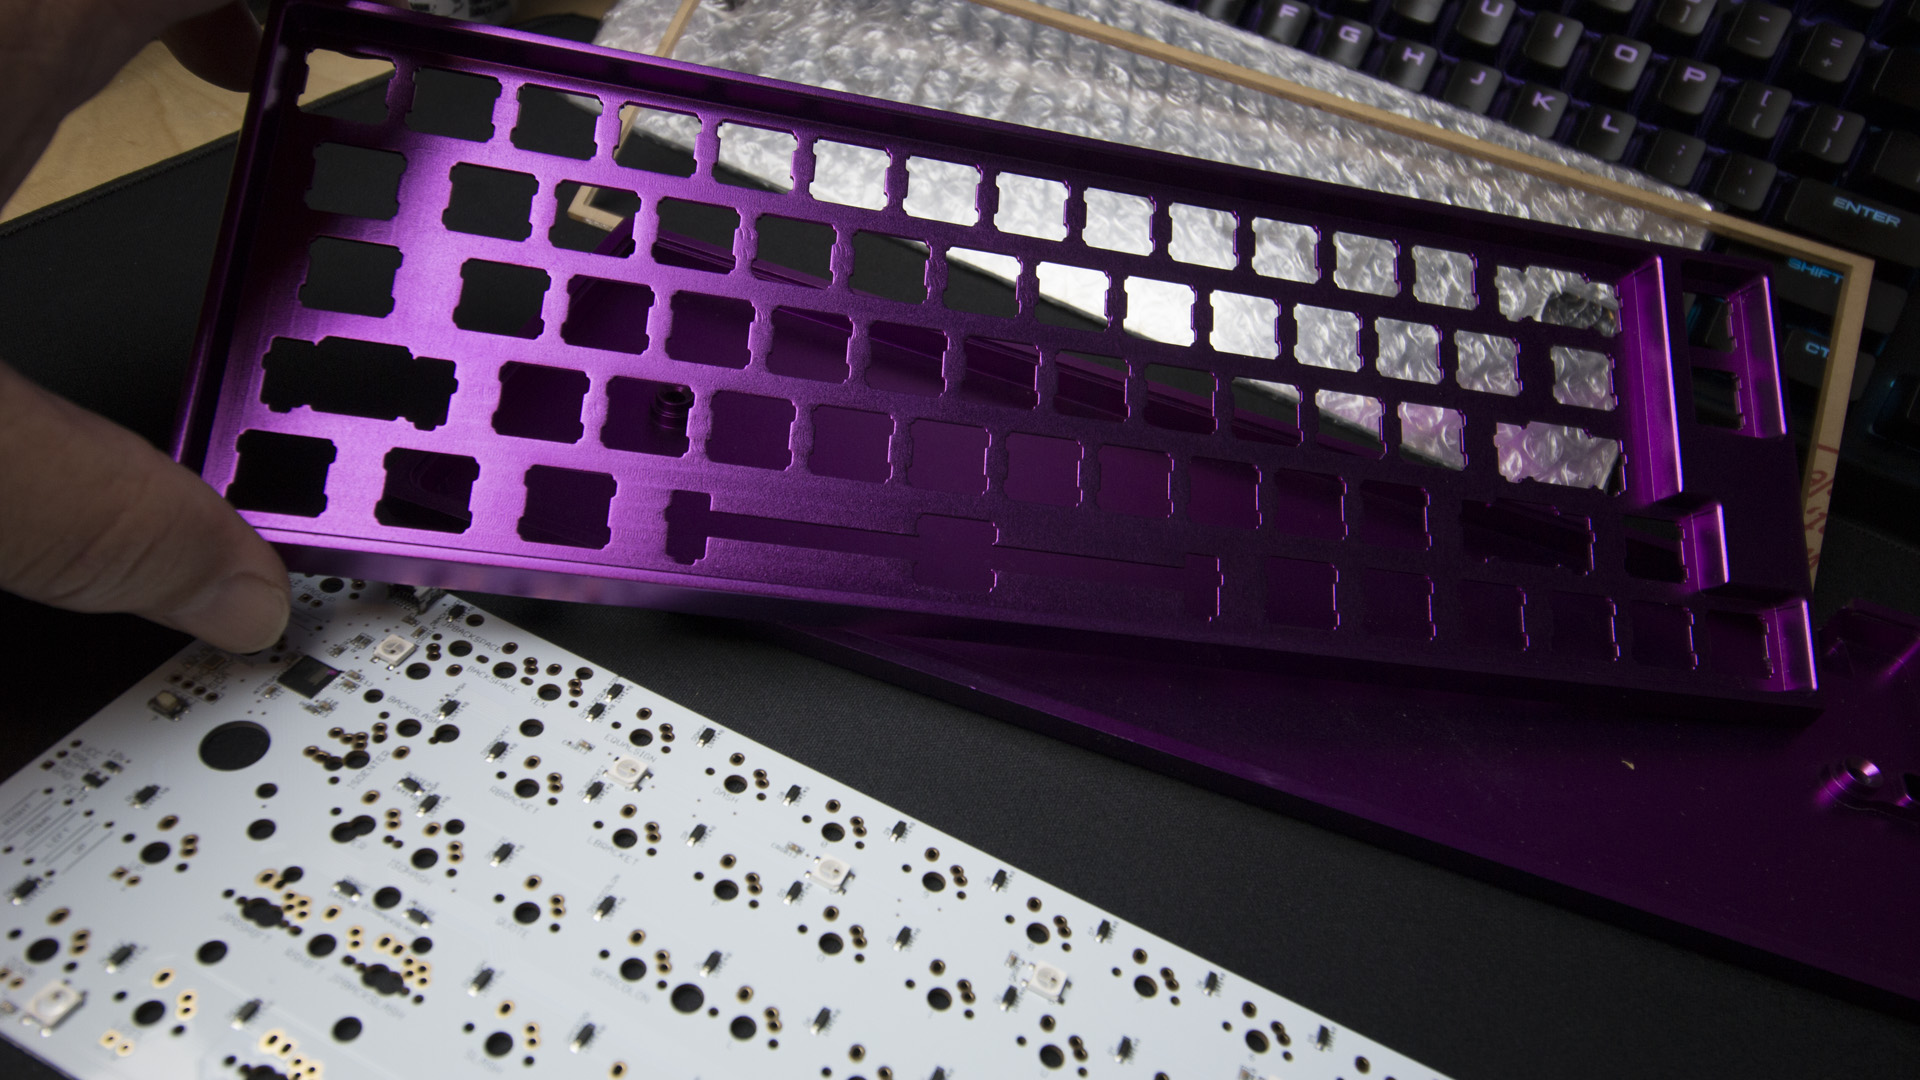
The other cool thing about the Clueboard is the CNC aluminium case. If the PCB is the heart of the keyboard, the case is the foundation. A sturdy board is a steady board. Beyond weight, the materials of the case affect how your switches and caps feel and sound.
There are less expensive kits to start with, but this was my second build, so I thought what the hell? Though Clueboards are generally sold through group buy sites like Massdrop, the folks at the company were nice enough to let me buy one of the units they had made for demo purposes at full cost, tossing in the lighted accent kit for free.
Cost: $US230 ($289)
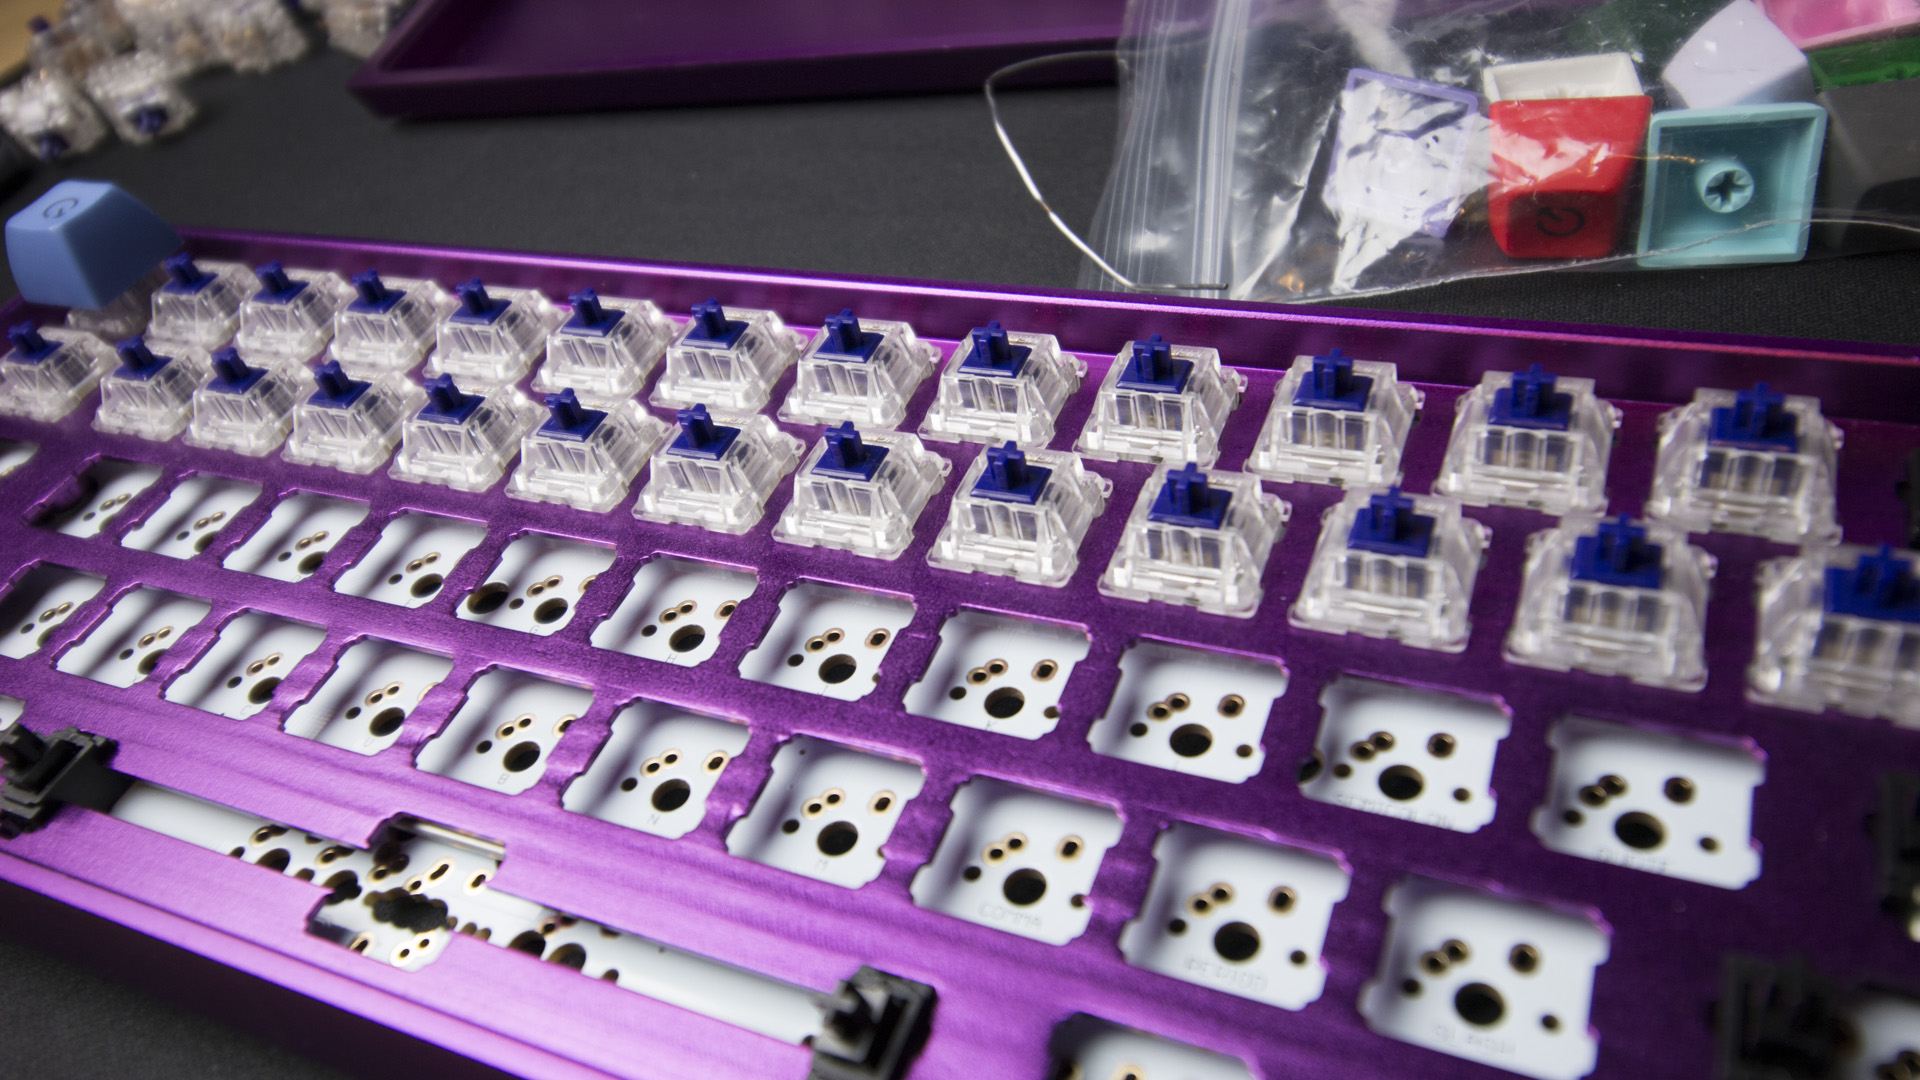
Switches
Which keyboard switches are right for you? The ones that feel the best. I’ve been in plenty of heated discussions about the merits of one colour Cherry MX switch or the other, tactile versus linear, genuine versus clone. None of it matters. What does matter is how the switches you pick feel to you. To me, Zealios switches are damn near perfect.
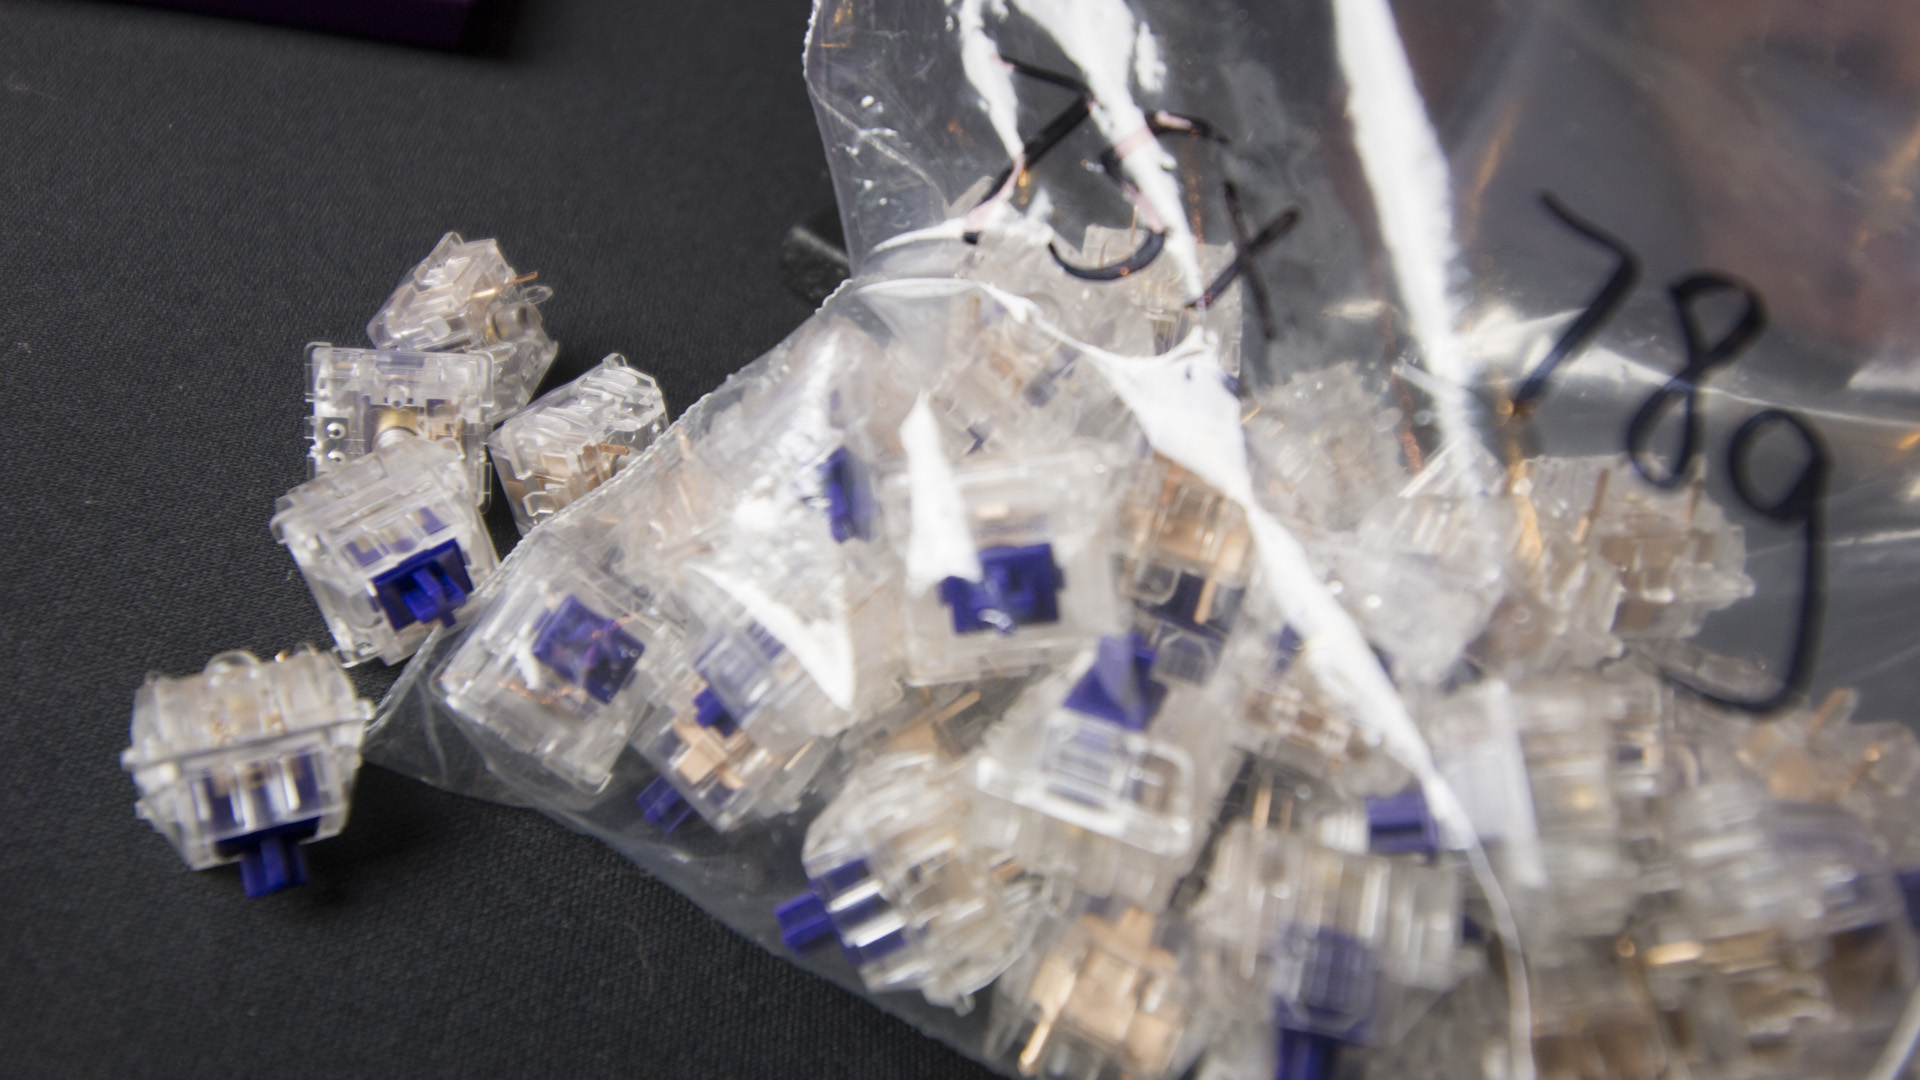
Made by Gateron for ZealPC, Zealios switches, to me at least, are much smoother counterparts to Cherry’s tactile switches. Since I like a heavier switch, I ordered a bag of 70 78g Zealios directly from ZealPC.
Cost: $US60 ($75)
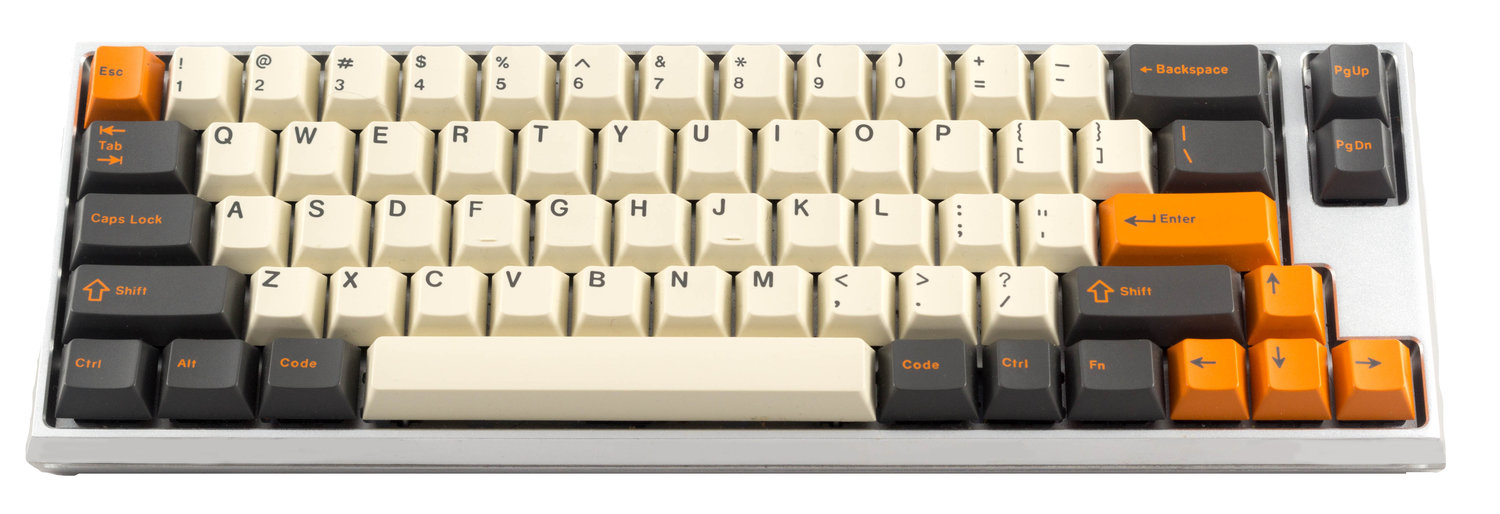
Keycaps
Keycaps are almost as important as switches when it comes to overall keyboard feel. Cheap ABS, thin ABS plastic keycaps don’t sound the same as thick PBT plastic keycaps. Really tall, really thick ABS keycaps, on the other hand . . .
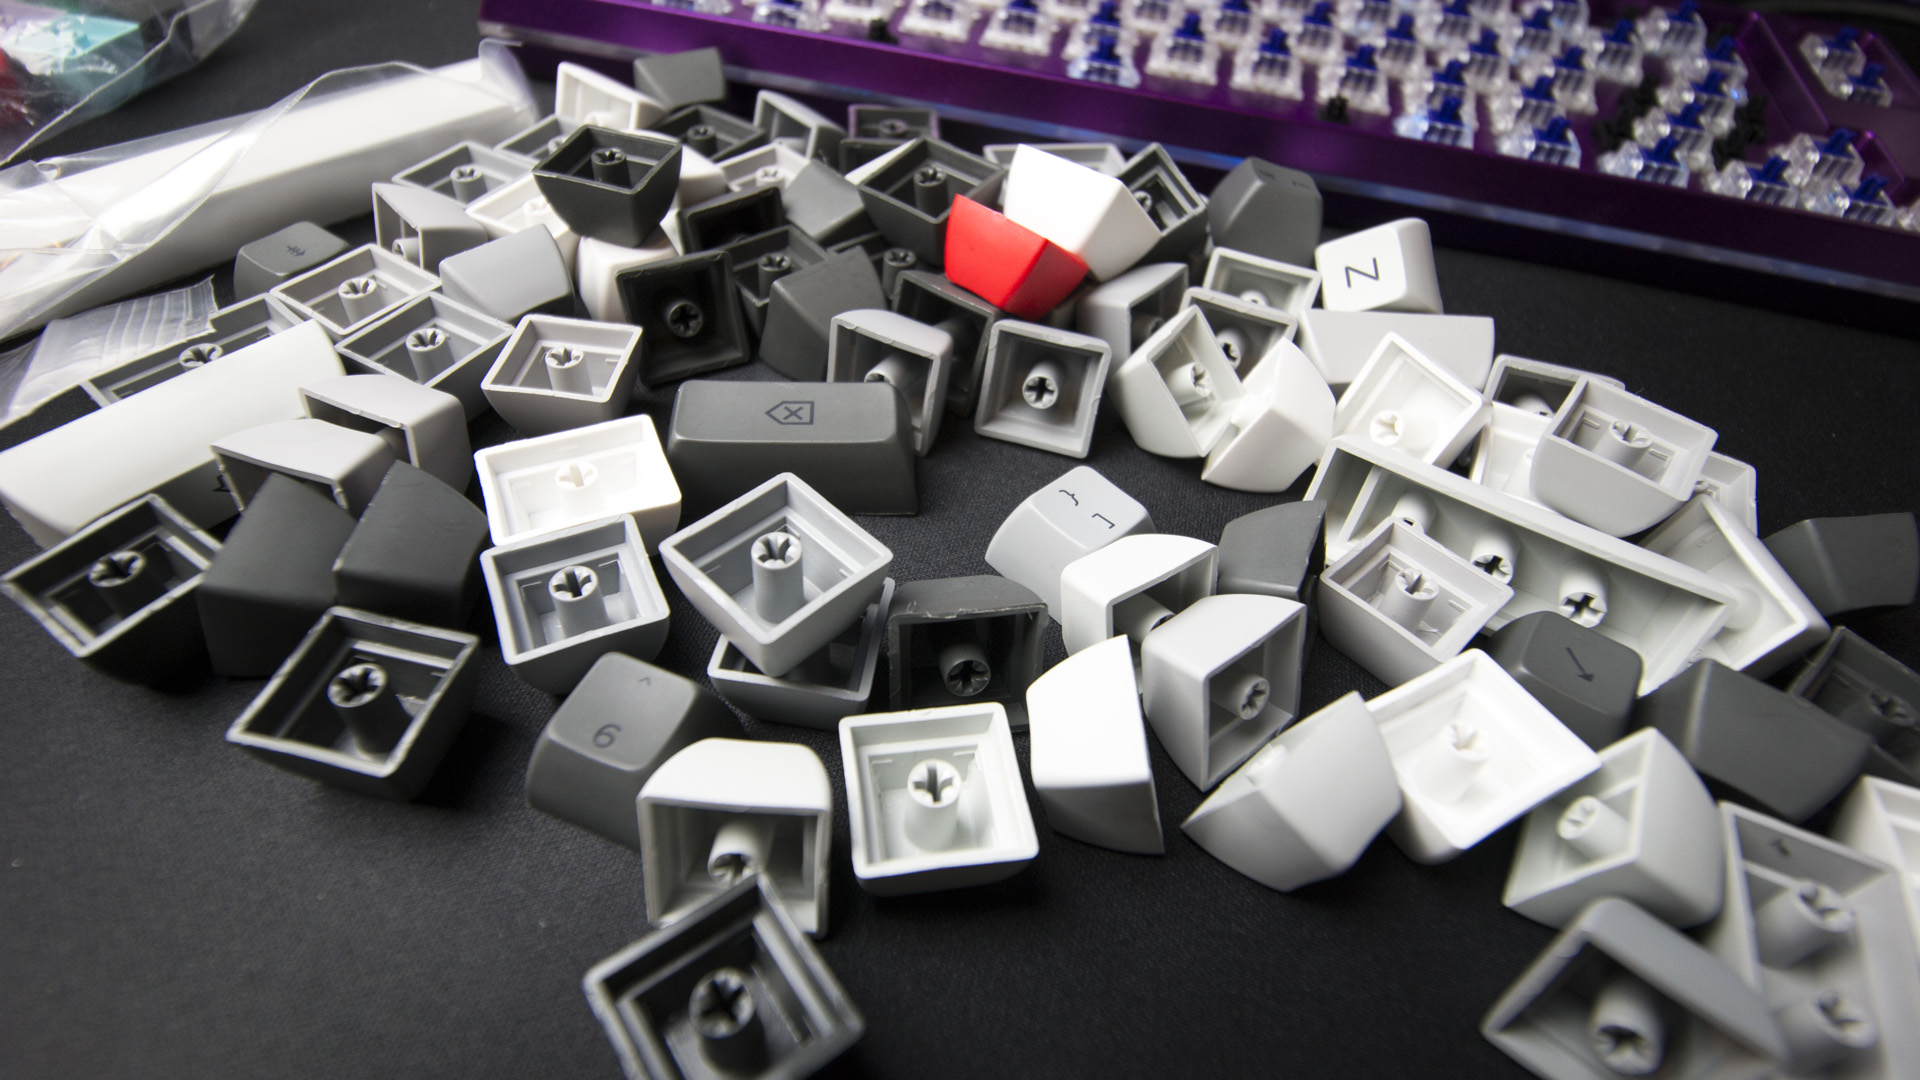
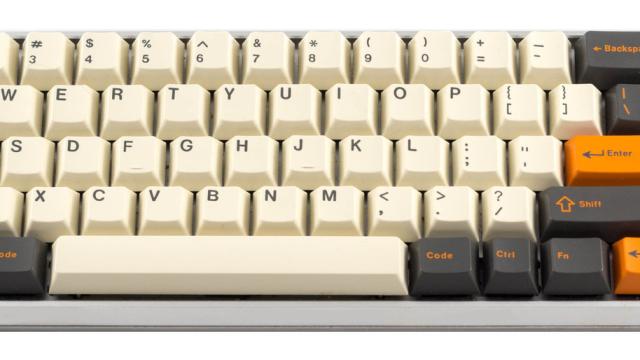
Seeing as I was already nearly $US300 ($377) into the project, I decided to go big on the caps. As I was assembling my parts, Signature Plastics, one of the biggest names in the business, released a set of SA profile caps called “Grade.” SA are high-profile caps made of thick PBT, and I am really, really into them right now. Where many keysets stick to a basic colour balance where the alphanumerics are one colour and the function keys are another, Grade has a rather pleasing row-by-row gradient effect.
To cover the board I bought the tenkeyless set ($US115 ($145)), with an alternate set ($US54 ($68)) to help fill-in a couple of the board’s non-standard layout keys. Then I bought the rest, just in case.
Cost: We’ll call it $US175 ($220)
Stabilisers
Stabilisers are what keeps the longer keys on a keyboard from being all wobbly. They’re cheap little pieces of plastic that support the sides of those keys.
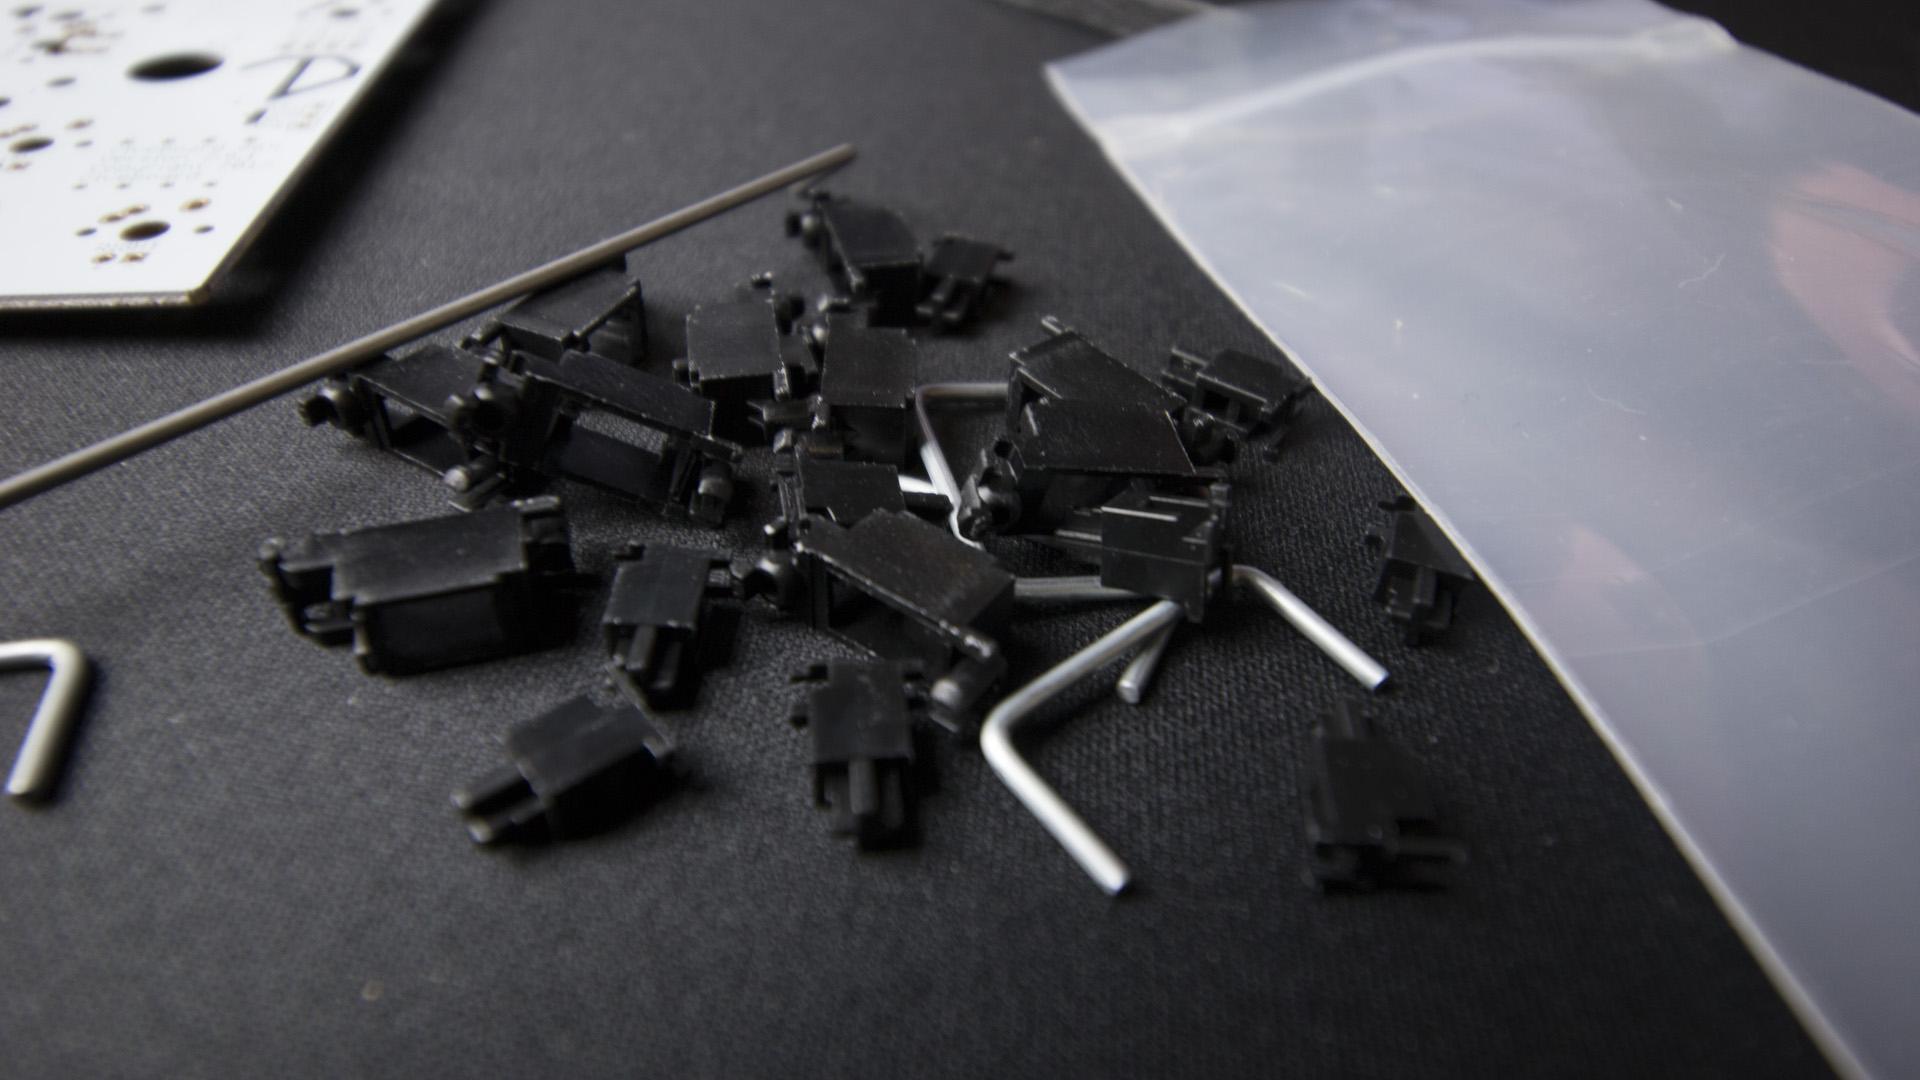
They are very important cheap little pieces of plastic. They will need a couple of tiny drops of silicon oil for lubrication purposes. In this case of the Cherry stabs I use here, many people recommend clipping them in order to make them feel less mushy.
Cost: $US5 ($6) or so
Tools
Soldering Kit
Soldering is a lot easier than it looks. At least that’s what I keep telling myself. I only started earlier this year, and this board is only my third project. That’s counting the five dollar blinky-light learn-to-solder kit I purchased from Amazon.
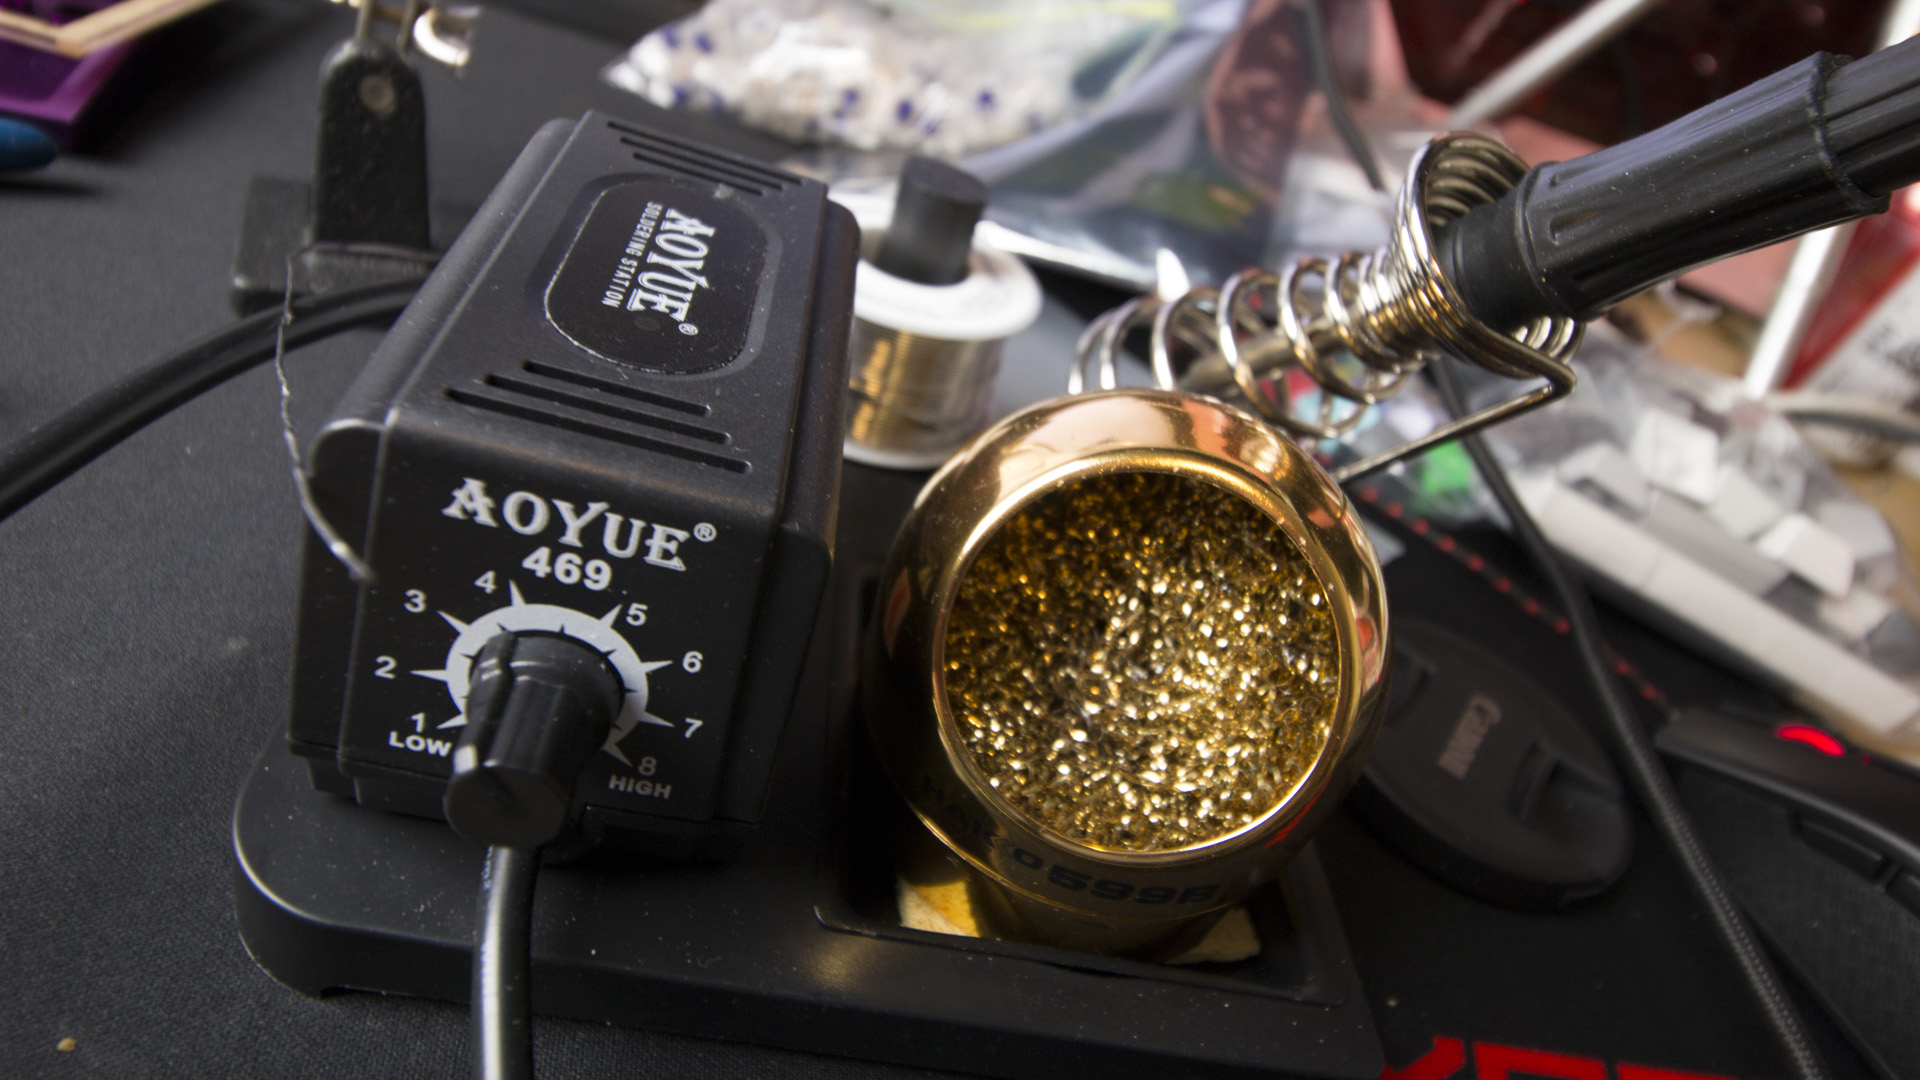
The key to creating a solid solder joint is heating the wire and metal pad you want to join, and then melting the solder onto them. I learned that and more by watching a YouTube video.
There are better, more expensive kits than the one I used to build the Clueboard. There are also cheaper kits that don’t come with much more than a soldering iron and prayers. As long as you use them correctly, any of them work.
Magnifying Tool
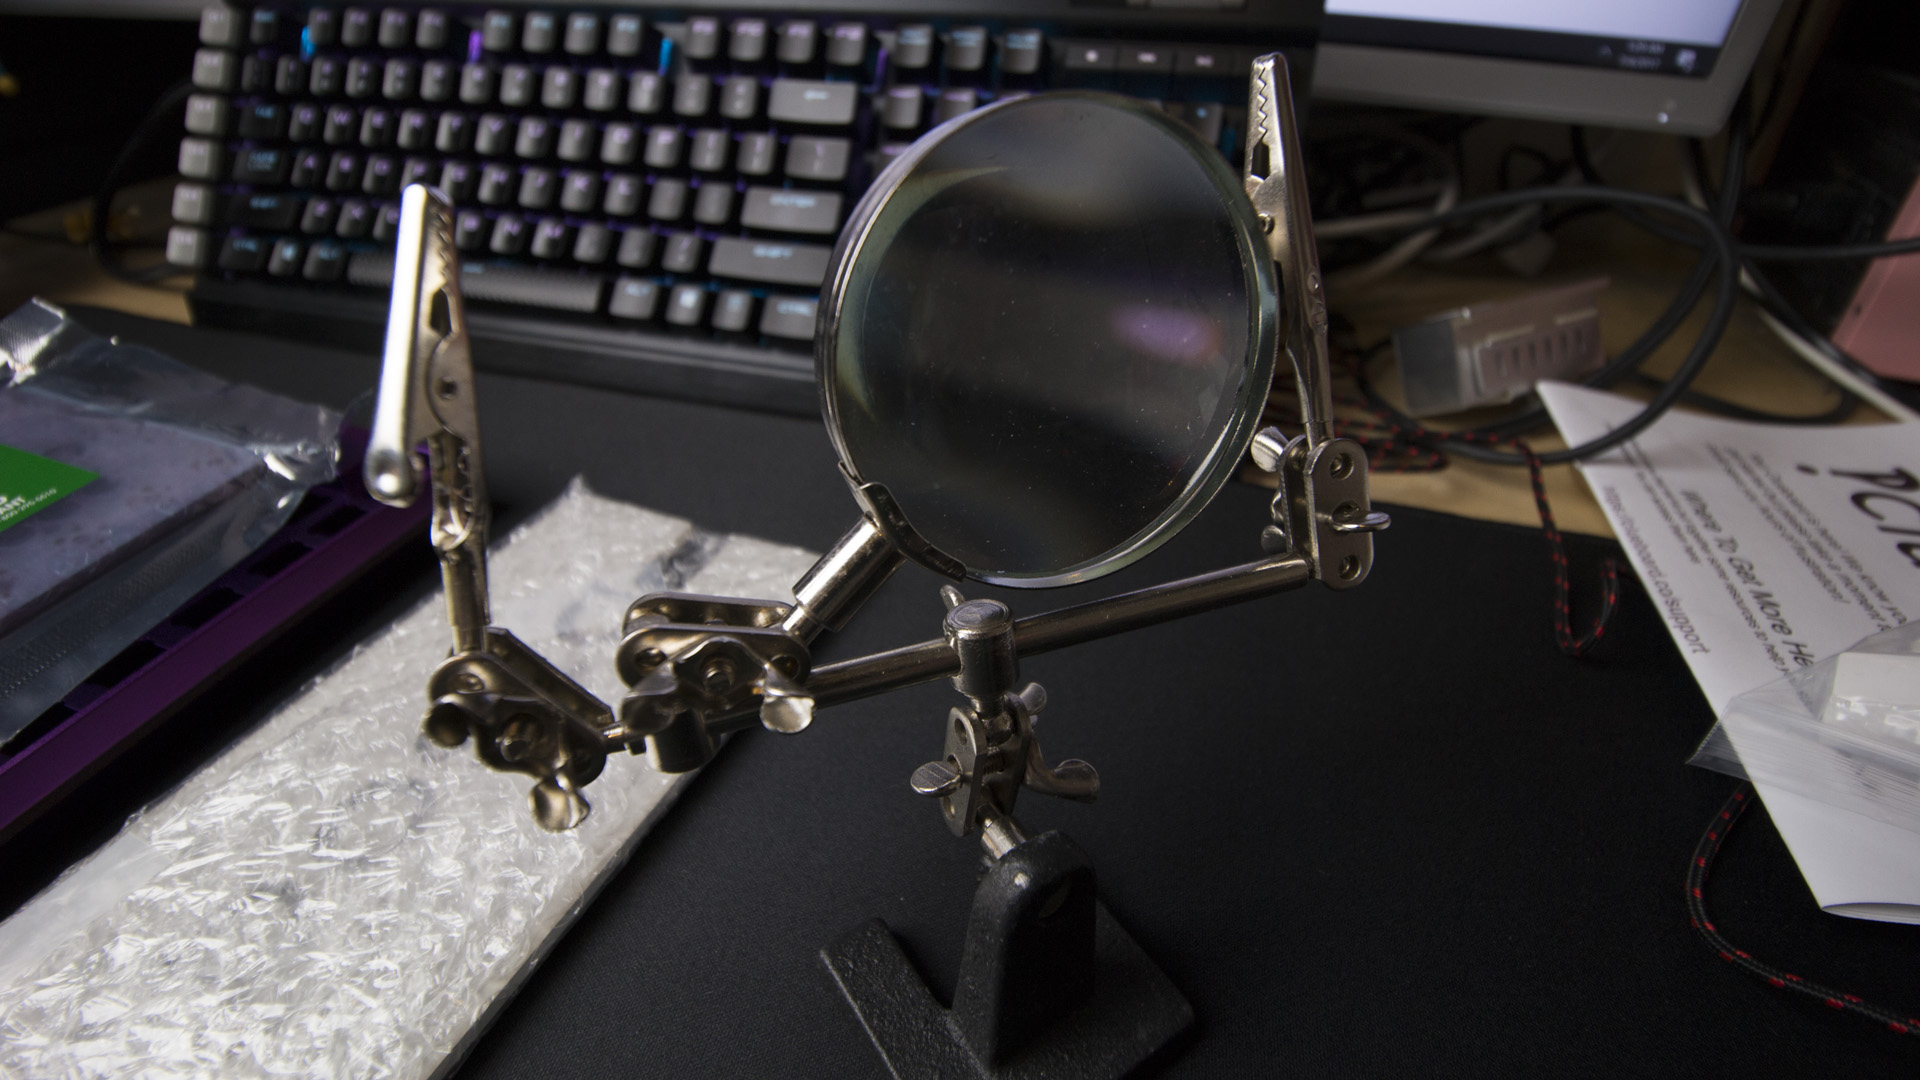
It’s raising the roof.
If you are getting old and your vision is failing, get one of these. Maybe you can paint some miniatures while you are at it. Get back into Warhammer.
Snippers
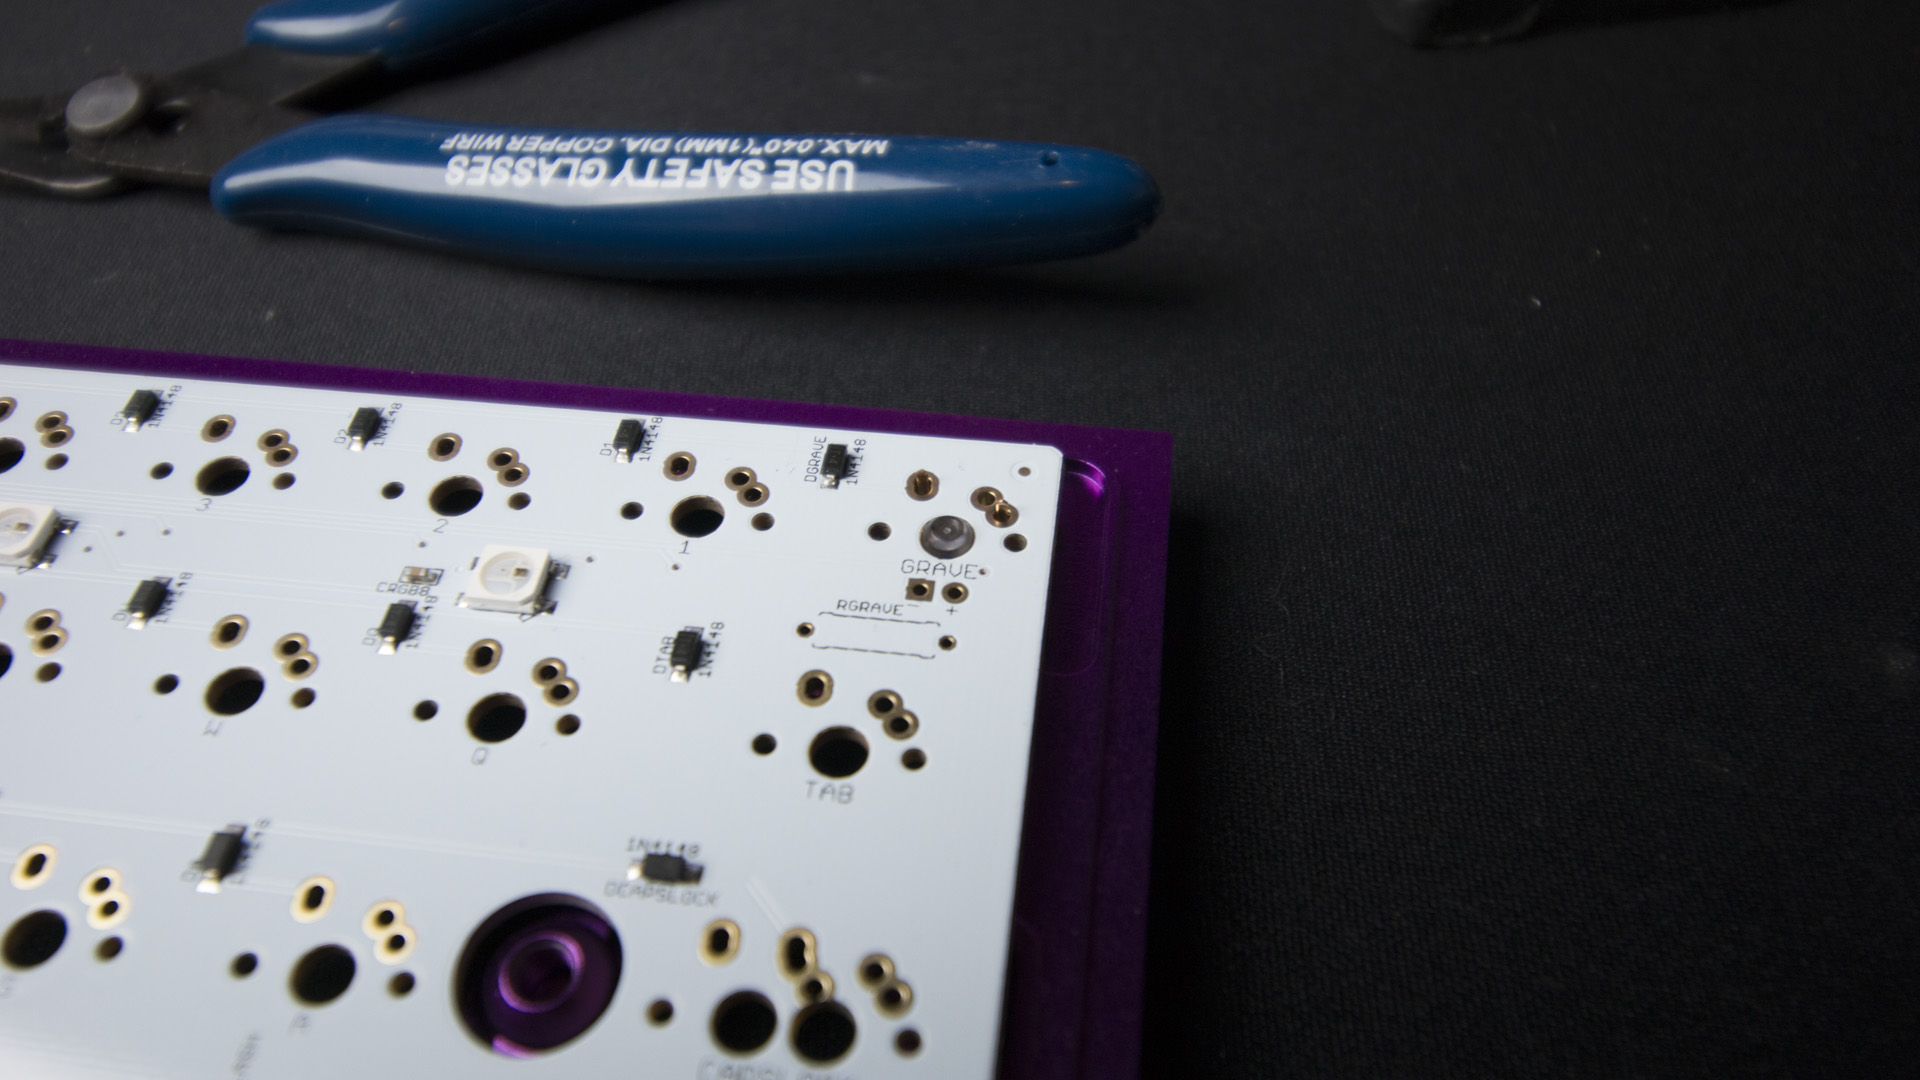
Use safety glasses. I totally did. All the safety glasses.
Everybody needs a nice pair of sharp snippers. They’re great for clipping wires. They’re essentially for turning the PCB-mount switches I purchased into the plate-mount switches I needed, by simply snipping off the two additional feet. They are also great for opening packages and keeping your toenails trimmed.
Assembly
Before you begin, lay out all of the parts you’ll need to put together your keyboard. This helps you take a picture of all of the parts. If you play some hard-driving rock here it feels sort of like the weapons-gathering scene from an ’80s action movie.
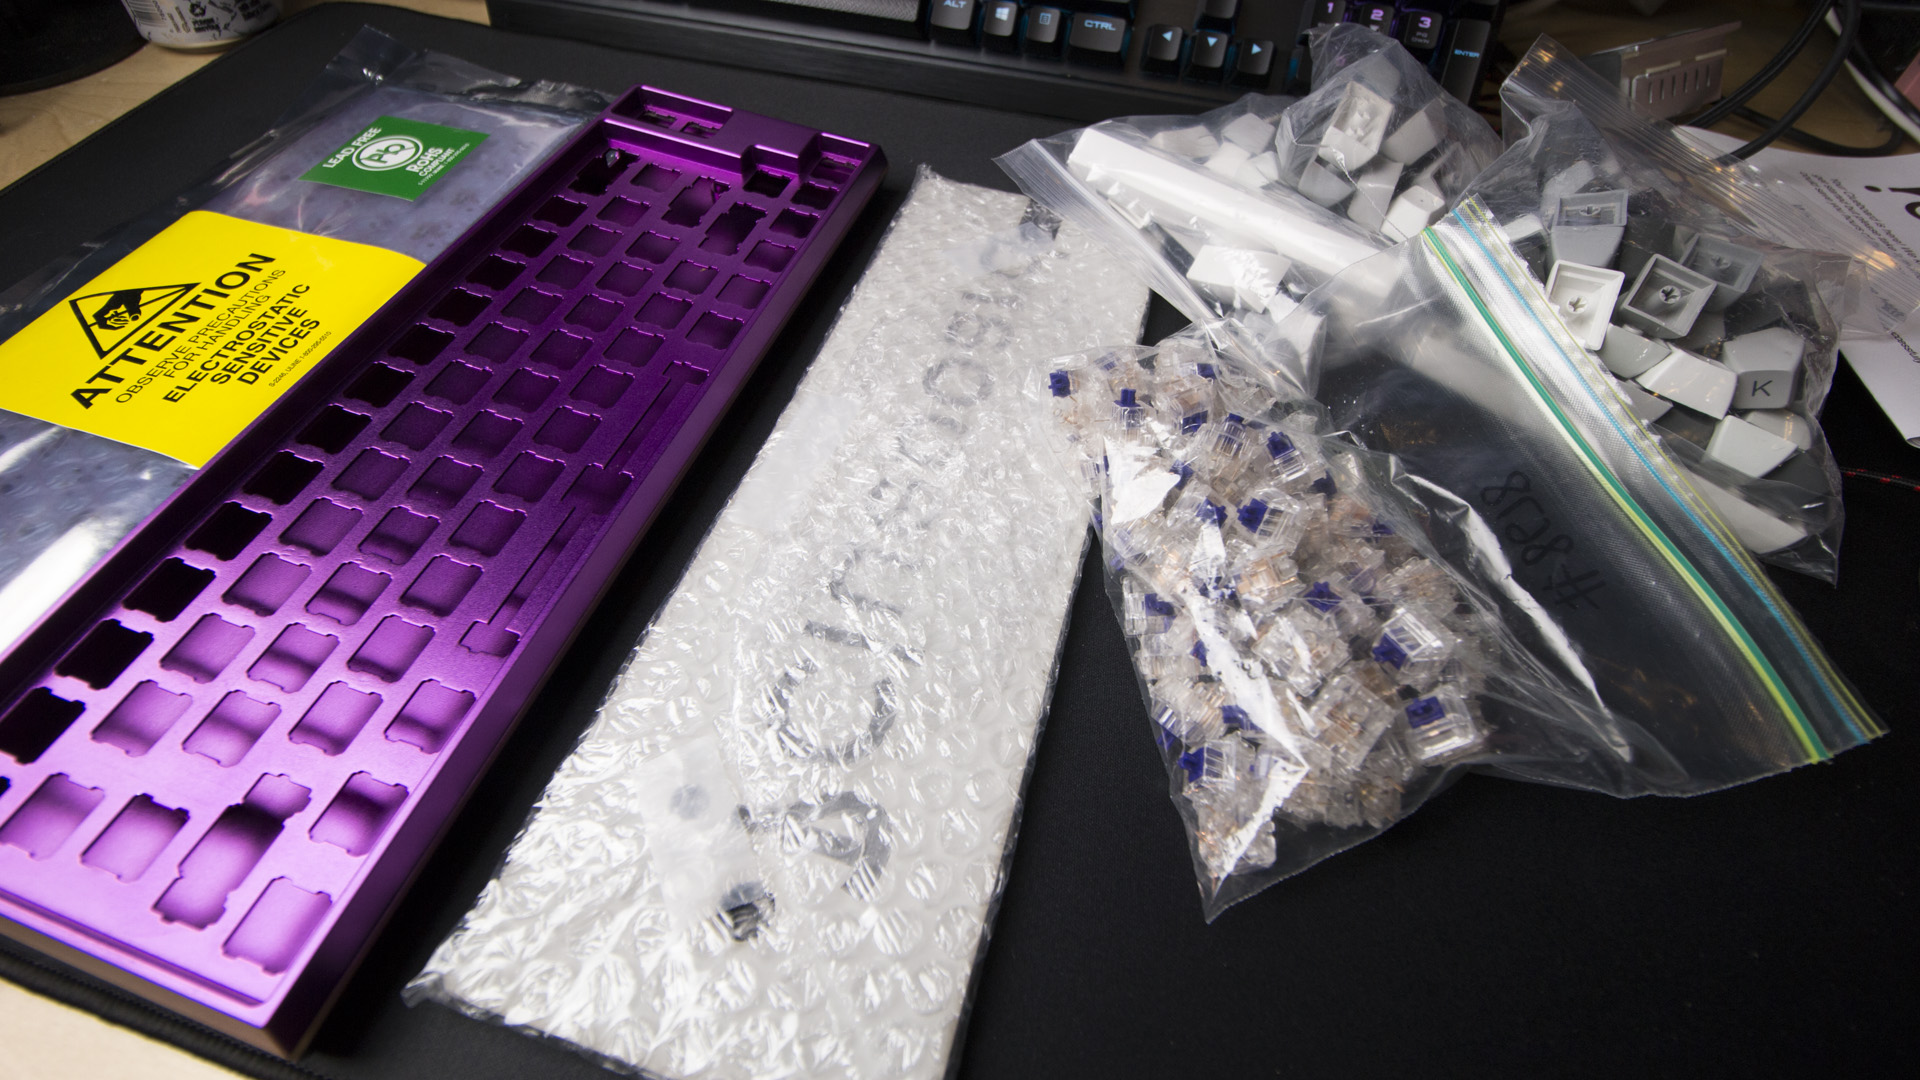
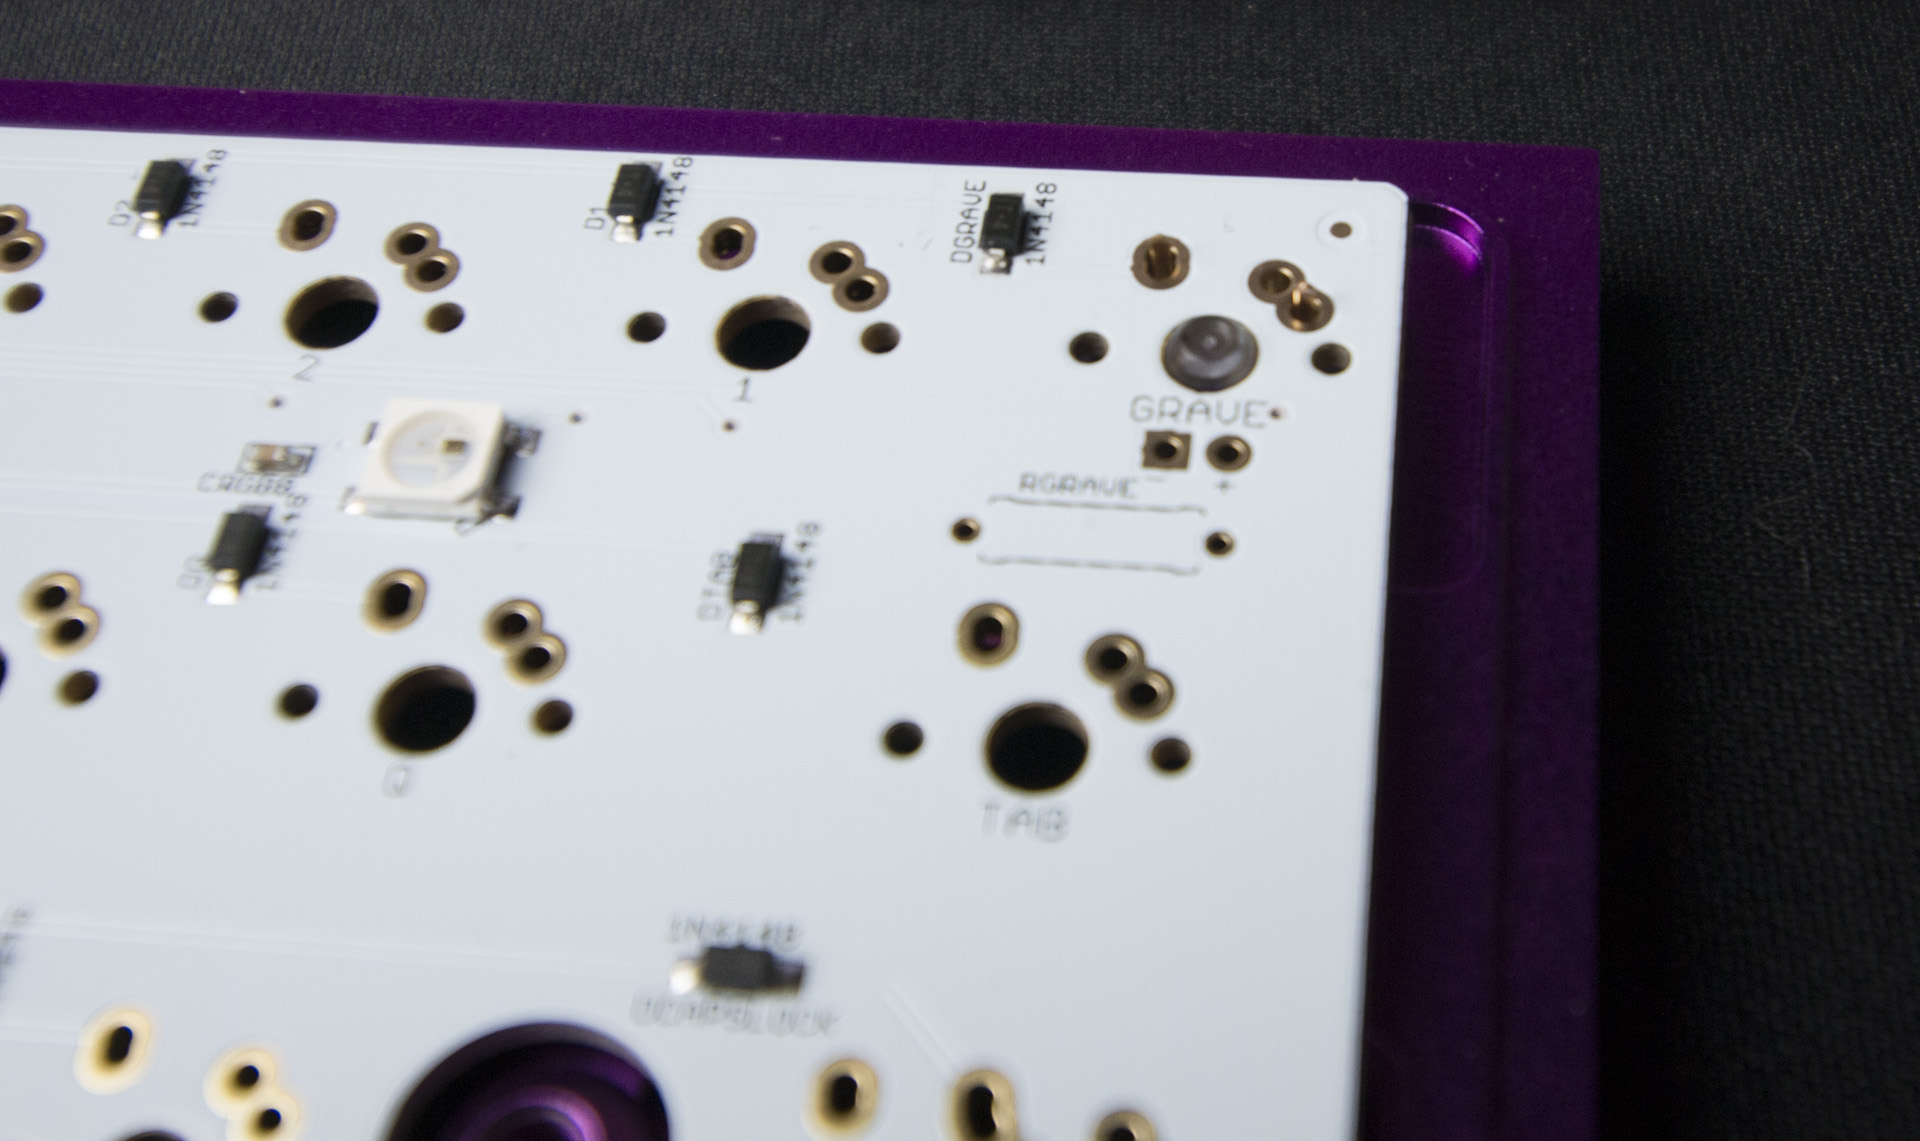
If you’ve got a PCB with pre-soldered components like the Clueboard’s, now is a good time to plug it in and make sure it works. If it’s got LEDs, they should light up. You can also use a piece of wire to jump the switch connections. I generally use a site called Keyboard Tester for these purposes.
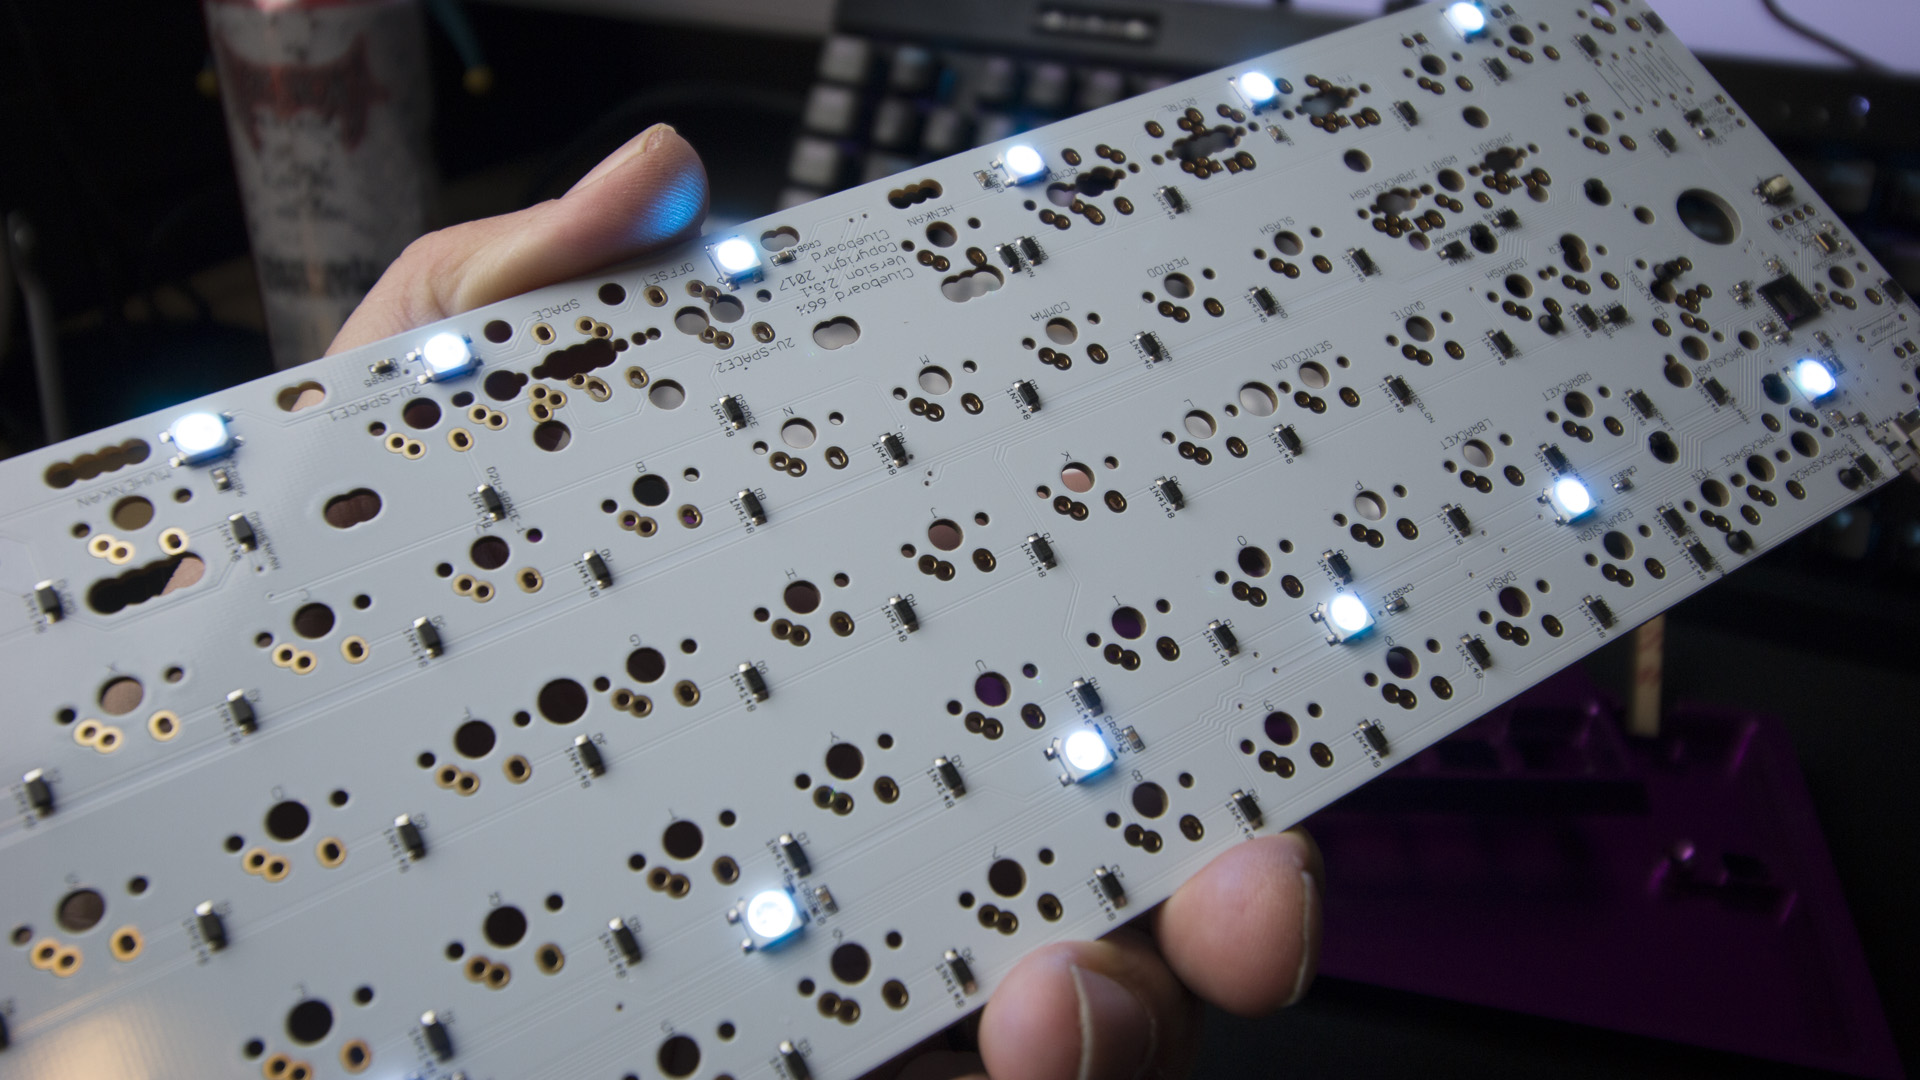
We have lights. Lights are good.
The next step is mounting and lubing the stabilizers. Once assembled, the Cherry stabilizers for the Clueboard simply pop into place. If you’re going to apply lube, this would be the time to do it.
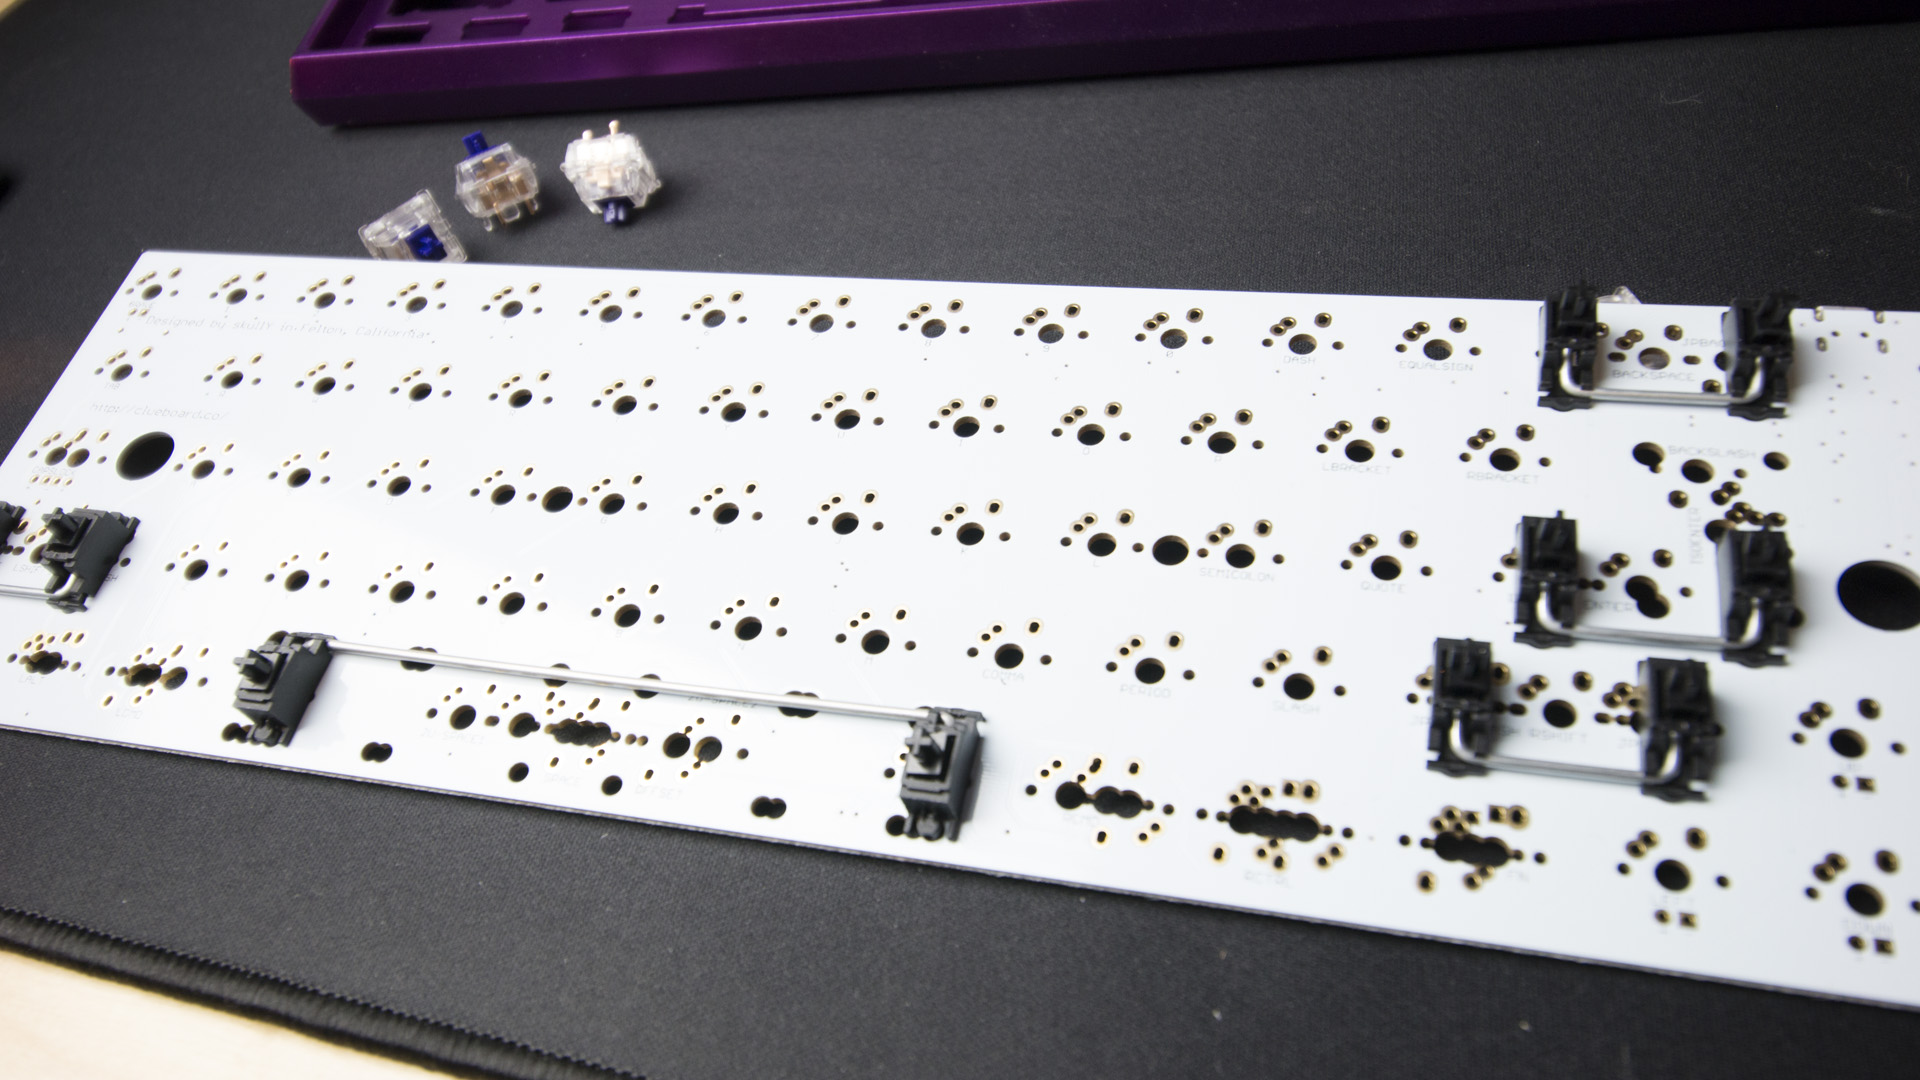
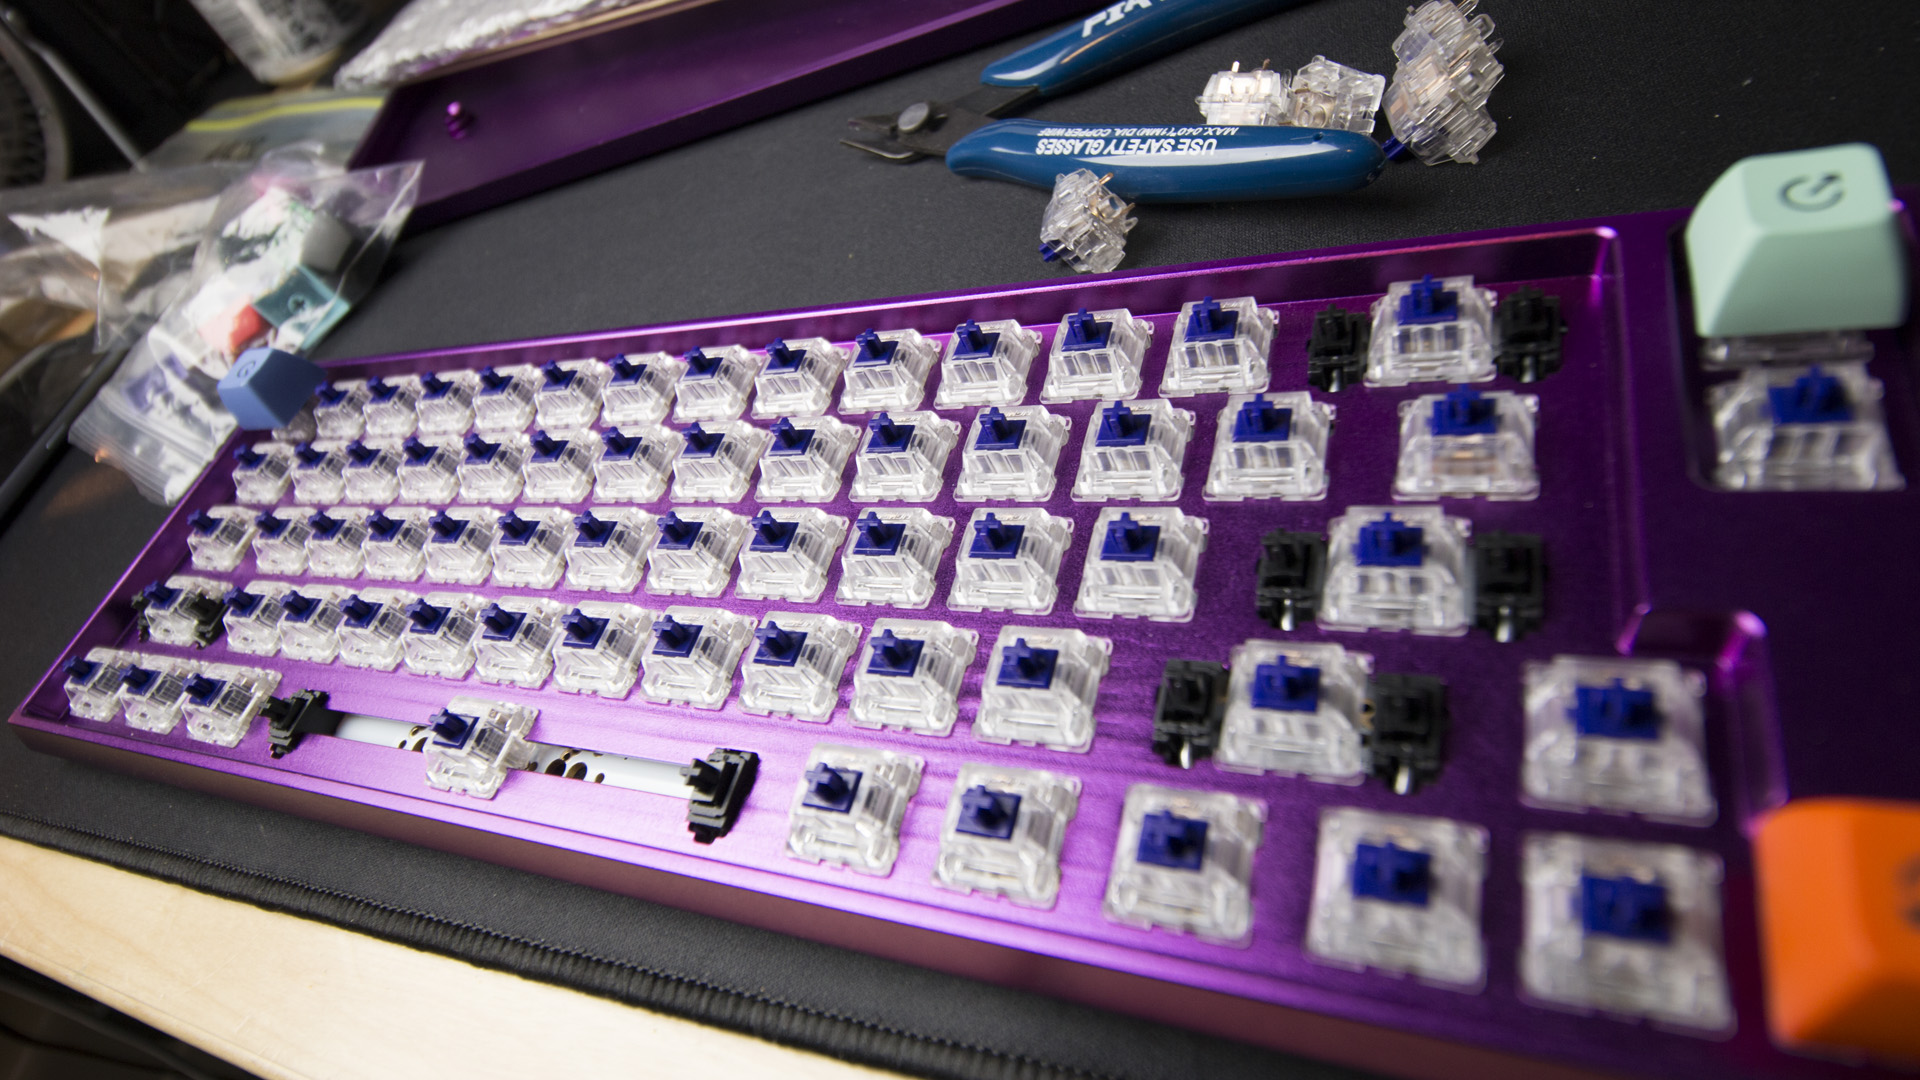
Some keyboards have switches that mount on the PCB directly, with a top plate that fits over them. In the case of the Clueboard, the top section of the case features spots for the switches to be snapped in.
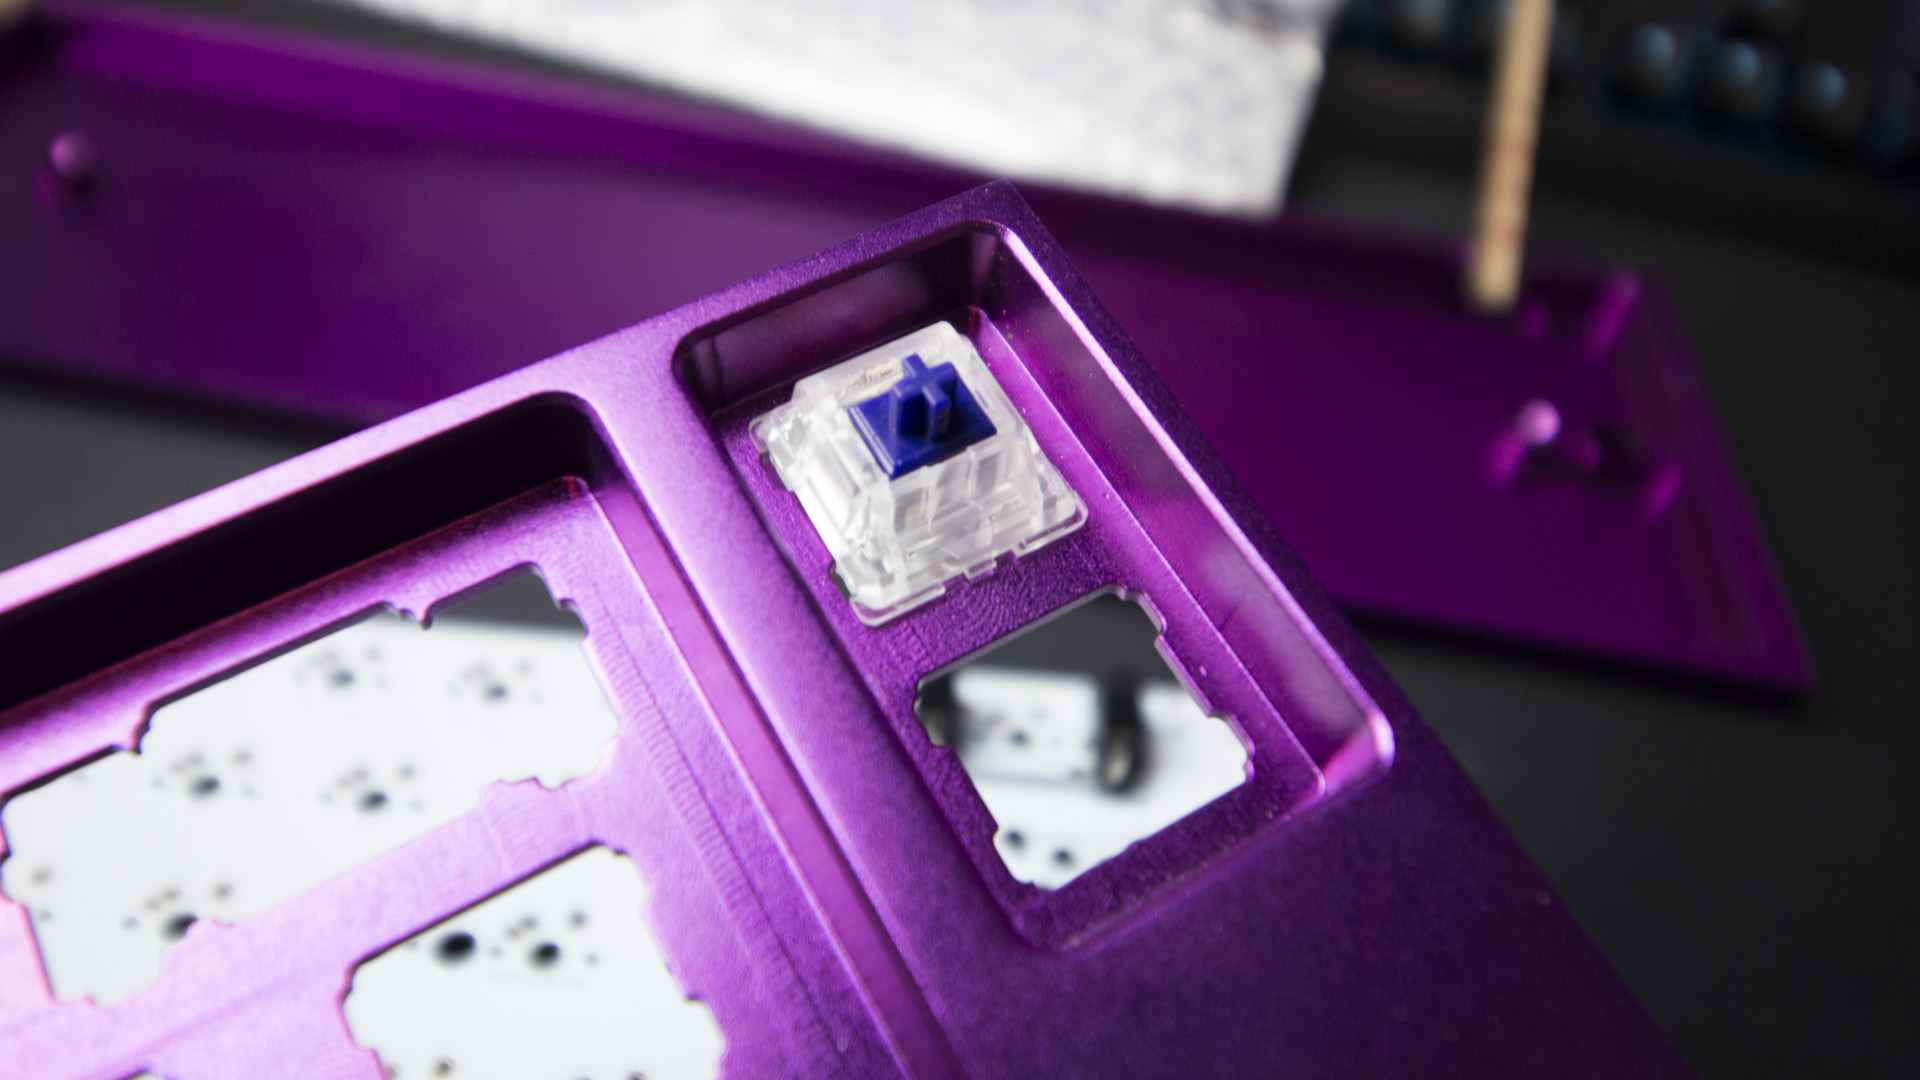
The best way to proceed here is to place switches in the four corners of the top plate, then turn it over and place the PCB, aligning the switch pins with the corresponding holes on the board.
Now comes the fun and dangerous part. It’s soldering time. Let your iron heat up, grab some soldering wire — I use Kester 44 rosin core 63/37. Place the tip of your iron so it’s heating both the switch pin and the metal pad on your PCB, wait a second or two, and apply about half a thumbnail’s worth of solder to the joint. Make sure you’re in a well-ventilated area. I use a desk fan to blow fumes away from the board while I work.
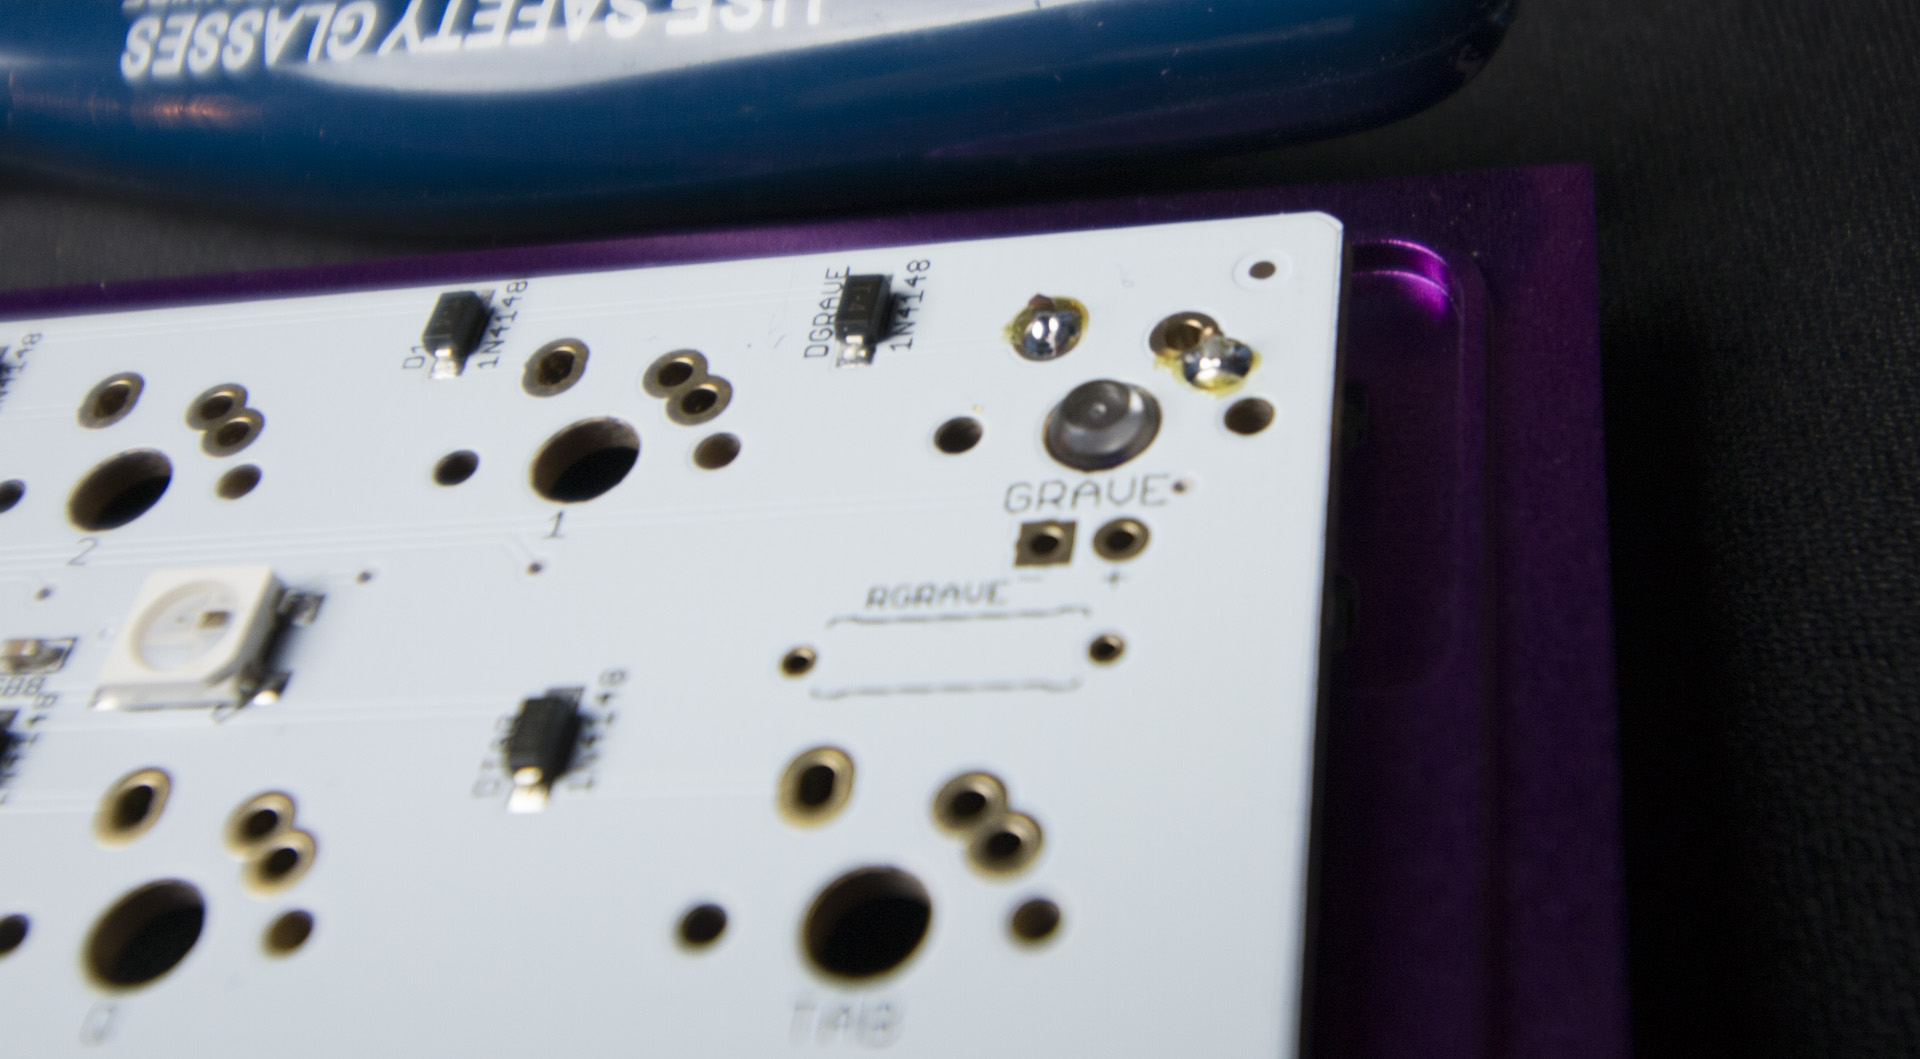
The yellow bits aren’t burns, but flux residue.
It bears mentioning again that this is only the third time I’ve used a soldering iron in my life. It’s daunting as hell to apply high heat to a delicate piece of electronics, but there aren’t many ways you can irrevocably screw this up. If your join is bad, you can melt it, re-flowing the solder. If you use too much, you can use a solder sucker to remove the excess. The worst you can do is lift the metal pad from the PCB, and even that can be fixed with some creative wire jumping.
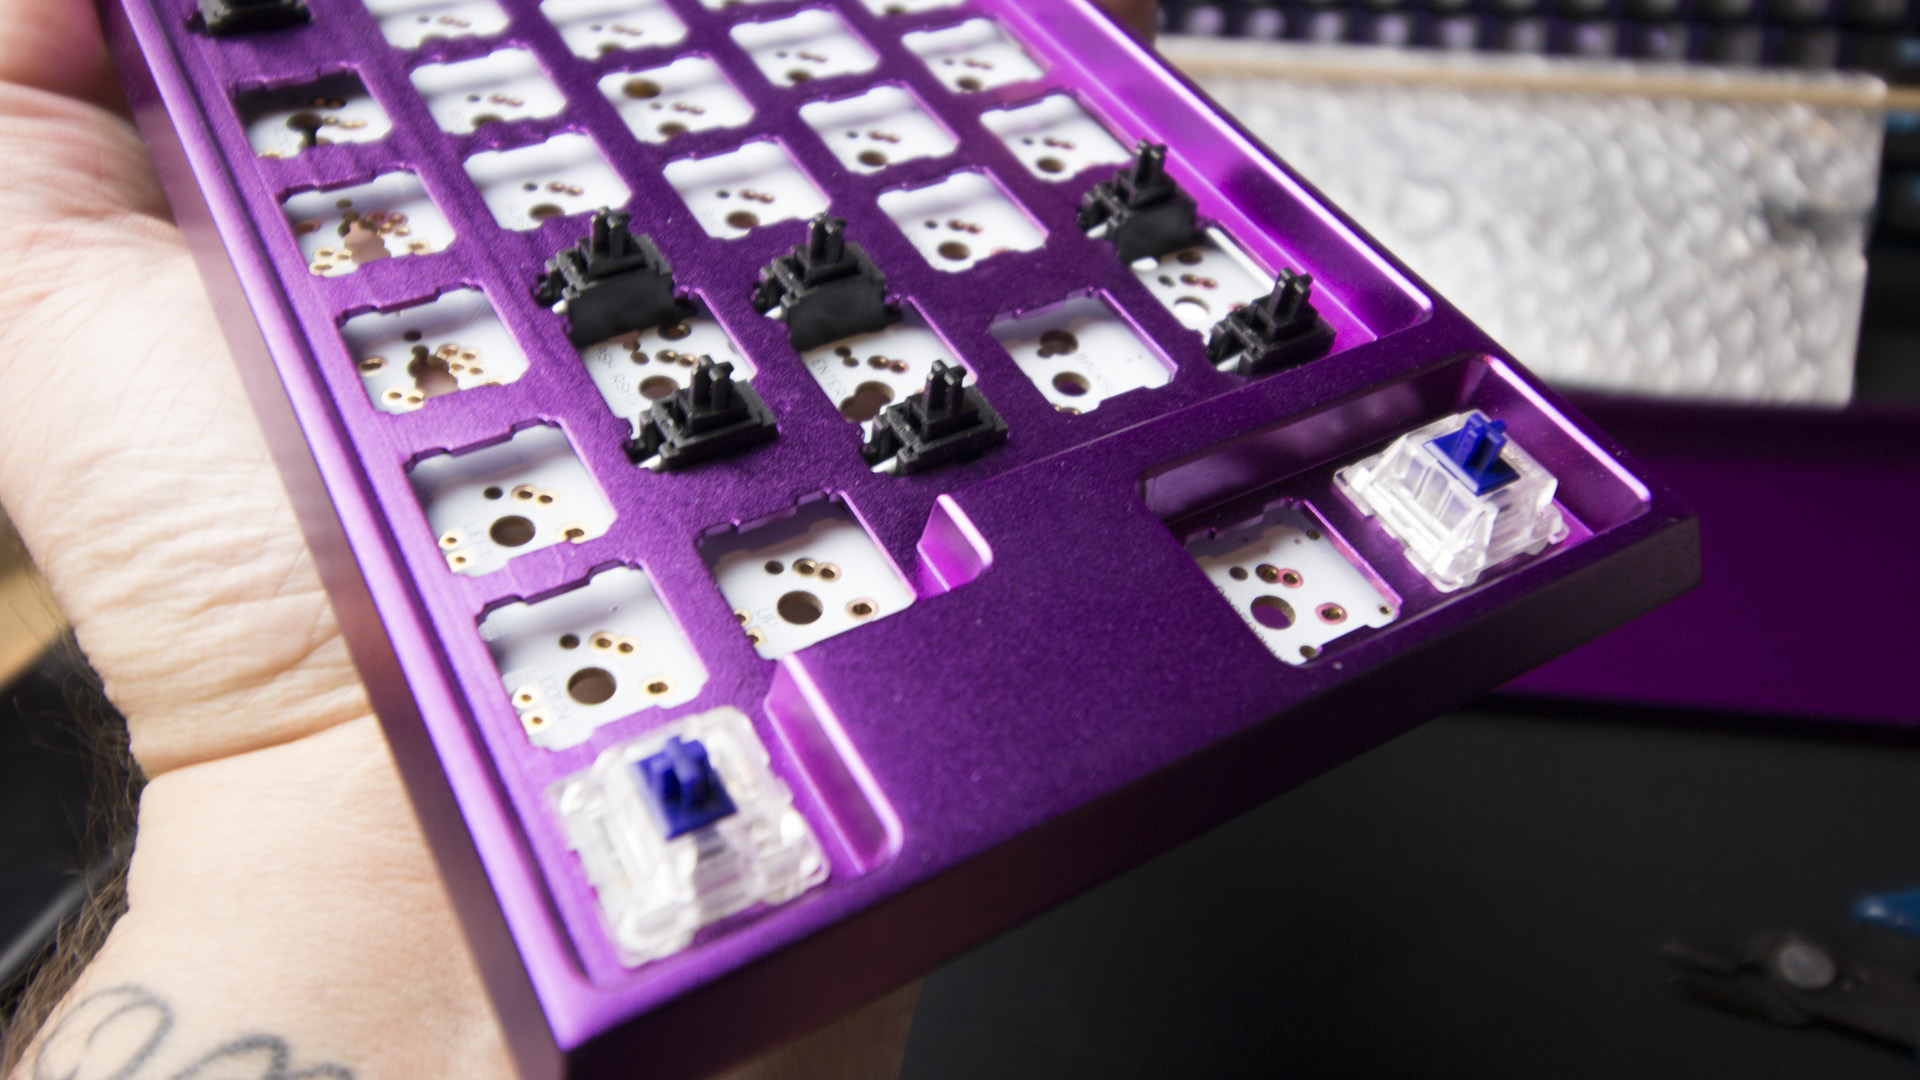
Once you’ve got the four corners in place, the rest is just repetition. I like to solder my switches on in rows, pausing to test each key once the row is complete.
A little sloppy, still working on my technique, but functional. ]
For me, this is the best part. Now the keyboard is becoming a keyboard, row-by-row. My little pile of parts is growing up so fast.
Once all of the switches are in place, all that’s left to do is put the case together. The Clueboard decorator pack includes a special reflector that fits in the bottom of the case to make the underside LEDs really pop. Plus it makes for a great photo. Once I set it in the bottom of the case, all I had to do was screw the whole thing together.
Hi!
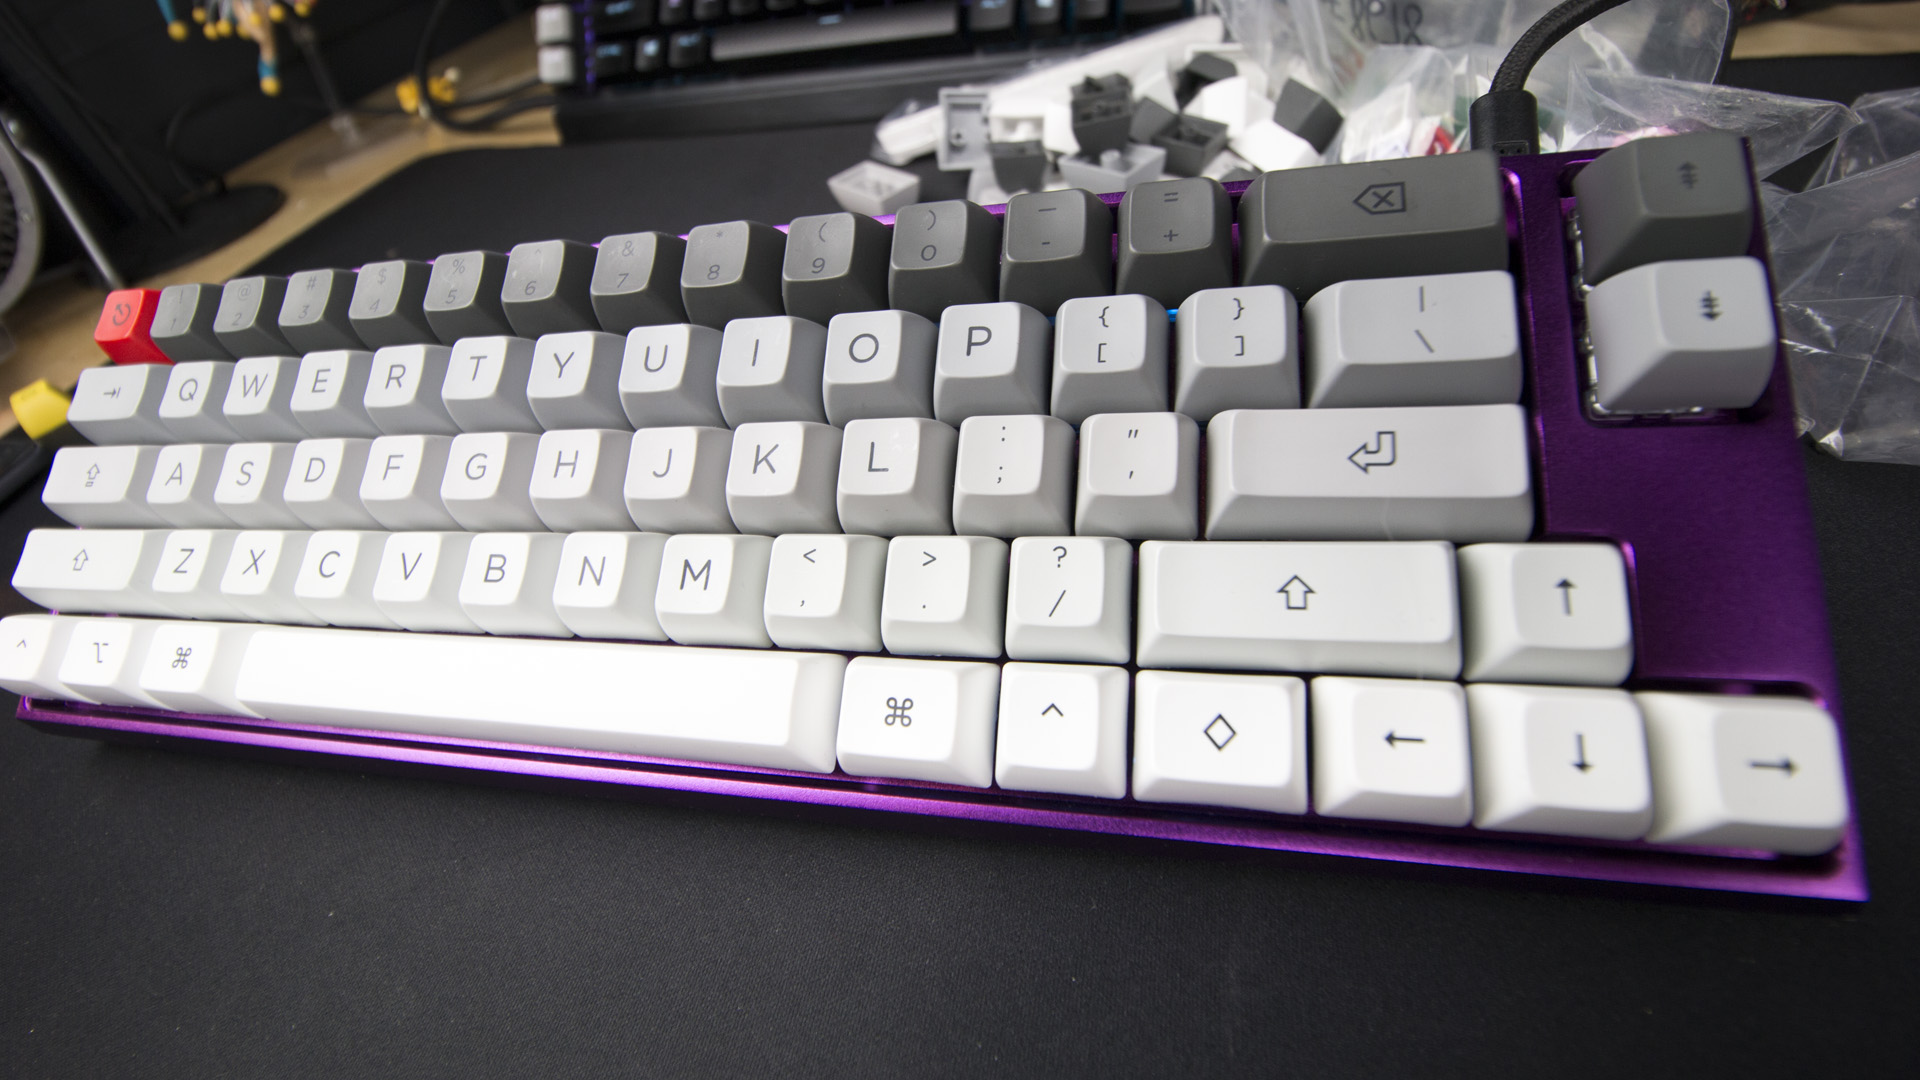
Voila! A completed keyboard. Well, almost completed.
You could type on switch stems if you really wanted to, but keycaps come highly recommended. Placing a nice set of caps on top of some great switches is like icing a delicious cake. Drooling is often involved.
I think I made a good choice, selecting SA Grade for the purple metallic board. Purple’s a good, strong colour that might overpower anything beyond these cool monochrome keys. I bought the escape key pack as well, so I’ve got that red accent in a dozen other colours. Yellow is my current fave.
With plenty of caps leftover for other projects.
And there we have a completed keyboard. The entire process took about hour and a half. Unlike my first build (I had to resolder a few pins on the Let’s Split’s controllers), everything worked the first time around. It looks good. It feels amazing. And the sound? The sound is lovely.
Now you don’t have to spend upwards of $US500 ($628) to build your own keyboard. There are plenty of kits out there that will get you up and running for less than $US100 ($126). Grab an inexpensive PCB, a cheap case (you can always upgrade), some basic keycaps and your switches of choice and you’ve got yourself a keyboard that will you’ll love forever, because you did it yourself.
Comments
2 responses to “How To Build Your Own Keyboard”
Awesome article…i’ve been lurking /r/MechanicalKeyboards/ for a while now and never had the guts to try myself…thinking its time to jump in!
I was like…..wooooow, now is the time to try this out….oh …look at all that stuff I need…. I’ll be fine with my current set up I guess.